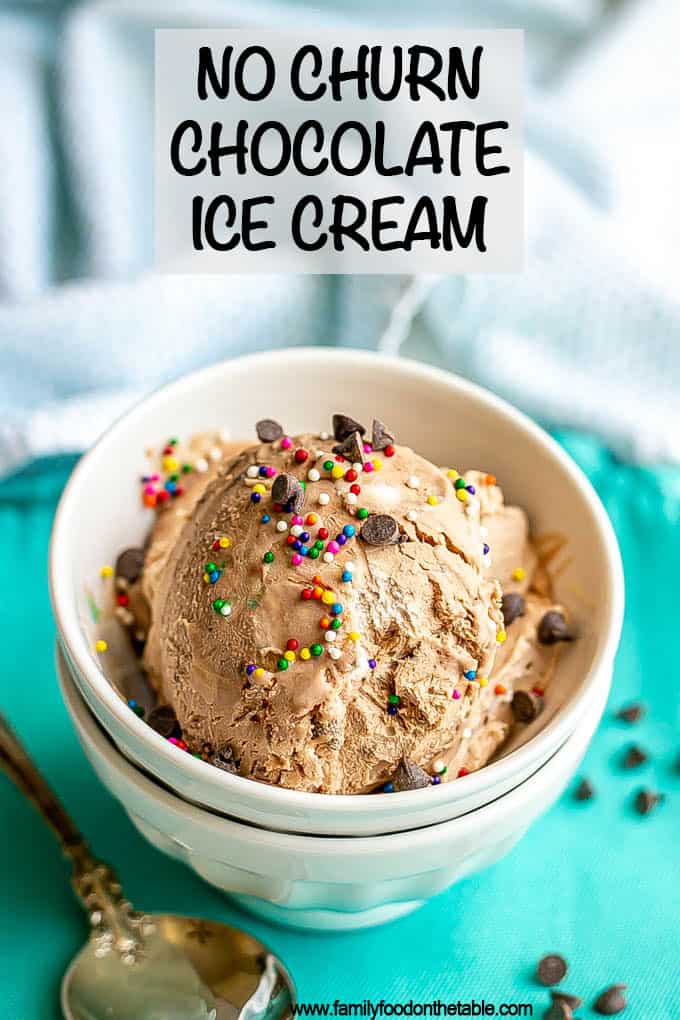
Homemade no-churn chocolate ice cream is just 4 ingredients and 10 minutes to make and comes out incredibly creamy, flavorful and delicious! It's perfect any time of year for a sweet treat.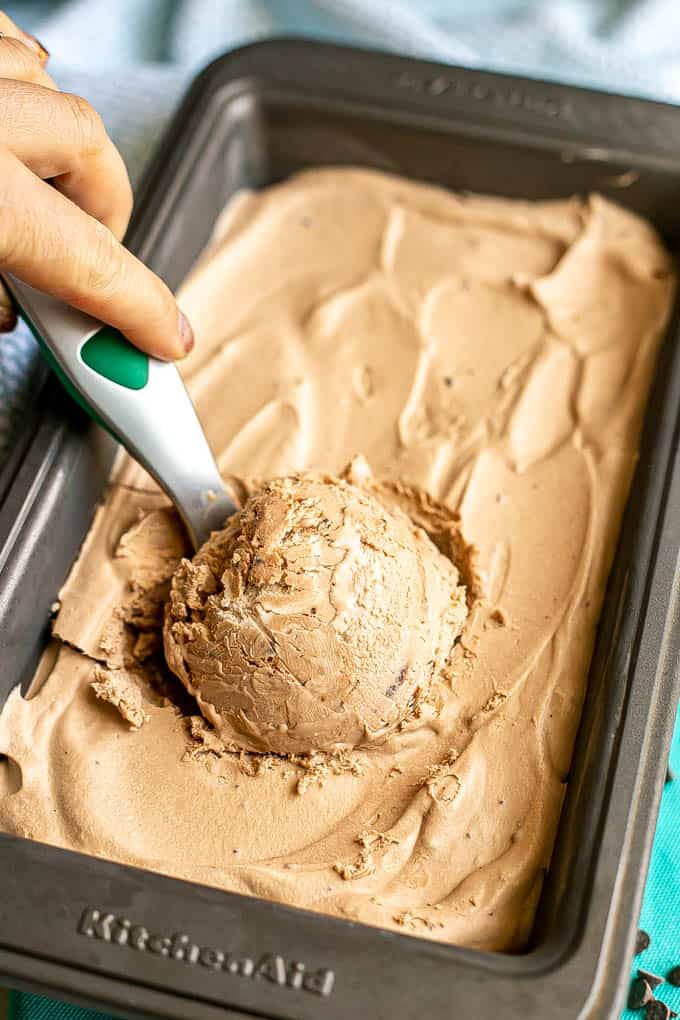
I'm leaving this morning for my first girls beach trip in 3 years. Two years ago it got cancelled by a hurricane. We even tried to switch to the mountains but the dang storm was coming really far inland.
Last year was 2020, so that was a big 'ole bust.
But it's 2021, we've all gotten our vaccines and IT IS ON!
I can hardly wait to hang out with my besties, drink and laugh on the beach, cook and dance in the kitchen, and just have a fun-filled get-away. (I love my husband and kids but mama needs a break from time to time, amiright?!)
OK, let's move on to the food.
Earlier this week, I shared s'mores ice cream, which is seriously amazing.
It's based on my go-to no churn vanilla ice cream, which is just 3 ingredients.
Once I had made vanilla about a dozen times, I knew I had to branch out.
And today I'm so happy to finally be sharing this no churn chocolate ice cream.
It's just 4 ingredients and only takes 10 minutes to prep. But that tiny bit of effort will give you BIG rewards.
This chocolate ice cream is so smooth, rich, perfectly sweet and crazy delicious. The texture, too, is spot on. No grainy bits, no artificial tastes, just clean, pure, cold, yummy ice cream. With big chocolate flavor!
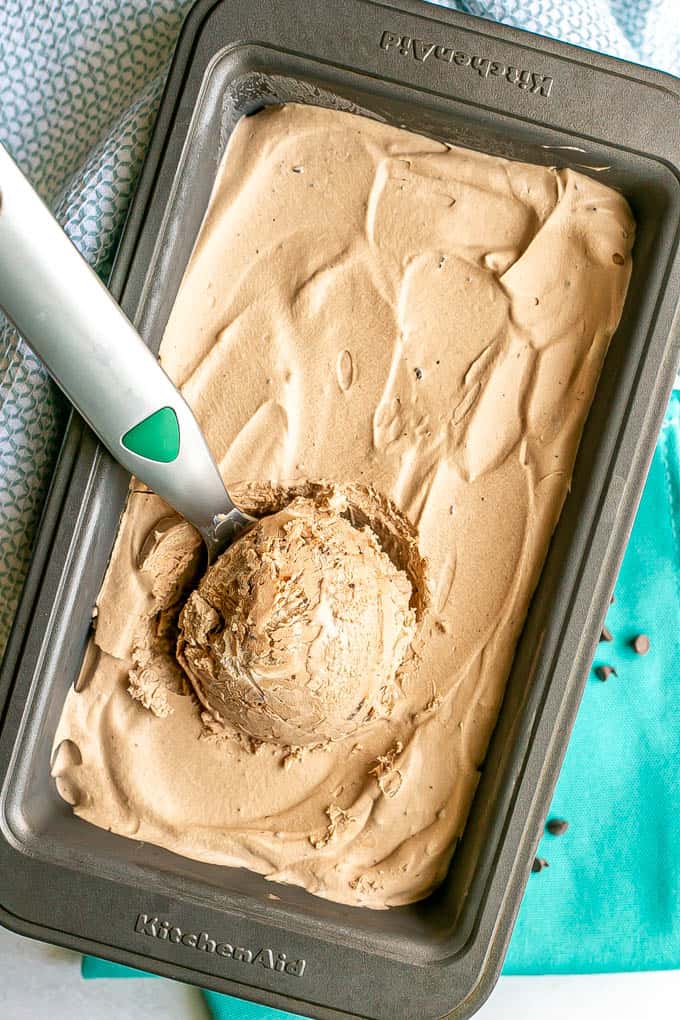
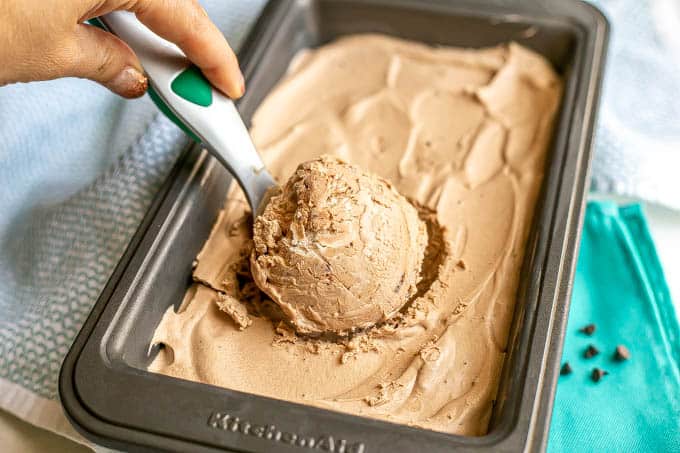
And it sets up perfectly in the freezer. It doesn't stay soft serve soft and it doesn't get rock hard. It's right there in the middle and ready to pull out and enjoy whenever the cravings hit.
Also, amazingly, there's no ice cream maker needed!
I even have one - my mom lent me hers years ago and has never wanted it back - and I still prefer to make homemade ice cream this way.
In a bowl. With a hand mixer. In no time at all.
I don't mess around when it comes to ice cream!
Plus, you don't have to worry about freezing the ice cream maker core and going through the hassle of messing with it.
Nope, you just need 4 simple ingredients and about 10 minutes prep. The kids can even help get this ready, it's so simple.
My 7-year-old son is probably the biggest fan of this chocolate ice cream. He's my big-time chocolate lover.
Although my husband adores it too. And he's super picky about his ice cream, so you know this has to be top quality!
If you are a chocolate lover, I have a feeling you'll be smitten - and addicted - too!
Now, I've got some notes and substitutions coming up on how to make no churn chocolate ice cream. Just tryin' to be helpful.
If you want to jump on down to the recipe, simply scroll right on through the rest of the text. The recipe card is near the bottom of the page, above the comments section.
Notes on making homemade chocolate ice cream:
- Heavy cream: You'll need 1 pint - about 2 cups - of heavy whipping cream. Details below on how to do the whipping part. I have not tried this with other substitutes, so you're on your own there.
- Sweetened condensed milk: You can use a can of regular or fat-free sweetened condensed milk. I've tried it with both before. Just be sure you are not using evaporated milk. Not the same.
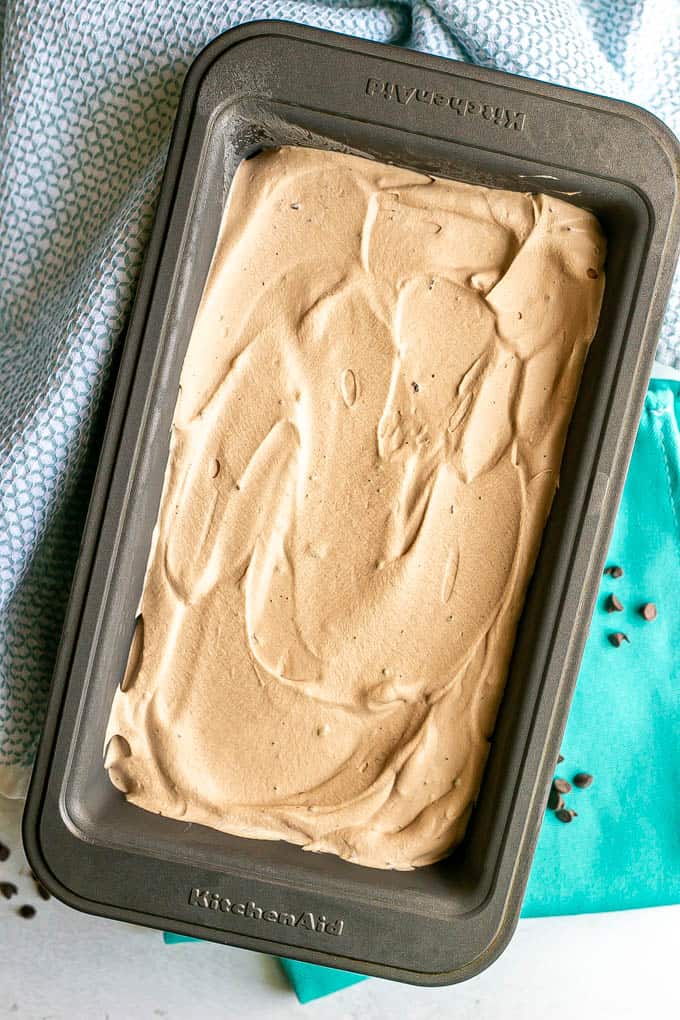
- Freezing: For freezing, you'll want to put the ice cream in a freezer-safe container. I use a 9x5 bread pan and it works perfectly. (If you only have an 8x4, that will do, but it'll be VERY full.) A pie pan or shallow freezer-safe bowl would work too. A large plastic container is good too.
- Set up time: Freeze time will vary, but it's usually ready to eat in 3-4 hours, but might still be a little bit soft. After 6 hours, it should be completely set up.
- Storing: The ice cream can be kept, covered, in the freezer for up to 10 days. If it lasts that long.
And keep reading for some fun flavor add-ins. Not necessarily - this is so delicious on its own - but it can be fun to switch it up from time to time.
Also, if you are intimidated by making your own whipped cream, trust me, it's super duper easy.
Here's a few pointers if you haven't done it before.
How to make whipped cream:
- You'll need a hand mixer or stand mixer.
- You put your cold heavy whipping cream in a large bowl (which you can chill for a few minutes) then you turn your mixer on low.
- Start with low for a minute or two to get it going so your whipping cream doesn't splatter all over your kitchen. You can gradually increase the speed up to medium, as long as the splatters aren't too out of hand.
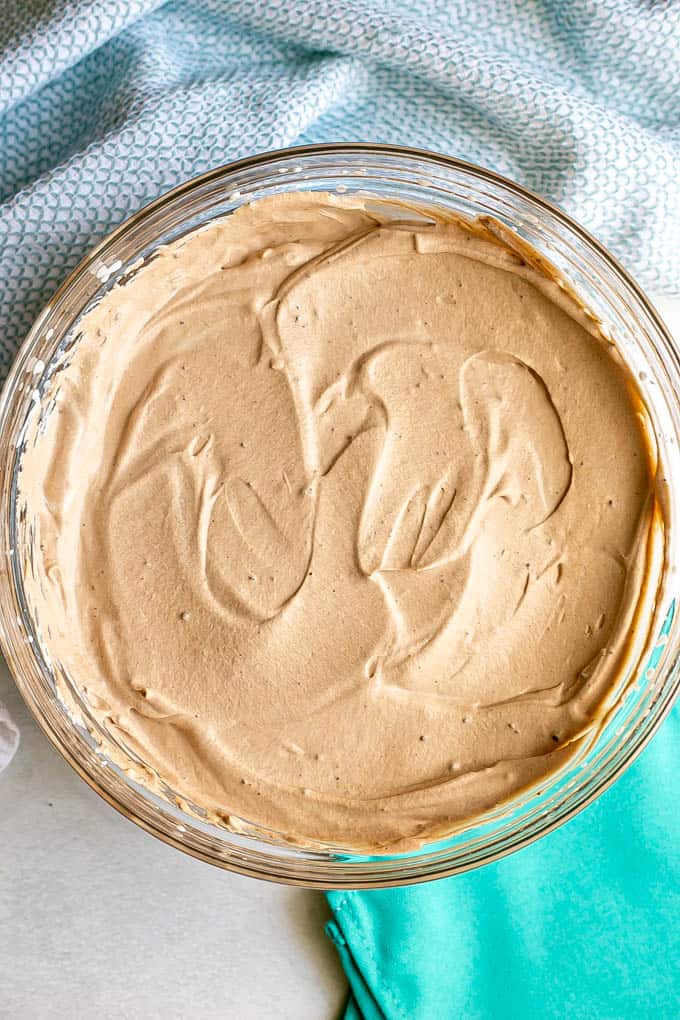
- You'll need to beat it for about 4-6 minutes, until stiff peaks form. Stiff peaks means that when you hold up the mixer, the whipped cream stands up. It's not so liquid or loose that it falls right off back into the bowl.
You're all set!
As mentioned, you can definitely add some mix-ins to your ice cream to flavor it up.
You'll want to add ½ cup to 1 cup and fold it in to get everything well incorporated before placing the ice cream in the freezer.
It also helps to make sure everything is similarly sized and chopped on the small size.
Here's a few ideas to get you thinking.
Flavor mix-ins for chocolate ice cream:
- Mini chocolate chips or a chopped chocolate bar for extra chocolate flavor
- Cookies and cream - add crushed Oreo's
- Mint double chocolate chip (use mint extract and chocolate chips or use mint chocolate chips or chopped Andes mints)
- Fruits: Strawberry would be great and cherry too
- Snickers - chopped up candy bars (or choose any other favorite candy)
You could also use this ice cream as the base for s'mores popsicles, instead of vanilla, if you prefer.
The sky is the limit - mix and match your favorite add-ins.
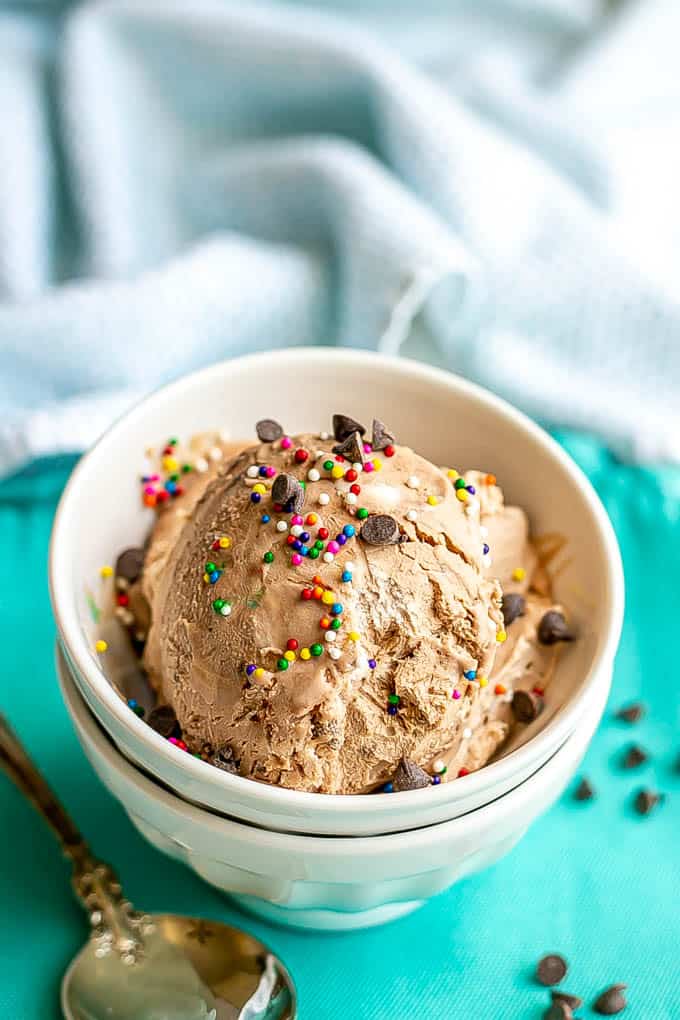
Or you could keep it plain chocolate and add some fun toppings.
That's probably our favorite way to go. We can all choose what we want to add, and we can change it up day to day.
Chocolate ice cream topping ideas:
- Chocolate sauce, strawberry or caramel sauce
- Fresh fruit (chopped berries, cherries, etc.)
- Crushed cookie pieces (such as Oreo's)
- Crushed or chopped candy pieces
- Mini or regular chocolate chips
- Sprinkles - always sprinkles with my kids
Feel free to get creative with your mix-ins and your toppings and make this your own very favorite type of ice cream.
So do yourself a favor and spend 10 minutes prepping this now. Your chocolate cravings will thank you.
Enjoy!
XO,
Kathryn
No Churn Chocolate Ice Cream
Ingredients
- 1 pint (2 cups) heavy whipping cream, cold
- 1 (14. oz) can sweetened condensed milk (fat-free is fine to use)
- 2 teaspoons pure vanilla extract
- 3 tablespoons unsweetened cocoa powder
Optional:
- Mini chocolate chips, crushed cookies, etc. (see notes)
Instructions
- Place a large mixing bowl in the freezer to get cold for 5-10 minutes if you have time.
- Pour cold heavy whipping cream into the mixing bowl. Beat with a hand mixer or stand mixer until stiff peaks form, about 5-6 minutes. (You can start on low speed to avoid splatters and work up to medium speed.)
- In a small bowl, combine the sweetened condensed milk and vanilla and stir until well combined. Add the cocoa powder and stir or whisk until it’s fully incorporated.
- Add the sweetened condensed milk mixture to the bowl with the whipped cream and gently fold in until well combined and no white streaks remain.
Pour the soft ice cream mixture into a freezer-safe container, such as a 9x5 loaf pan or shallow bowl or plastic container. Cover tightly with plastic wrap. - Place in freezer for at least 3 hours to allow it to set up. (It will be completely set by 6 hours but is usually ready to enjoy after 3-4 hours.)
- Store in the freezer, covered, for up to 10 days.
Notes
- Mini chocolate chips or a chopped chocolate bar for extra chocolate flavor
- Cookies and cream - add crushed Oreo’s
- Mint double chocolate chip (use mint extract and chocolate chips or use mint chocolate chips or chopped Andes mints)
- Fruits: Strawberry would be great, cherry too
- Snickers - chopped up candy bars (or choose any other favorite candy)
- Chocolate sauce, strawberry sauce or caramel sauce
- Fresh fruit (chopped berries, cherries, etc.)
- Crushed cookie pieces (such as Oreo’s)
- Crushed or chopped candy pieces
- Mini or regular chocolate chips
- Sprinkles
Nutrition



CATHY C TARR says
I loved this. I also added a heaping tablespoon of vodka to the mix before freezing. It keeps it from becoming too hard to scoop. I do that to all my homemade ice creams
Kathryn Doherty says
I'm so happy to hear you loved this ice cream Cathy! And I love your tip, too - thanks for sharing!
Dolores says
Would it be a tablespoon of peppermint extract instead of vanilla?
Kathryn Doherty says
Hi, same response to your same question/comment on the other ice cream recipe - I would not recommend using an entire tablespoon of peppermint extract. It has a very strong flavor and might be too much. I haven't tried substituting the vanilla extract in this recipe at all, but I would suggest possibly doing 2 teaspoons of vanilla extract and 1 teaspoon of mint and see what that tastes like. You may need to play around with it a little and adjust. Would love to hear if you try it!