These homemade biscuits are tall, buttery and fluffy on the inside, with a delicious crusty edge, and are really simple to make. Just 6 ingredients and 25 minutes and you’ll be in biscuit heaven.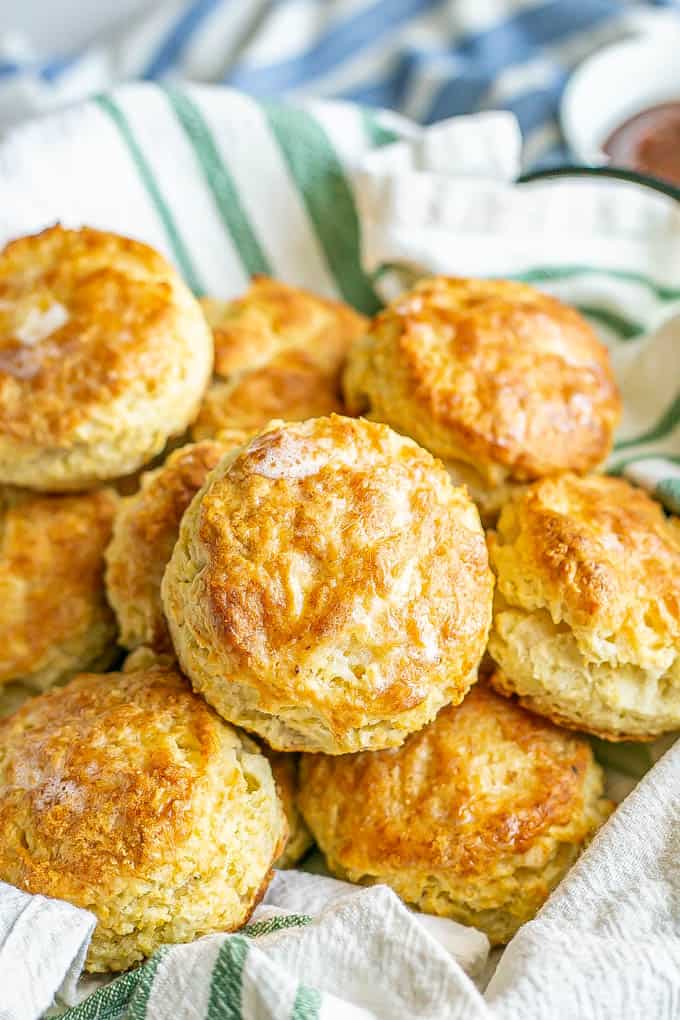
Today's recipe is one I really should have shared years ago. It's something I make at home ALL the time and one of my treasured recipes.
So it's about time I brought it to you!
These homemade biscuits really are the best. And I don't usually that phrase lightly.
Just ask my 9-year-old daughter, who’s my number one biscuit fan. She always says that everyone needs to have these biscuits. She thinks I should open a biscuit shop just to share them.
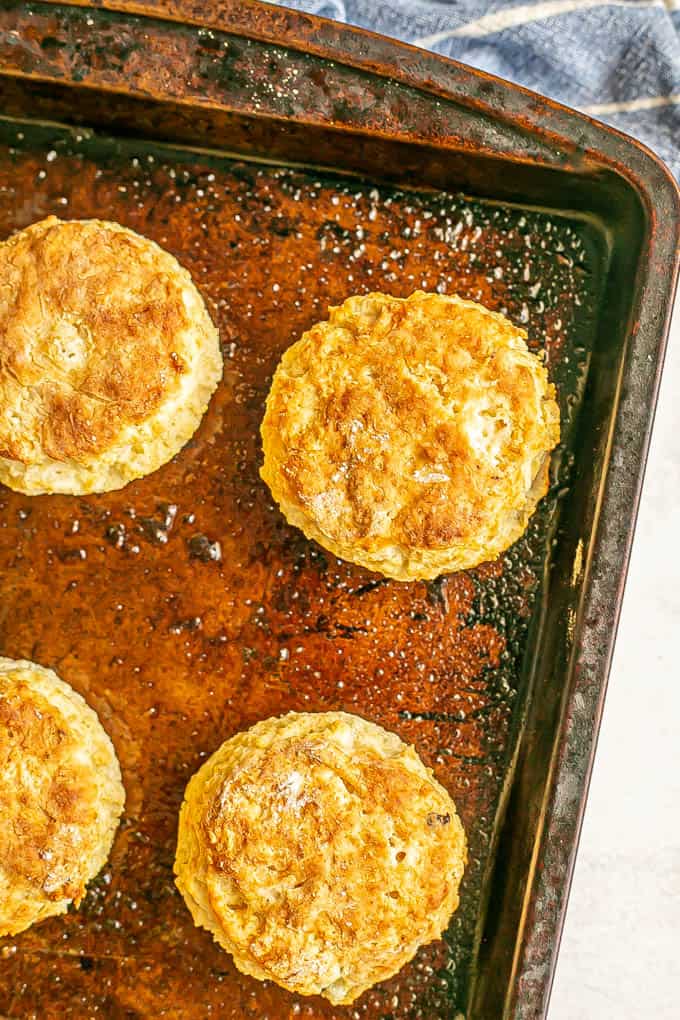
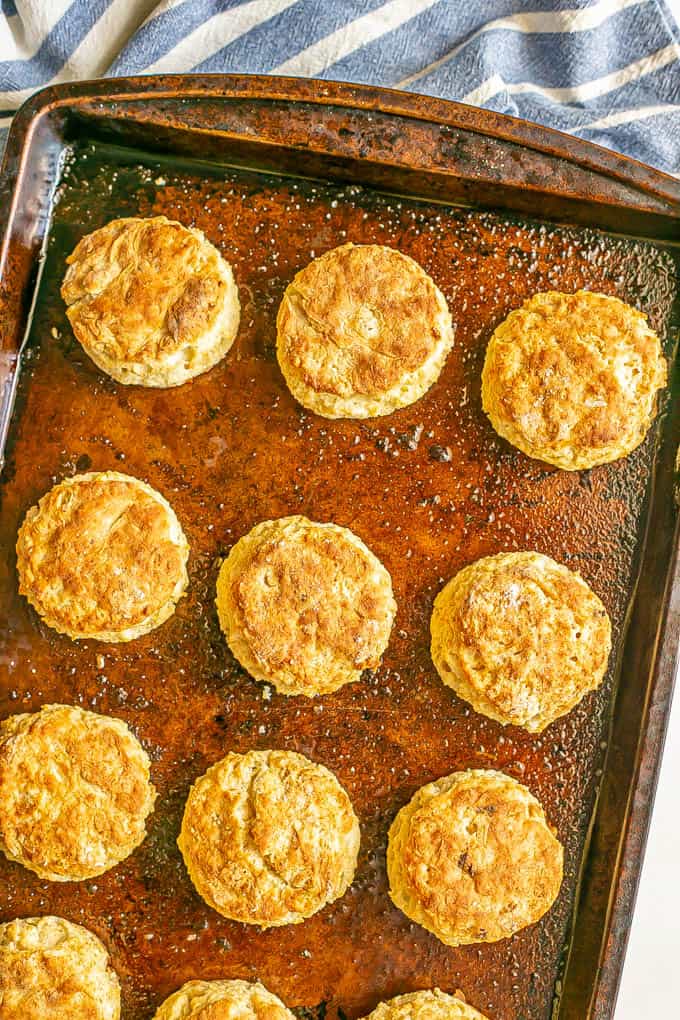
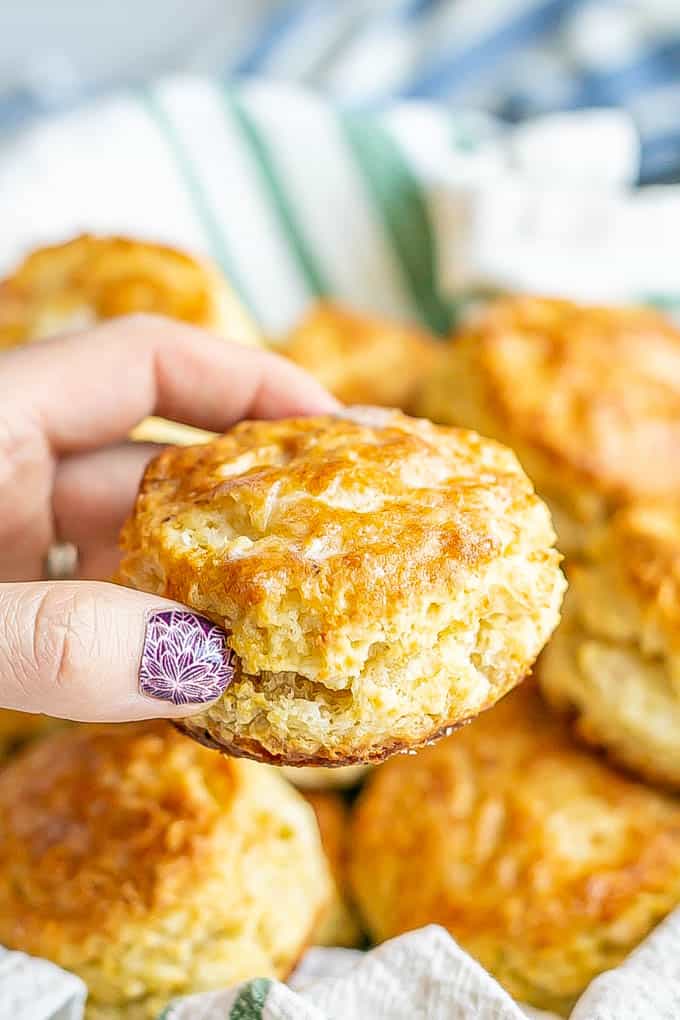
They are tall and fluffy and soft on the inside, with a delicious browned crust on the bottom and golden brown finish on the top.
They make my Southern soul oh so happy.
Plus, making from scratch biscuits is really easy to do and the flavor is lightyears beyond what you can get from a can at the store.
Promise.
These biscuits have been part of our Sunday mornings for a couple of years now.
It’s saying something that my kids are happy to wait for their eggs and bacon to allow me the extra bit of time to make biscuits.
(They aren’t patient for pretty much anything else first thing in the morning.)
If you have young ones though, save some of the dough for them to play with - my kids love doing that while the biscuits are in the oven.
Though in fact, I first made these not for breakfast, but as part of a breakfast-for-dinner night.
I remember my husband got home from playing golf and while he’s usually not a fan of eggs and bacon for dinner, he was happy to see we were having biscuits, too. And he was loving them. Ate at least three.
“Where are these biscuits from?” He asked me between mouthfuls.
“They’re from scratch,” I told him.
And my daughter, who is my biscuit fanatic, had a store-bought, unroll and bake type of biscuit last year and gave it the big thumbs down.
She, who normally eats 2-3 biscuits when I make them, wouldn’t even finish one.
I won’t ever be able to take that shortcut, it seems.
But I don’t even mind. Not only do I get to control the ingredients, these biscuits are really quick to make - about 10-15 minutes to prep and then just 12 minutes to bake.
Plus, these are really easy homemade biscuits.
We just need 6 basic ingredients — and even there, I’ve got tons of substitutions for you so you can use what you have on hand.
You don’t even need buttermilk. Sure, it’s classic to make buttermilk biscuits, but I usually don't have any on hand. (I really probably should since I make these nearly every single weekend.)
There are details below, but you can use a “fake” buttermilk, whole milk or just skim milk, which is what I use. A 1% or 2% milk would be fine, too, if that’s what you keep on hand.
See, totally flexible.
And no crazy techniques needed. (If you are scared of cutting in butter or doing the very brief less - than one minute - of kneading for this dough, fret not. I have you covered below with step-by-step details.)
So given how simple these are to make, I don’t mind whipping up a batch pretty much every weekend.
And because I’ve made these dozens and dozens and dozens of times, I’ve tried them with quite a few substitutions, so I’ve got all the tips and tricks coming up for you.
You gotta love a recipe that’s adaptable and forgiving.
OK, let’s get cooking.
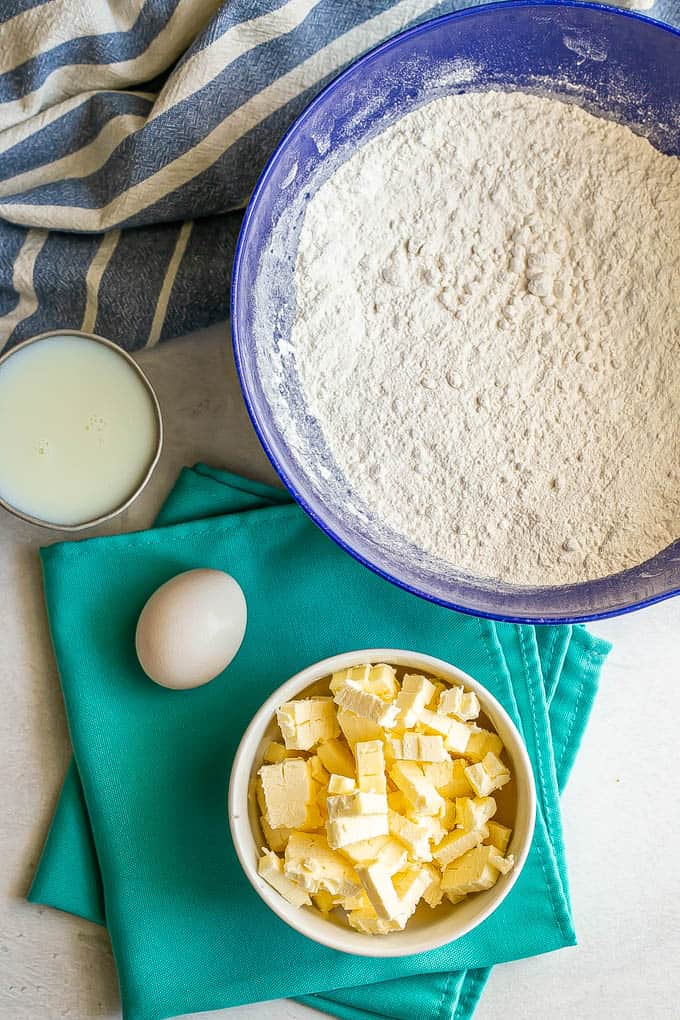
Now, as I mentioned, I’ve got some notes, tips and substitutions coming up below on how to make homemade biscuits. Just tryin’ to be helpful.
I’ve made these so many times and just want to share what works. (And how you can adapt them to what you have on hand in your kitchen.)
If you want to jump on down to the recipe, simply scroll right on through the rest of the text. It’s long, so scroll like you mean it.
The recipe card is near the bottom of the page, above the comments section.
Notes on making homemade biscuits:
- Flour: The recipe calls for all-purpose flour, but you can also use a combination of all-purpose and whole wheat flour. I’ve made this with all white wheat flour too, and that worked great. The biscuits were a little more crumbly I thought, but no one in my family noticed.
- Butter: It helps to cut your butter into very small pieces so it’s easily incorporated into the dough. Make sure to keep it chilled until you’re ready to use it.
- Egg: The egg helps bind the dough together. I’ve tested these before without an egg and it was fine. The dough was a bit more shaggy, but the biscuits were still delicious. It helps if your egg is cold from the fridge.
- Sugar: I accidentally left the sugar out once when I made these. They were not quite as browned and crusty on the top and bottom, but they still tasted great.
- Milk: Buttermilk is classic in biscuits, but I never have any on hand. You can make “fake” buttermilk with regular milk and a bit of lemon juice, details below. But it’s also fine to just use skim milk, 1% or 2%, whatever you have on hand. That’s what I always do. Cold milk is helpful, too.
Be sure to work quickly, too. You don’t want the biscuits to sit out before they go into the oven.
It's the same reason you want your butter, egg and milk to be cold.
You want those butter chunks intact in the dough when the biscuits go into the oven. The cold butter creates steam as it melts in the oven, which is what helps make the biscuits light and flaky.
OK, let’s get into some of the details on these substitutions.
How to make fake buttermilk:
- Combine 1 cup of regular milk (even skim is fine) and 1 tablespoon of fresh lemon juice in a small bowl.
- Mix them together and let sit for a few minutes, then proceed with your recipe.
Ta-da!
But like I said, just using regular milk (whether it’s skim milk, 1% or 2%) on its own is fine too for this recipe.
OK, let’s tackle a few other areas that might be holding you back from making your own from scratch biscuits.
How to cut in butter:
– Cutting in butter just means you are incorporating cold butter chunks into the batter so that they break down but do not melt.
– Having some little lumps of butter throughout the dough is what makes the biscuits flaky.
– Your butter should be very cold. I like to cut it into small ¼-inch or less cubes and then put it back in the refrigerator or even freezer while I’m preparing the dough. This helps keep the butter pieces nice and cold.
– I also like cutting it that small because then I don’t have to work as hard to cut it into the flour mixture. #lazylikethat
– You can cut butter into flour using a pastry cutter or with two butter knives.
Here's what it looks like:
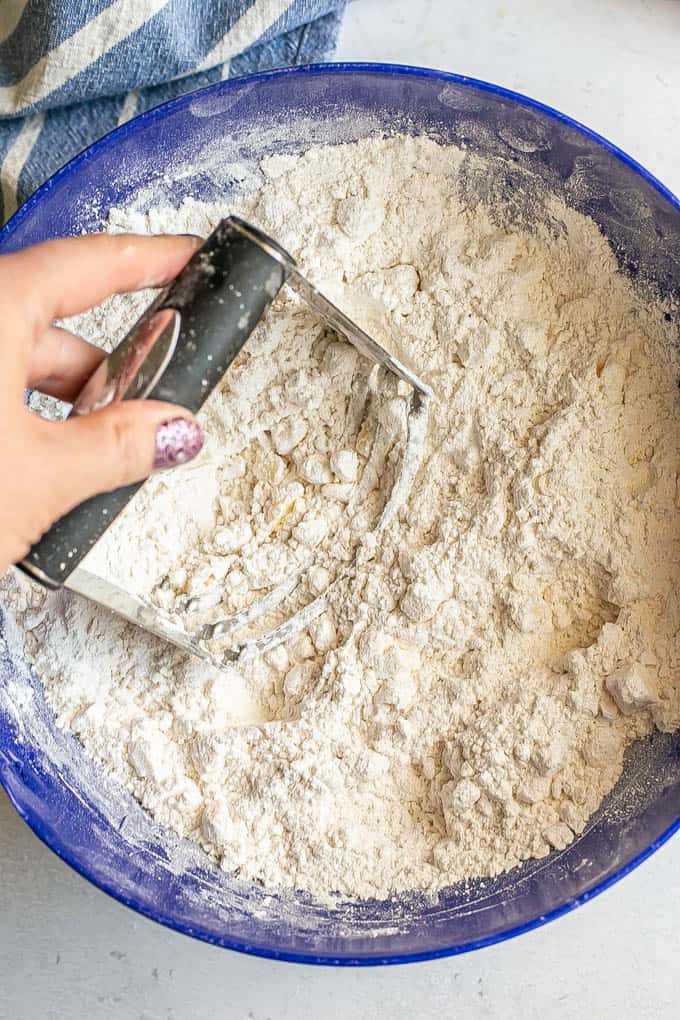
A pastry cutter like this would be perfect and it’s affordable.
If you don’t want to buy one, you can use two regular knives. Place the cold butter chunks in the bowl with the flour mixture. Hold one knife in each hand and just go to town cutting across the butter down into the flour so that you’re breaking up the butter pieces slightly and getting them mixed in. It should only take a couple minutes.
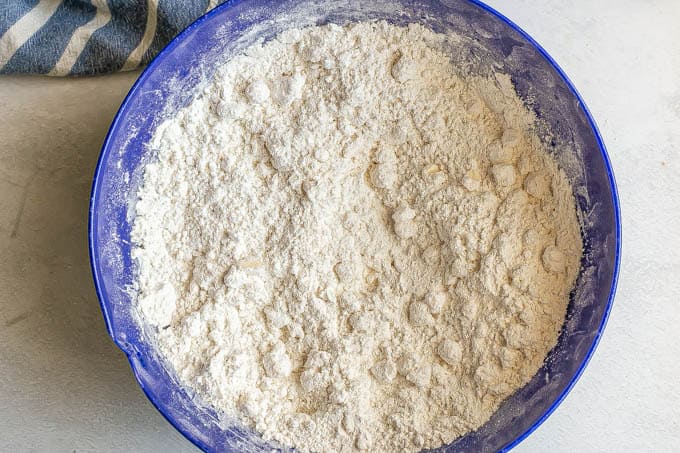
Your butter mixture should end up resembling small peas.
Also, one key tip on making biscuits:
Be sure you don’t overwork the dough so they don’t get too tough before you bake them. You don’t need to stir the batter like crazy. You want it to just come together.
And for this recipe, you don’t even need to do much kneading. Just 5-6 times or so until the dough comes together in a solid ball.
Don’t let kneading intimidate you either. It’s really very simple once you know what to do.
And in case this is one of your first times, here’s a full breakdown.
How to knead dough:
- Turn your dough out onto a clean and well-floured surface. Shape into a rough ball.
- Use the heel of your hand to gently press the dough down and away from you.
- Lift the edge of the dough that’s farthest from you and fold it over itself back toward you.
- Rotate the dough ball slightly and repeat.
Basically, it’s just a lot of pushing out the dough then folding it back onto itself. Very do-able.
Alrighty, now that you are fully armed with allllll the tips and tricks on making these biscuits, let’s get ready to EAT them!
Personally, I don’t need a thing to go with these biscuits. Neither does my biscuit loving daughter.
But I am always happy to offer some topping and serving ideas, so of course I had to include some here.
Serving ideas for homemade biscuits:
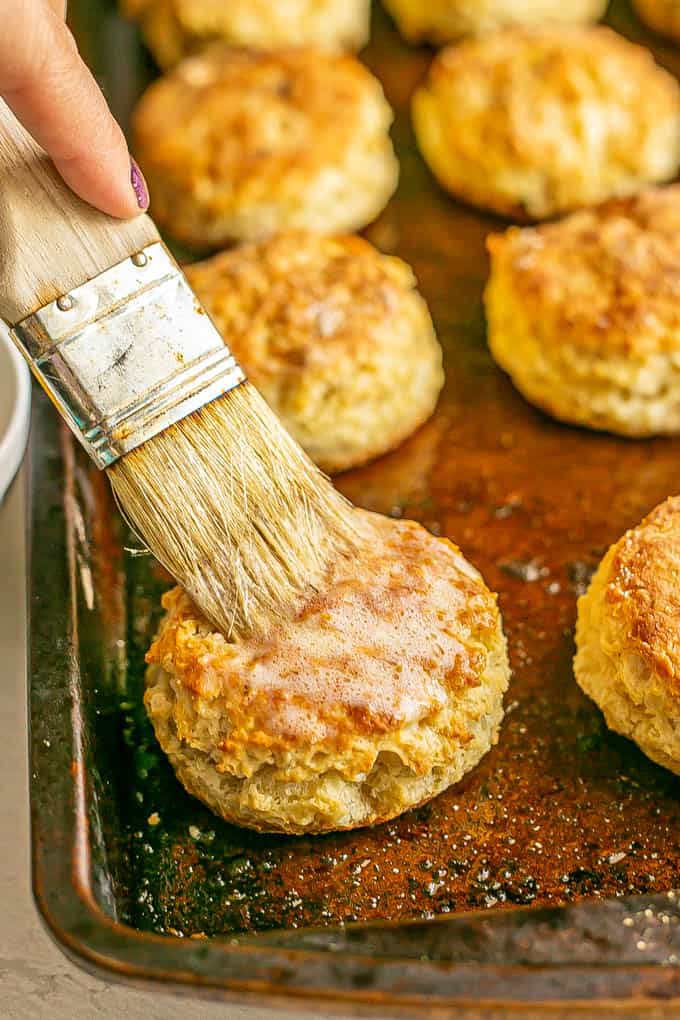
- Brush with butter or open and smear with butter
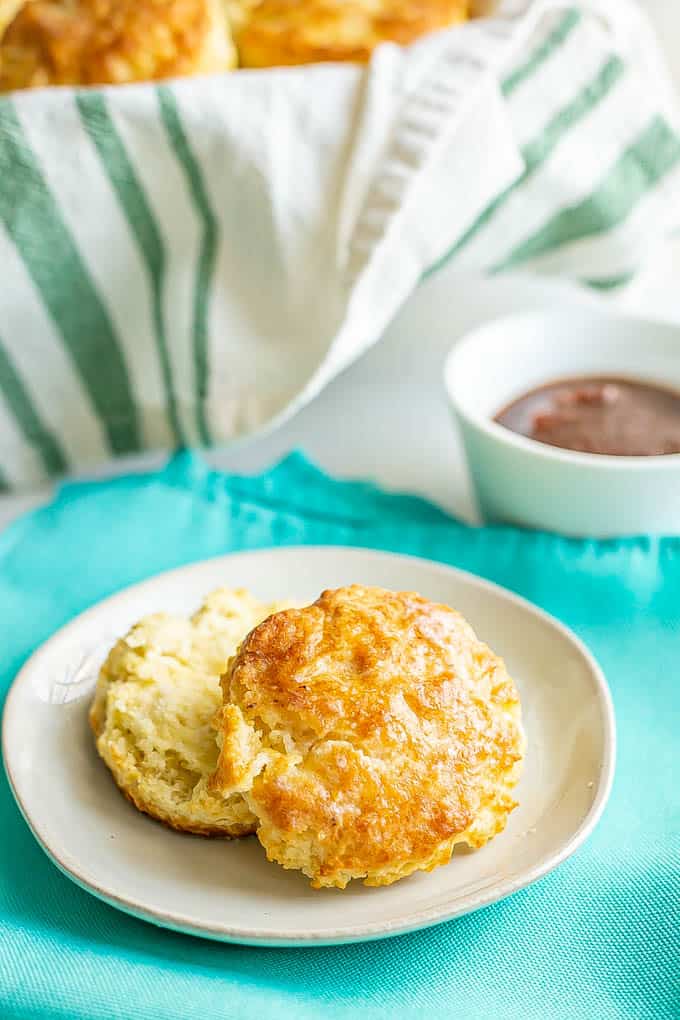
- Or top with apple butter, jelly, jam or preserves
- Make ham or bacon biscuit sandwiches
- Make bacon or sausage, egg and cheese biscuits
- Use for biscuits and gravy
The sky is the limit, really, so add any of your favorite biscuit toppings to these.
Last thing, let’s talk about any leftovers.
My daughter begs for biscuits at every meal and snack anytime we have extras, so I’m well-versed on saving leftovers from when I bake them.
How to store leftover biscuits:
- Extra biscuits can be stored in a covered container at room temperature for 2-3 days and in the fridge for an additional 2-3 days.
- Biscuits also freeze well if you want to save some for another time. Just put them in a plastic ziptop bag (that’s labeled!) and keep them in the freezer for up to 6 months.
- Defrost in the fridge overnight or pop into the microwave if you’re in a hurry.
Reheating leftover biscuits:
- When reheating, we often opt for the microwave because it’s so quick and easy. They’ll get warm and soft in about 15-30 seconds.
- You can also reheat these in a toaster or regular oven if you want to bring back some of the crusty bottom that they have when they are fresh.
- Place them on a foil-lined or parchment paper-lined baking sheet. Bake at 350 for about 5-7 minutes, or until the biscuits are warmed through.
OK, whew, I know that was a lot, but I really want you to be able to have total success with homemade biscuits.
I think I covered everything, but if you have a question, please let me know in the comments below! Someone else will probably have the same question, and I’m always happy to help.
Wishing you weekends full of fluffy, buttery, delicious homemade biscuits.
Enjoy!
XO,
Kathryn
The Best Homemade Biscuits
Ingredients
- 3 cups all-purpose flour
- 2 tablespoons granulated sugar
- ½ teaspoon salt
- 4 teaspoons baking powder
- ¾ cup cold unsalted butter, cut in small pieces (see notes)
- 1 large egg
- 1 cup cold buttermilk (or whole milk or fake buttermilk or even OK with skim milk; see notes)
For serving (optional):
- 3 tablespoons melted butter, to brush on the tops of the biscuits after they bake
- Jam/jelly/preserves, etc.
Instructions
- Preheat the oven to 450.
- Cut the butter into small pieces, about the size of peas, and put in the refrigerator or freezer while you prep the other ingredients.
- In a large bowl, combine the flour, sugar, salt and baking powder. Mix well.
- Cut in the butter with a pastry cutter or with two knives. (See notes below for details.)
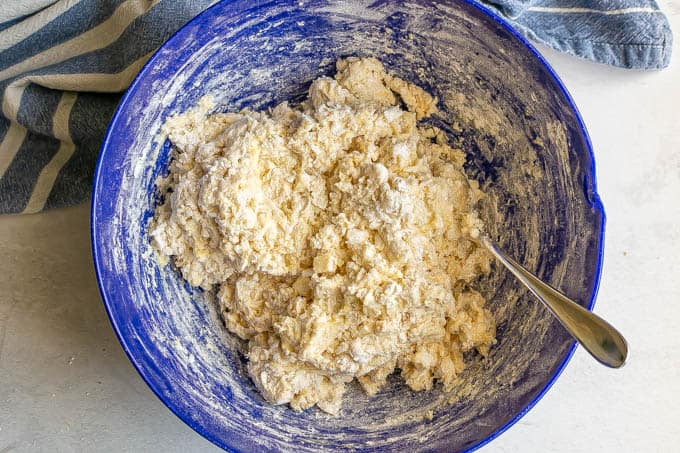
- Add the egg and milk and stir until just combined.
- Turn the dough out onto a well floured surface and sprinkle with a a bit of flour.
- Knead the dough 5-6 times. (See notes below for details.)
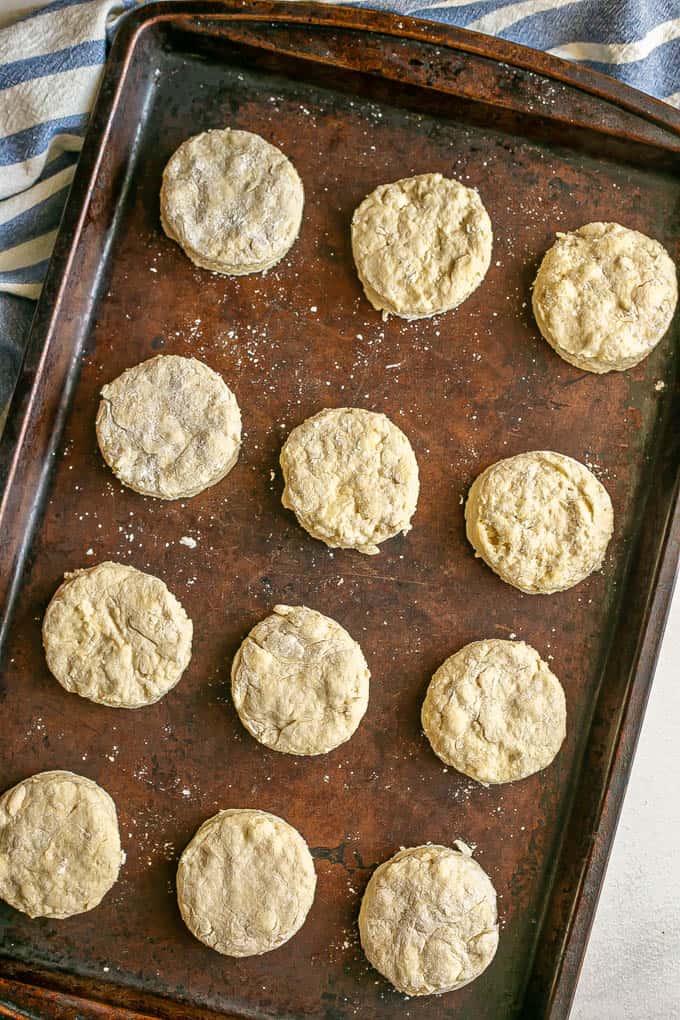
- Pat the dough into a round circle, about 1 inch thick. Cut out the biscuits using a biscuit cutter and place on an ungreased baking sheet. Reshape the dough, until it’s about 1 inch thick again, and cut out remaining biscuits, repeating until all the dough is used.
- Bake at 450 for about 12 minutes, until golden brown.
- Brush with melted butter, if desired, and serve.
Notes
- Combine 1 cup of regular milk (even skim is fine) and 1 tablespoon of fresh lemon juice in a small bowl.
- Mix them together and let sit for a few minutes, then proceed with your recipe.
- Cutting in butter just means you are incorporating cold butter chunks into the batter so that they break down but do not melt.
- Having some little lumps of butter throughout the dough is what makes the biscuits flaky.
- Your butter should be very cold. I like to cut it into small ¼-inch cubes and then put it back in the refrigerator or freezer while I’m preparing the dough. This helps keep the butter pieces cold.
- I also like cutting it that small because then I don’t have to work as hard to cut it into the flour mixture. #lazylikethat
- You can cut butter into flour using a pastry cutter or with two butter knives. If you don’t want to buy one, you can use two regular knives. Place the cold butter chunks in the bowl with the flour mixture. Hold one knife in each hand and just go to town cutting across the butter down into the flour so that you’re breaking up the butter pieces slightly and getting them mixed in. It should only take a couple minutes.
- Your butter mixture should end up resembling small peas in the flour.
- Turn your dough out onto a clean and well-floured surface. Shape into a rough ball.
- Use the heel of your hand to gently press the dough down and away from you.
- Lift the edge of the dough that’s farthest from you and fold it over itself back toward you.
- Rotate the dough ball slightly and repeat.
- Extra biscuits can be stored in a covered container at room temperature for 2-3 days and in the fridge for an additional 2-3 days.
- Biscuits also freeze well if you want to save some for another time. Just put them in a plastic ziptop bag (that’s labeled!) and keep them in the freezer for up to 6 months.
- Defrost in the fridge overnight or pop into the microwave if you’re in a hurry.
- When reheating, we often opt for the microwave because it’s so quick and easy. They’ll get warm and soft in about 15-30 seconds.
- You can also reheat these in a toaster or regular oven if you want to bring back some of the crusty bottom that they have when they are fresh.
- Place them on a foil-lined or parchment paper lined baking sheet. Bake at 350 for about 5-7 minutes, or until the biscuits are warmed through.
Video
Nutrition










Danny
Bisquits were very good
This is my favorite
Kathryn Doherty
I'm so happy to hear you loved them! Thanks so much for sharing! 😊
Bonnie
I spent nearly a lifetime being single and easily picked up biscuits at the market if I wanted them. Then I got married at age 65 to a man who does not cook. I was still on my own in the kitchen.
Yesterday, I decided to make a crock pot chicken (at my age easy is as easy does!), and wanted biscuits to go with it.
Oh, my word! So many recipes! But after reading a LOT of biscuit recipes, and nearly giving up, your biscuits looked wonderful and it was so easy to understand how to make them. They turned out beautiful and delicious, and my husband and I loved them!
Thank you for making me look like a lady that's been baking biscuits her whole life!
Kathryn Doherty
Oh, I'm so happy to hear that you both loved these biscuits Bonnie! And that it was an easy recipe to follow! Thank you so much for sharing! 🥰