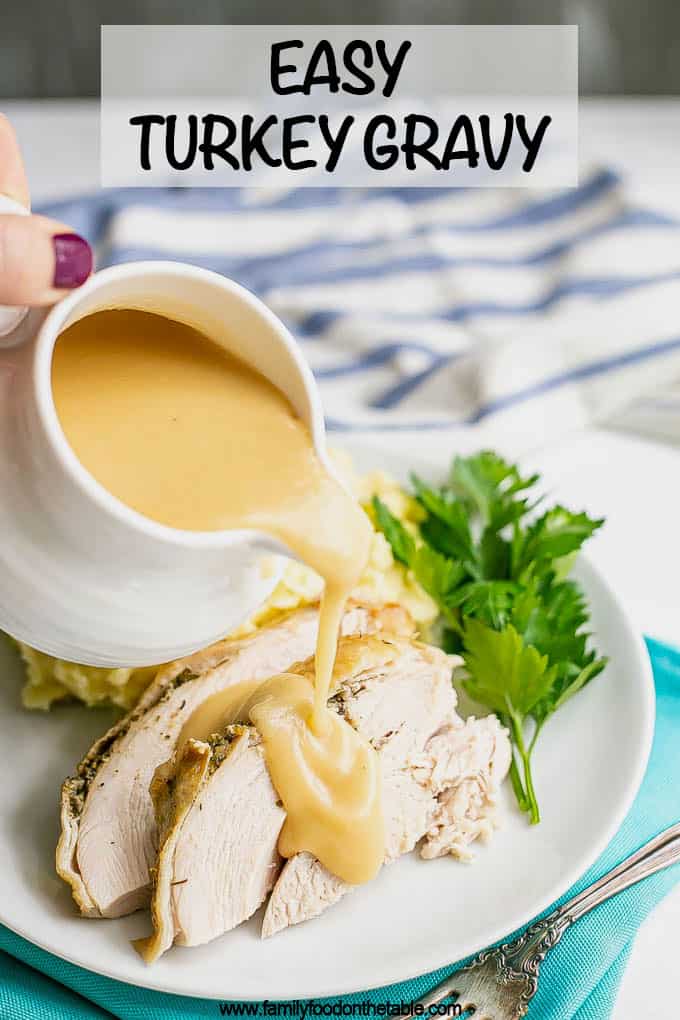
Quick & easy turkey gravy is just 3 ingredients and 5 minutes and results in a swoon-worthy, rich and flavorful gravy. Includes step-by-step details and trouble-shooting to get the perfect smooth, delicious gravy.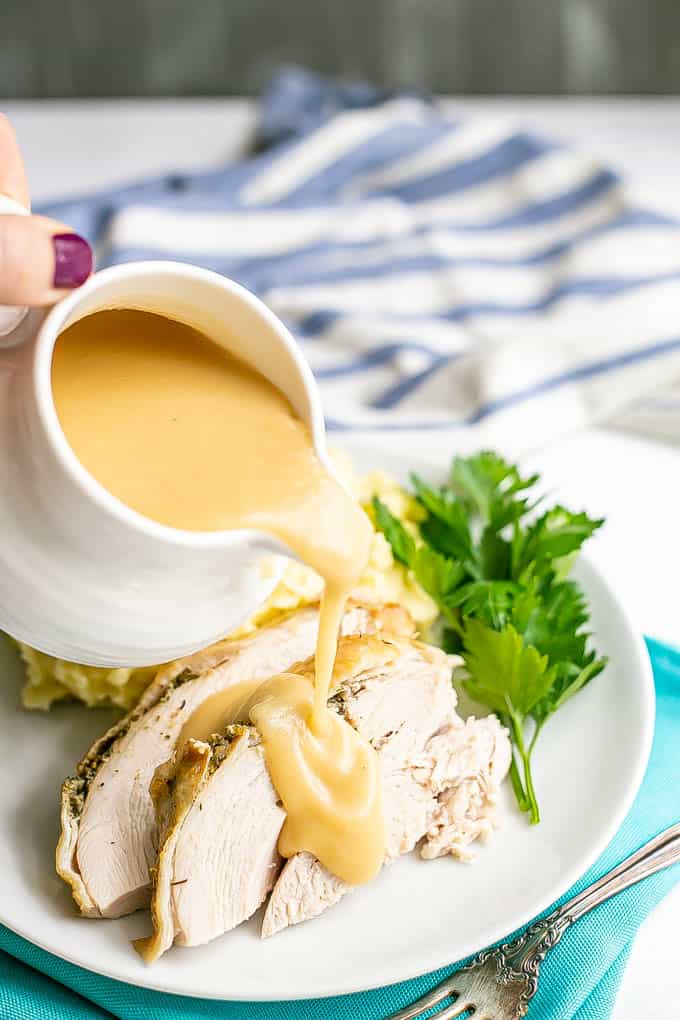
I’m so happy to be sharing this easy turkey gravy with you today.
Gravy is one of my favorite parts of Thanksgiving dinner and I promise, it can be really easy to make from scratch. (Please, don’t settle for one of those store-bought packs. We can do so much better!)
And you know what really good gravy does? It covers up for a myriad of issues with your turkey.
I’ve said it before, my biggest pro tip for Thanksgiving is to make a killer gravy.
If you’ve got amazing gravy that's rich, flavorful and piping hot, well, everything else can be so-so and no one will care. ????
Because, I cannot tell a lie, I have struggled with our Thanksgiving turkey over the years.
My grandmother was always in charge of the turkey. And after she died, my mom spent a couple of years doing turkey alternatives - think stuffed turkey breasts, a turkey roulade - before putting me in charge of the turkey.
We’ve done brining and no brining and a variety of dry rubs and flavored pastes. And while generally the flavor is good, the doneness is an issue.
Part of the problem for us is the oven we use at the beach condo where we celebrate Thanksgiving with my parents. It does not keep its set temperature. And even once we figured this out and kept resetting it throughout the cooking process, it just wasn’t reliable.
A related issue is opening the oven door repeatedly (such as to get casseroles and other side dishes in and out).
That cannot be avoided on Thanksgiving, but it really throws the cooking time out of whack. And so there have been years where we thought the turkey was done, let it rest and about halfway into carving it before sitting down to dinner, had to stop and put the turkey back in the oven to finish cooking.
Total Thanksgiving fail. Total food blogger fail. ????♀️
That’s why I’m making my ever-reliable, always the same slow cooker turkey breast this year. It’s so tender and juicy, well-flavored from the olive oil and herb mixture and best of all, it is always perfectly cooked through.
(It’s also the perfect amount of turkey for our small-ish group.)
Anyway, despite the struggles with the turkey over the years, I’ve become really good at making some amazing gravy!
You just need 3 ingredients (though even there, I’ve got several work-arounds and substitutions for you; keep reading).
And it only takes about 5 minutes. ????
This turkey gravy is swoon-worthy. It’s savory with such rich, deep flavor.
Plus, it’s quick and easy to make while your turkey is resting and it will take that turkey over the top.
(And excellent gravy can cover for any dry spots in your turkey in case yours dries out or gets a little over-cooked.)
OK, let's get cooking. (Oh, you can also check out my Google web story for this turkey gravy recipe.)
Now, I’ve got some notes and tips coming up on how to make turkey gravy. Just tryin’ to be helpful so you'll have total success in your kitchen, too.
If you want to jump on down to the recipe, simply scroll right on through the rest of the text. The recipe card is near the bottom of the page, above the comments section.
Notes on making easy turkey gravy:
- Unsalted butter really is helpful here because the turkey drippings will already be salty.
- You can use all-purpose flour or a white wheat flour, whatever you have on hand.
- The turkey basting liquid is what adds ALL the flavor to this gravy and gives it that luxurious, rich, thick, deep flavor. Get as much of this liquid gold as you can from your roasting pan. (Again, I love a slow cooker turkey breast because I have plenty of liquid to use for my gravy.)
- This gravy only takes about 5 minutes to make and you can make it as your turkey is resting. It should be the last thing you do so the gravy is nice and hot when you serve it.
There's kind-of nothing worse than luke-warm gravy in my opinion.
OK, let’s tackle a few common problems/questions/concerns with making gravy.
It really is easy to make your own gravy but I want to make sure you have all the info so you can have total success.
Common gravy problems and issues
*Not enough liquid from your turkey to make the gravy
Don’t have enough turkey drippings from your roasting pan or slow cooker?
Here are a couple of options.
- Supplement with store-bought turkey broth or even chicken broth. I’d recommend low sodium so you can control the amount of salt.
- Or, you can use the giblets and neck from your turkey to make a rich stock. Place the giblets (minus the liver) and neck in a large sauce pan with about 6 cups of water. Bring to a boil over high heat then reduce the heat and simmer for 1 hour. Skim off and discard any foam as it simmers. Strain the liquid through a fine-mesh strainer.
*Straining the gravy and skimming the fat
One key step in making your gravy is separating the solids and skimming off the fat so you have a smooth liquid to use for your gravy.
I took a few photos to show you this process.
In this first one, you can see that there’s still some solids floating around in that liquid. (I used a wide strainer so some of the solids went through.) You don’t want that. You want it smooth.
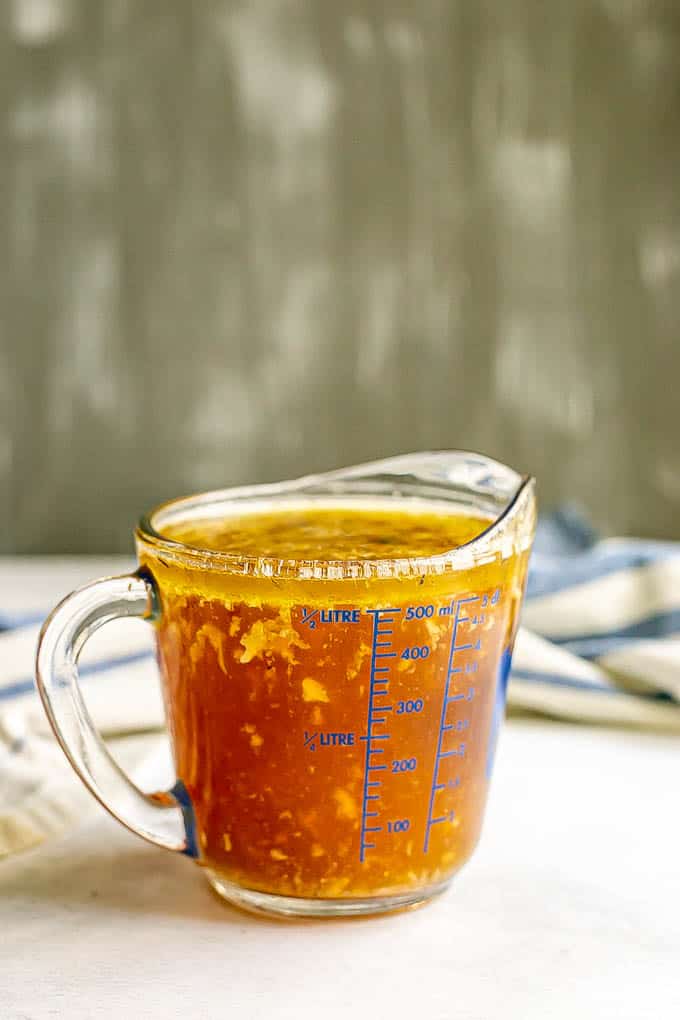
But also in this photo above you can see the layer of fat separating out at the top of the measuring glass. It's that top ¼ inch of liquid that's a different color. That’s what it does after just a minute or so of sitting, the fat separates itself out and rises to the top. Once that settles, take a spoon and skim off that fat. We don’t want it in our gravy.
(Note: You can cause drainage problems by putting too much fat down the kitchen sink. So if you have a lot, place it in a paper cup or other disposable container and throw it in the trash.)
This second photo below shows the fat skimmed off and the liquid properly drained. (I used my wire mesh strainer this time.) This is what you’re going for in your liquid before you add it to the pan for the gravy.
(You don't need to strain yours twice if you use a wire strainer the first time around. You'll just strain it, skim off that top layer of fat and be ready to go.)

*How to avoid a lumpy gravy
Don’t be intimidated or worried about a lumpy gravy. It’s super duper easy to avoid.
Once you’ve melted your butter, you whisk in the flour and let that cook for a minute or two over medium low. You want that raw flour taste to cook out.
It’s kind of thick at this point. That’s normal. See the first photo below from my stovetop.
Once you start to slowly add your turkey drippings, while whisking constantly, the butter-flour mixture (also known as the roux) will seize up. See these photos for what that looks like.
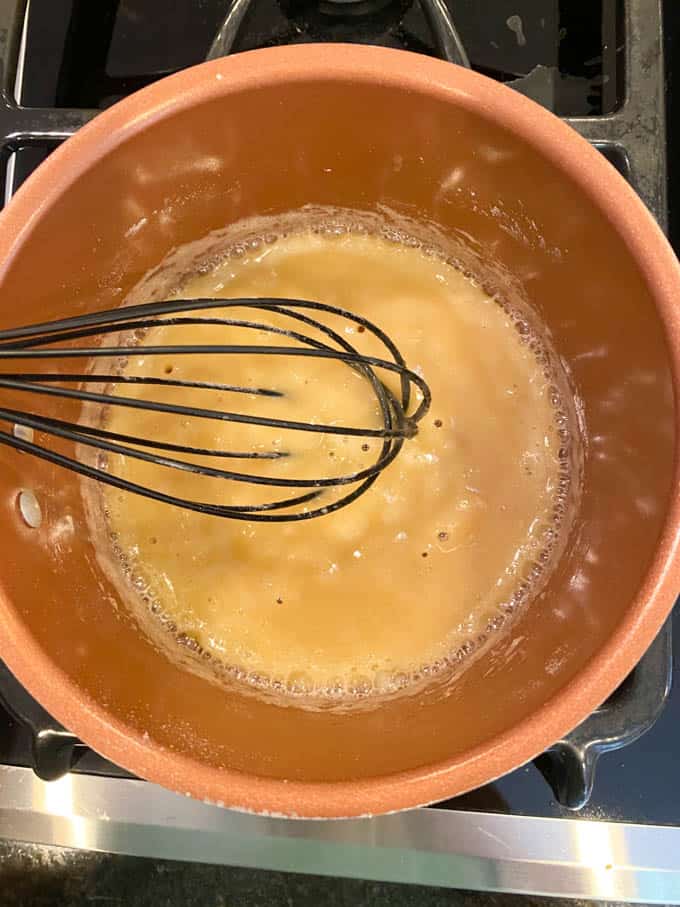
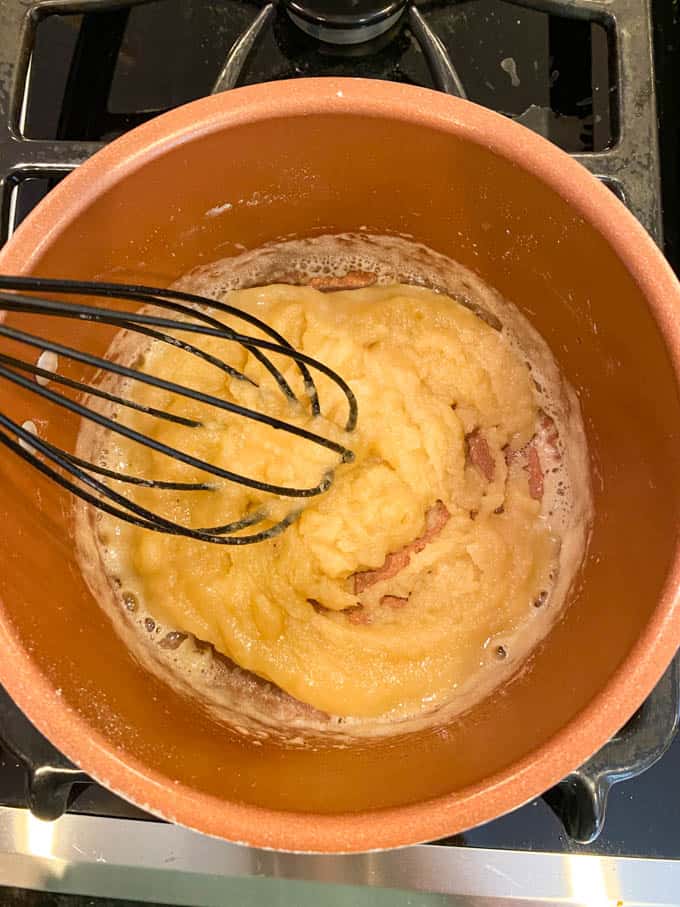
Don’t panic. That happens every time. Continue to slowly add your liquid and continue to whisk. You’ll see the gravy start to thin out and it’ll be a smooth, uniform mixture.
By the time you get past about a cup of the turkey drippings added, you’re past the stage of it seizing up and you can go ahead and pour the rest of your liquid in. I say to start with 1 ½ cups of the liquid and then add up to that remaining ½ cup as needed to get the gravy to your desired consistency.
Keep in mind, too, that the gravy will continue to thicken as it simmer and as it sits, so you don’t want it too thick when you go to serve it.
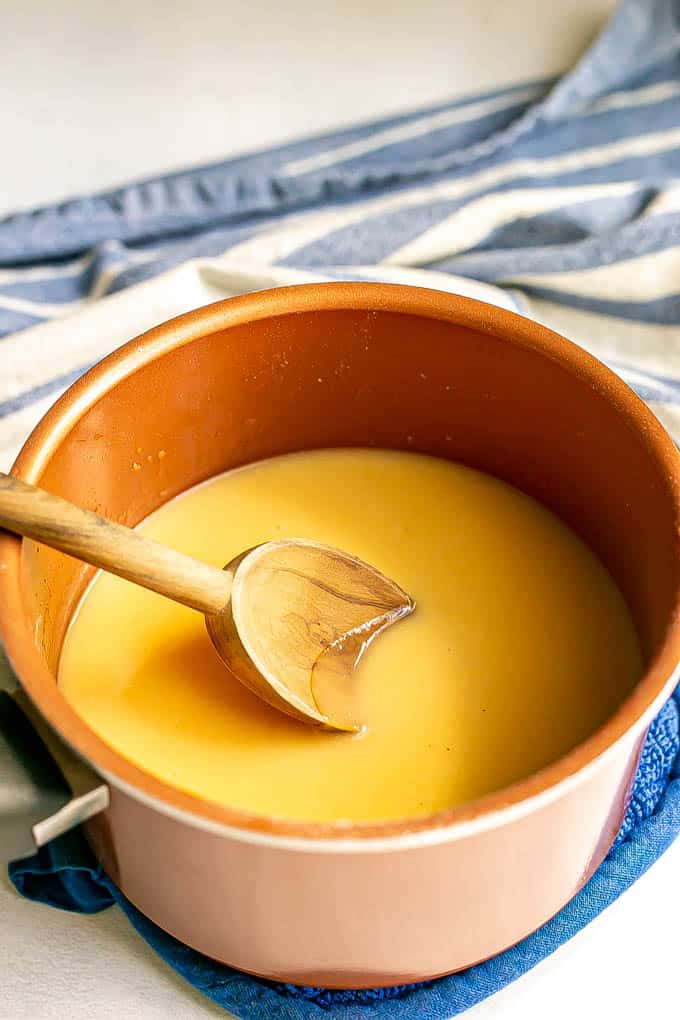
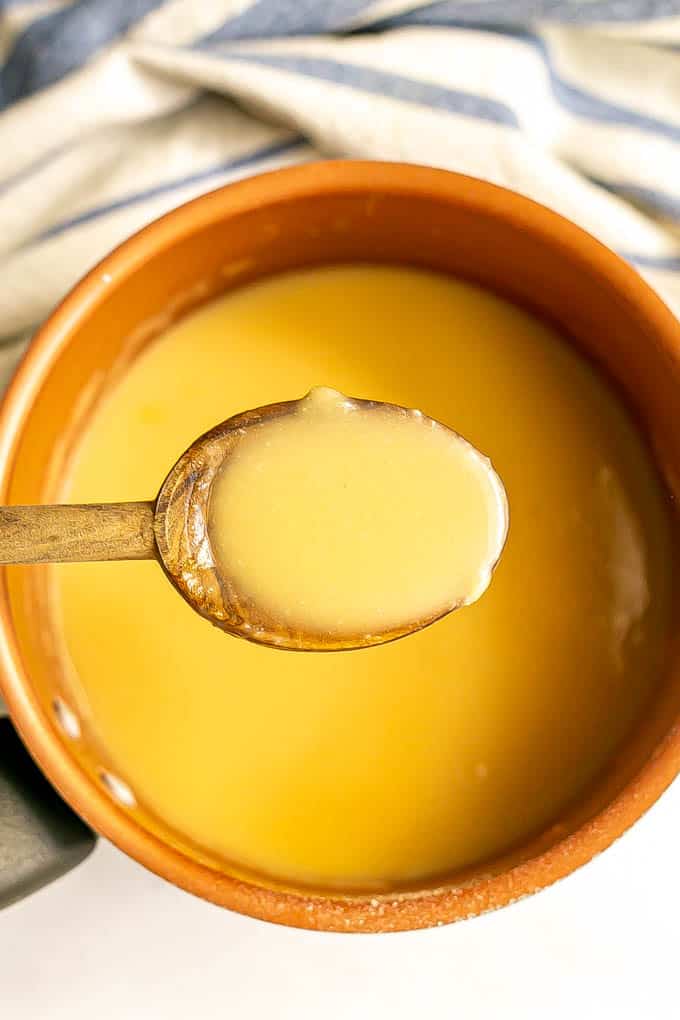
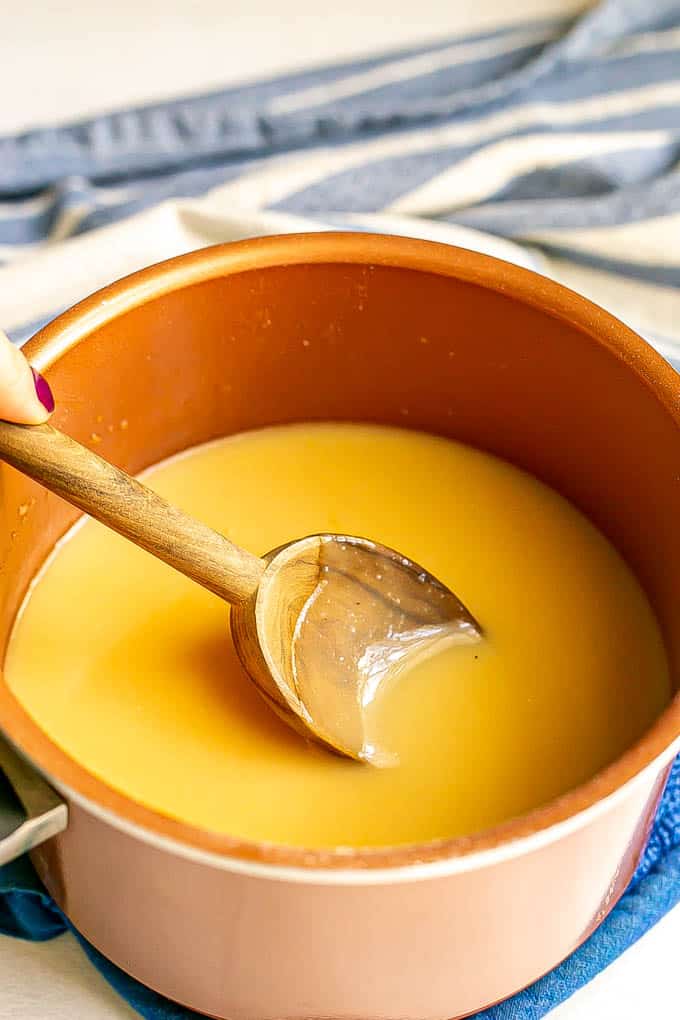
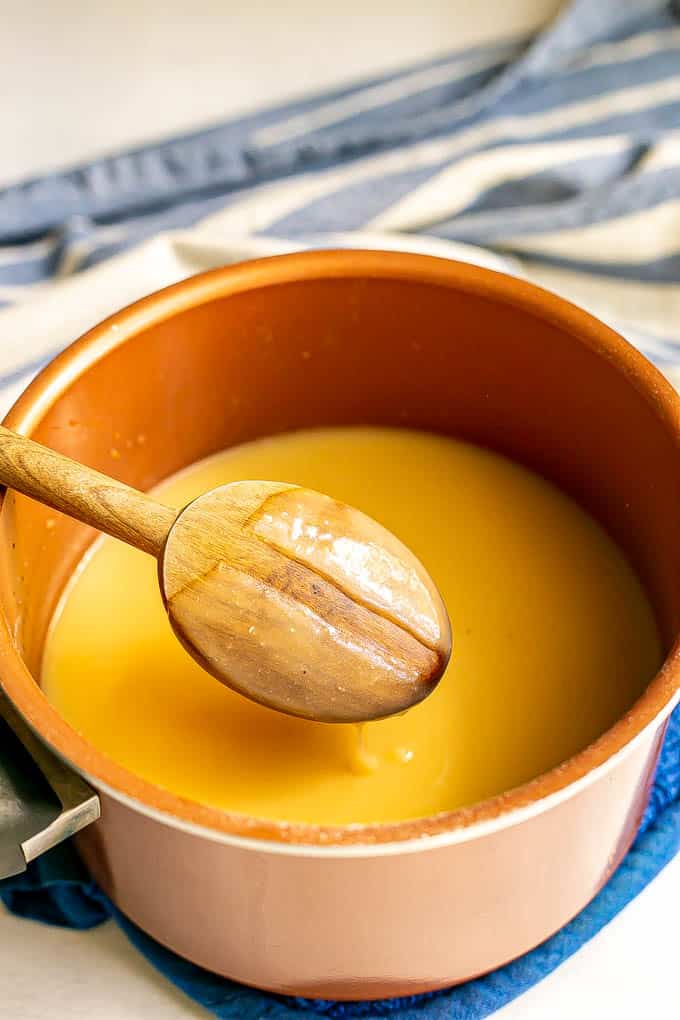
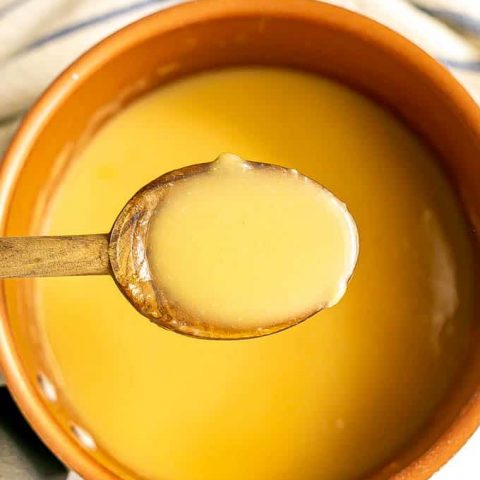
It should coat the back of a spoon though, as shown here.
Finally, to finish it off, I add a bit of black pepper to this gravy and that’s it. It really doesn’t need anything else because it’s got tons of flavor from that turkey liquid.
Do be sure though that your gravy is piping hot. It should not be merely warm.
I recommend you keep the gravy heating on the stove on low until the last minute, when everyone is coming for their plates, before you transfer it to your gravy boat.
(And feel free to put that gravy back in the pan and rewarm it before everyone goes for seconds. Hot gravy is the best gravy!)
Whew, OK, I think we’ve covered everything.
I hope this has been helpful. I know it was a long post, but I really wanted to make it an exhaustive resource so you’ll have 100% success with your gravy come Thanksgiving.
(Please, if you have questions I haven’t addressed, leave me a comment below. I’m happy to help!)
I wish you tons of delicious turkey, plenty of hot gravy, and a safe and happy holiday!
XO,
Kathryn
Quick & easy turkey gravy
Quick & easy turkey gravy is just 3 ingredients and 5 minutes and results in a swoon-worthy, rich and flavorful gravy. Includes step-by-step details and trouble-shooting to get the perfect smooth, delicious gravy.
Ingredients
- ⅓ cup unsalted butter
- ⅓ cup all-purpose flour
- 1 ½ - 2 cups turkey basting liquid (can supplement with turkey or chicken broth)
- Black pepper, to taste
Instructions
- Strain your turkey cooking liquids using a fine mesh strainer into a heat-safe container (such as a Pyrex measuring cup or bowl). Let sit for a few minutes so the fat rises to the top. Skim off the fat and discard.
- Melt the butter in a small pot over medium low heat. Once melted, add the flour and whisk to combine. Let the mixture cook over medium low for 1-2 minutes, whisking on occasion, to cook out the raw flour taste.
- Slowly pour the strained turkey drippings into the sauce pan, whisking well to incorporate and starting with 1 ½ cups. The gravy will seize up at first, which is normal. Keep adding the liquid slowly and whisking constantly until you get a smooth, uniform gravy. Add additional turkey drippings, up to the full 2 cups, to get your desired consistency for the gravy. (If you run out, you can also use turkey or chicken broth or a bit of water.)
- Continue to cook the gravy for 2-3 minutes, until the gravy reaches your desired consistency and is nice and hot. (Keep in mind that the gravy will continue to thicken as it sits.) Season to taste with black pepper. (It should not need any salt.)
- Serve hot and enjoy!
Notes
Turkey liquids: Don’t have enough turkey liquids to make 2 cups? Here are a few options.
- Supplement with store-bought turkey broth or even chicken broth. I’d recommend low sodium so you can control the amount of salt.
- Or, you can use the giblets and neck to make a rich stock. Place the giblets (minus the liver) and neck in a large sauce pan with about 6 cups of water. Bring to a boil over high heat then reduce the heat and simmer for 1 hour. Skim off and discard any foam as it simmers. Strain the liquid through a fine-mesh strainer.
Regardless, make sure to strain the liquid, whether from cooking the turkey or from the liquids, really well and skim off the layer of fat that rises to the top. You want a smooth liquid to use for making the gravy. (See the photos in the post above.)
Hot gravy: I recommend you keep the gravy heating on the stove until the last minute, when everyone is coming for their plates, before you transfer it to your gravy boat. Be sure it hasn't thickened up too much before you transfer it (add some extra of your turkey basting liquid or some broth if it has). And feel free to put that gravy from the gravy boat back in the pan and rewarm it before everyone goes for seconds. Hot gravy is the best gravy!
Nutrition Information:
Yield:
10Serving Size:
3 tablespoonsAmount Per Serving: Calories: 146Total Fat: 9gSaturated Fat: 5gTrans Fat: 0gUnsaturated Fat: 4gCholesterol: 60mgSodium: 43mgCarbohydrates: 3gFiber: 0gSugar: 0gProtein: 12g





Linda Szymoniak
I have never had a bad turkey since I started using a cooking bag. And, the only brand I will buy is Norbest. My daughters LIVE for my stuffing (a slight tweak of my mom's recipe - I add fresh mushrooms). However, I have been buying canned or jarred turkey gravy because no matter what I do, it never turns out for me. We'll be doing Thanksgiving at my oldest daughter's house again this year, and I always bring the turkey, stuffing, and gravy. I'll have to give this a try.
Kathryn Doherty
You know, I bet the bag works similarly to the slow cooker in terms of keeping the cooking temp more regular and keeping the bird more juicy, with the heat and moisture locked in. I may try that! But yes, I hope you give homemade gravy another try - it's SO delicious and it sounds like the rest of your spread is already outstanding. Hope you have a very happy Thanksgiving!
Claire
What a blessing to have your generous step-by-step, note-by-note recipe with photos of EACH step! (I especially appreciate the way drippings should look and how the roux will look. I can't thank you enough! Yes...it's just gravy, but like many--no matter how we've perfected the rest of Thanksgiving dinner--there's the dreaded gravy mystery. And like many, I have countless recipes, tried different bases, etc. I so agree with you, that great gravy is crucial. But each holiday, the gravy remains in question. Having the photos and your indispensable detailed instructions are priceless. Every time I serve your perfect gravy, I'll be thanking you, Kathryn!
Kathryn Doherty
Oh I'm so happy to hear this is helpful Claire! Hope you have a wonderful Thanksgiving and love the gravy!!