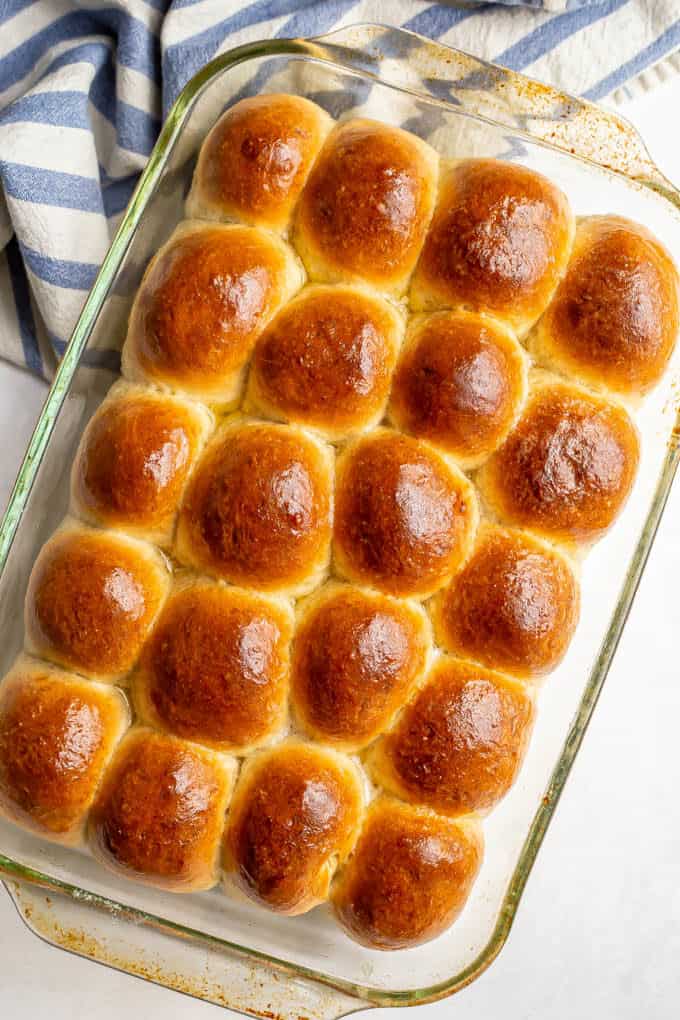
These easy homemade dinner rolls come out perfectly soft, ridiculously tall and gorgeously golden brown every time. And they are ready, start to finish, in just an hour!
Anyone else intimidated by the thought of bread making?
Something about dealing with yeast and kneading and rising makes me think there’s magic involved and that I don’t have the right wand. Or any wand at all. And that waving my hands around at it is going to be woefully inadequate.
(Quick breads are different. Those have always seemed do-able and I have a ton of those: peanut butter banana bread, banana applesauce bread, zucchini banana bread, whole wheat cinnamon raisin bread and so many more.)
And don't get me started on muffins. I am a muffin master and could make them in my sleep.
However, "real" bread always seemed different somehow.
But as I recently discovered, making homemade bread is not that hard! Promise.
I was a little skeptical about making a dinner roll recipe because I don’t own a bread machine, don’t even have a stand mixer (so no dough attachment) and I am certainly not well versed in the ins and outs of kneading dough or shaping rolls.
Thankfully, I had some help.
I’m sharing today’s easy homemade dinner rolls from my friend Rebecca’s cookbook that is brand new and out this week.
She’s the author behind the popular food blog Foodie with Family and she’s a funny, witty, creative and amazing person. ❤️
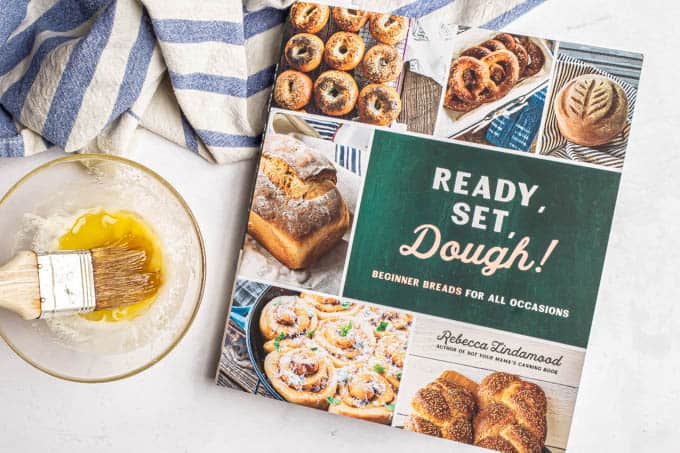
She’s also a cookbook author and her newest, called “Ready, Set, Dough!” is ALL about making homemade bread. An entire book on bread baking and bread recipes and bread deliciousness.
It’s such a gorgeous book and it will make a bread making believer out of you.
Seriously, if I can do it, you can do it!
And I’m going to share all the tips and tricks she shares with some extra details and explanations for us novice bread bakers, so you feel completely confident and capable.
Plus, I think this recipe might be foolproof so you are in very good hands giving this a go!
(And if you are an expert bread baker, yay for you! I think you’ll find this recipe results in the best dinner rolls you’ve ever had.)
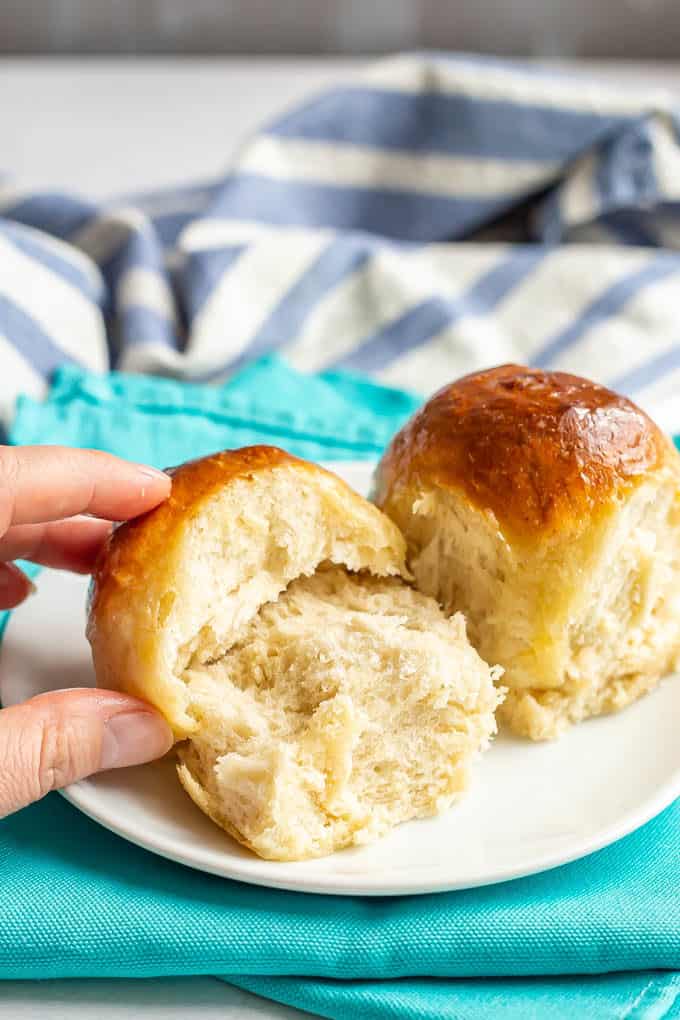
These homemade dinner rolls have a beautiful, buttery golden brown crust on top and a soft and fluffy inside. They get SO crazy tall as they bake and come out smelling amazing.
Plus, they are ready, start to finish, in just one hour!
So you can enjoy these rolls for an anytime dinner or you can have them for a special occasion or as part of your holiday spread. They are holiday table worthy for sure! I mean, just look:
Now, I’ve got some notes, tips and FAQs coming up below on how to make dinner rolls. Just tryin’ to be helpful.
If you want to jump on down to the recipe, simply scroll right on through the rest of the text. The recipe card is near the bottom of the page, above the comments section.
Notes on easy homemade dinner rolls:
- The recipe calls for two tablespoons of yeast. I buy mine in those little packets at the grocery store and I needed three to be able to measure out a full 2T.
- You do not need a bread machine for this recipe or a dough attachment or any special equipment. (I don’t have any of that myself.) You can easily mix this by hand in a bowl and knead it by hand too.
- You will knead the bread for about 4 minutes on a floured surface, until it starts to become smooth. You’ll be able to tell the change in the texture of the dough as you go along.
I’ve got some more tips on how to knead dough and how to shape rolls below, so read on if that sounds a little scary to you.
But let me also just share this serving tip with you: Sprinkle some sea salt on your freshly baked dinner rolls. It takes them over the top!
First though, let's tackle how we get to the eating part.
How to knead bread dough:
- You’ll transfer the shaggy dough from the bowl onto a lightly floured surface. Shape it into a rough ball.
- Use the heel of your hand to gently press the dough down and away from you.
- Lift the edge of the dough that’s farthest from you and fold it over itself back toward you.
- Rotate the dough ball slightly and repeat. Continue to fold and press the dough using the heel of your hand, and rotating it in between, until it forms a smooth ball.
- For this recipe, you only need to knead it for about 4 minutes.
Pro tip: Be sure you don’t add too much extra flour. You’ll need a little at the beginning on your surface, and maybe a little extra to keep it from sticking to the surface, but you don’t need to cover the dough with flour each time you go to fold it over on itself.
You’ll notice after you’ve kneaded for the first minute or so that the dough is no longer as sticky, so you really won’t need additional flour.
I found and like this video for how you knead bread if you want to see it in action. (Skip to about :45 seconds to see the actual kneading part.) Very easy, very do-able.
The last step before you bake these gorgeous rolls is to shape them.
This also feels a little weird and intimidating. But it really shouldn’t be. I totally winged it and they turned out beautiful.
(I mean, my husband walked in as I was shaping these rolls and asked, “Is that what you are supposed to be doing?” )
So let me give you the exact instructions from the cookbook and explain how I interpreted those.
How to shape homemade dinner rolls:
"Lift the dough. Gently pull the edges of the dough down and tuck it under. Turn the dough one-quarter turn and repeat. Do this until you’ve formed a cohesive round.
"Place the round on the clean surface and cup your hands at an angle around the edges. Allow your hands to gently tighten the dough down over the surface as you turn the dough in a circle in one direction.
"When you’re done, the dough should look taught and round. Place on the prepared pans."
My interpretation may be a little off, and apparently my husband thought it was amusing, but it absolutely worked. Here's the break-down.
First, I divided the big dough into 4 equal parts and then took each one of those and broke it down into 5 pieces, resulting in the needed 20 dough balls. They weren't exactly even, as you can see in the photo above, but they were pretty close and it was fine.
(You can use a dough scraper, a bench knife or just a regular knife.)
Then I took a dough ball in my hand (it wasn’t quite in a ball yet) and pinched up a piece from the middle - just grabbed it with two fingers. I lifted that up towards me then over around the side of the dough ball to tuck it on the underneath side.
I did this 4 times, turning the dough ball so I was going around the entire thing. I also kinda cupped the dough in my hand as I was holding it and turning it to help it form a more rounded ball.
You’ll notice that the sticky parts of the dough now come to the outside, which is the point.
Then I put the rounded dough ball down on the counter and cupped my hands around it, briefly giving it another turn around on the counter while cupping it to fully shape it into a smooth ball.
Place each one seam-side down in your pan and you are ready to bake them off!
Like I keep saying, this recipe is super forgiving so I think you’ll be just fine.
Last thing to cover is what to do with the leftovers. This won’t be an issue if you are serving a crowd, but for a regular family dinner, you’ll likely end up with lots of extra rolls. Not a bad thing.
What to do with leftover dinner rolls:
- Dinner rolls make excellent sliders! Save a few for lunch and use them to make chicken or turkey sandwiches, or pile on some chicken salad, egg salad or tuna salad.
- Keep them wrapped in plastic wrap on the counter for up to 4-5 days and use them as dinner rolls another night. You can reheat in the microwave (they get warm and soft this way) or wrap in aluminum foil and rewarm in the oven for 5-10 minutes at 350.
- Extra dinner rolls can also be frozen. Wrap in a double layer of plastic wrap then wrap in aluminum foil. (This helps prevent freezer burn and helps keep any odors from getting into the bread.) You can also place the triple wrapped rolls into a plastic freezer bag for extra security.
- To defrost, remove from the freezer and place on the counter until the rolls are completely defrosted. Rewarm in the microwave or in the oven for 5-10 minutes at 350.
- You can also do a quick defrost by unwrapping the frozen rolls, wrapping them back up in just aluminum foil, and placing in the oven for 15-20 minutes at 350.
Bread baking has nothing on you! You got this!
Next up I plan to tackle homemade English muffins, soft pretzels and bagels. So much bread deliciousness to come from Rebecca's new cookbook. ❤️
I highly recommend you pick up this cookbook and I absolutely encourage you to try these homemade dinner rolls. You will never turn back.
Enjoy!
XO,
Kathryn
Easy homemade dinner rolls
Ingredients
- 6 cups all-purpose flour (carefully measured)
- 2 tablespoons instant or active dry yeast
- 2 tablespoons granulated sugar
- 1 tablespoon kosher salt (if using table salt, reduce to 1 ½ teaspoons)
- 2 cups very warm water (about 120°F)
- ½ cup melted unsalted butter, divided
Instructions
- In a large bowl, mix the flour, yeast, sugar, salt, water and ¼ cup melted butter together using a sturdy spoon until a shaggy dough forms.
- Turn the dough out onto a floured surface and knead the dough until it becomes smooth, about 4 minutes. See notes below for details. (Or use a dough machine and knead for 4 minutes.)
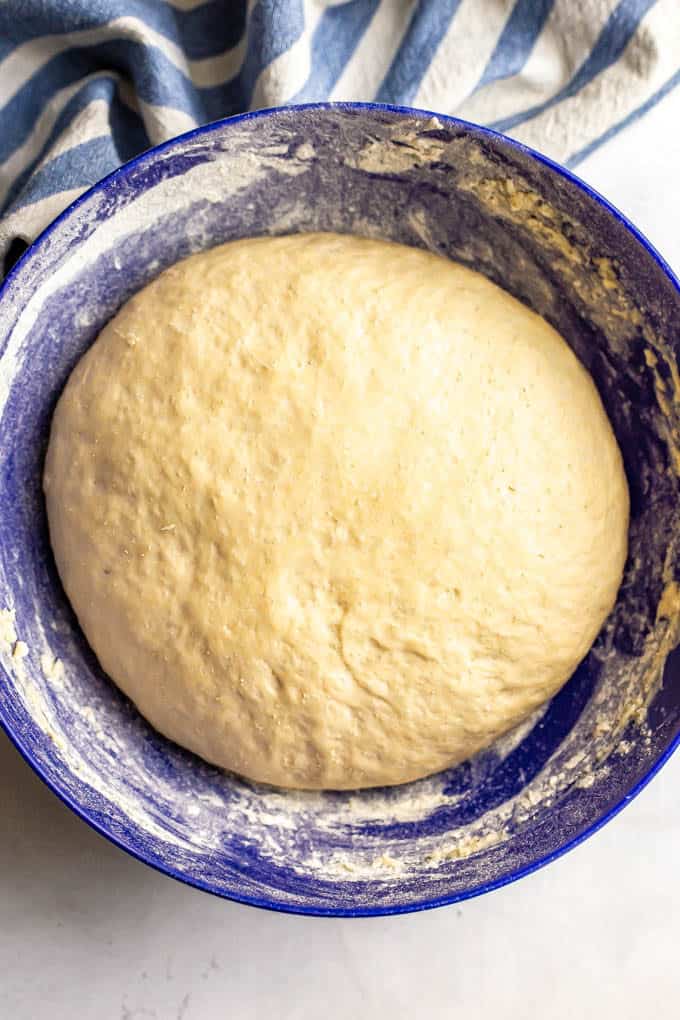
- Form a smooth ball. Place the dough ball back into the bowl and cover with a clean tea towel. Let rise in a warm place for 15 minutes.
- Spray a 9x13 inch baking pan with nonstick cooking spray.
- Divide the dough in 20 equal-size pieces. (You can divide the dough in fourths, then divide each of those into five roughly equal pieces.)
- Roll each piece of dough into a tight ball. (See notes below for detailed instructions.) Place the dough balls in five rows of four in the prepared pan.
- Place the pan in the middle rack of a cold oven. Place a pan with ½ to 1 inch of hot tap water on the rack underneath the dough balls in the oven.
- Close the oven, turn it on to 400 and set a timer for 35 minutes.
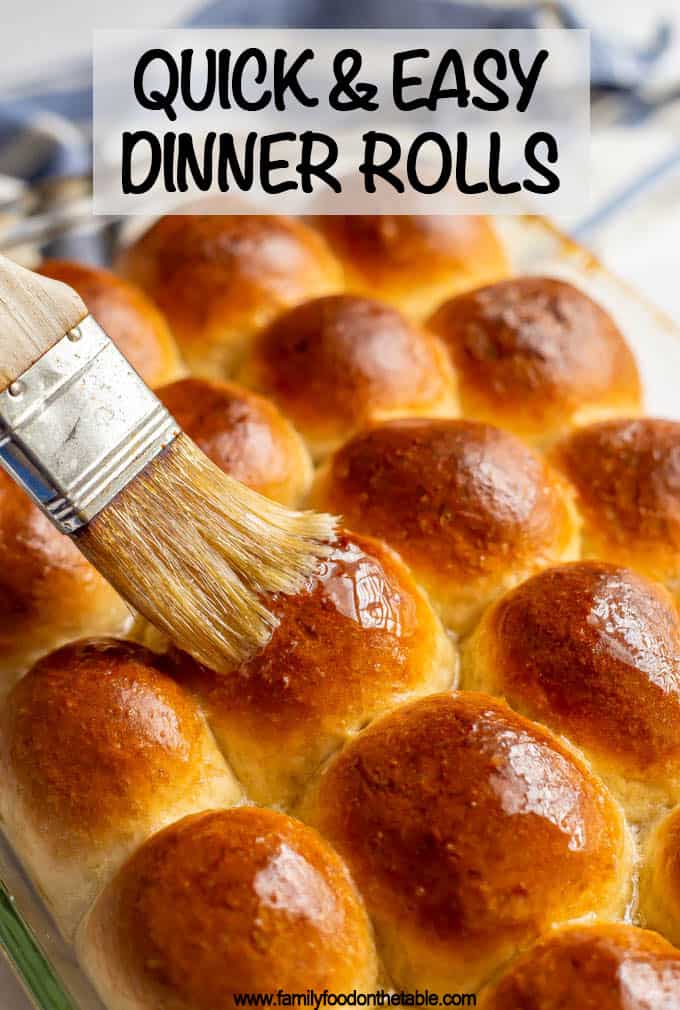
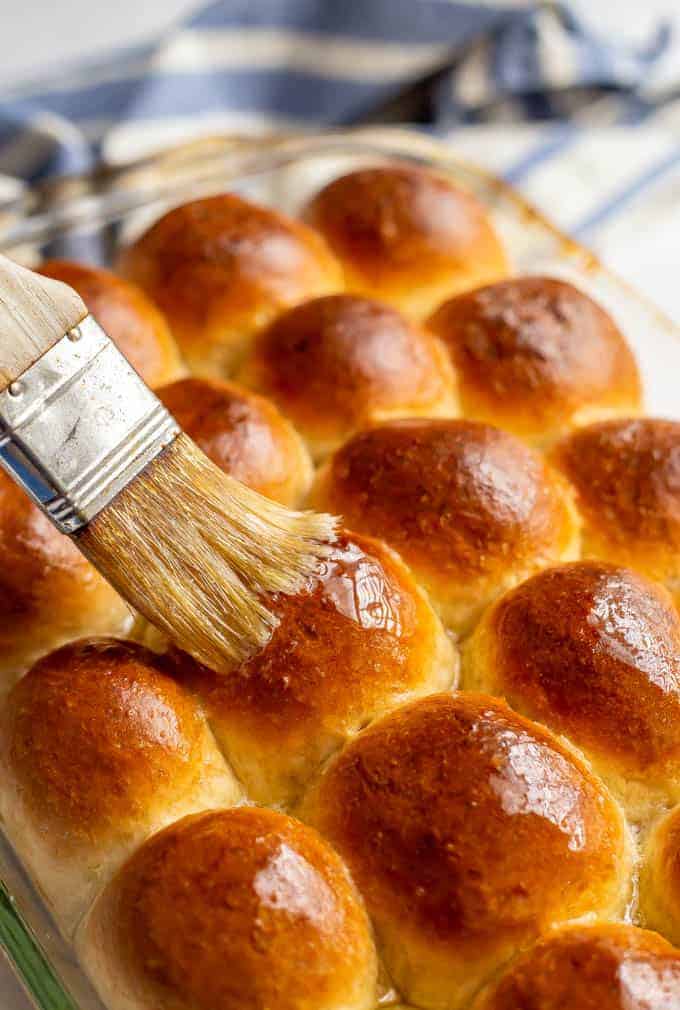
- At 35 minutes, remove the bread from the oven and brush with the remaining ¼ cup melted butter. Place the pan on a cooling rack to cool for 10 minutes before slicing and serving. If you want to use these rolls for sliders, let them cool completely.
Notes
- You’ll transfer the shaggy dough from the bowl onto a lightly floured surface. Shape it into a rough ball.
- Use the heel of your hand to gently press the dough down and away from you.
- Lift the edge of the dough that’s farthest from you and fold it over itself back toward you.
- Rotate the dough ball slightly and repeat. Continue to fold and press the dough using the heel of your hand, and rotating it in between, until it forms a smooth ball.
- For this recipe, you only need to knead it for about 4 minutes.
- Hold a single dough ball in your palm. Use two fingers to gently pinch the middle of the ball and pull up a bit of dough. Tuck it around the side and underneath the ball. Turn the dough one-quarter turn and repeat three more times to form a cohesive round.
- Place the round dough ball onto a clean surface. Cup your hands around the ball and gently tighten the dough down as you turn the dough in a circle to help fully shape it into a smooth, taught, round ball.
- Place each one seam-side down in your pan and you are ready to bake them.
Nutrition








adnan
Lovely post , I really like this post because it's helpful for me to make these recipes and i share this kind of information with others interested people ., thanks for sharing such type of information
adnankhan
lovely work goof keep it up and helps others to make these homemade recipes
Kathryn Doherty
Thanks! 🙂
Marteinn
Do you have the fan on in the oven?
Kathryn Doherty
No, I don't do anything with the fan, just bake as instructed and they turn out beautifully. Hope that helps!