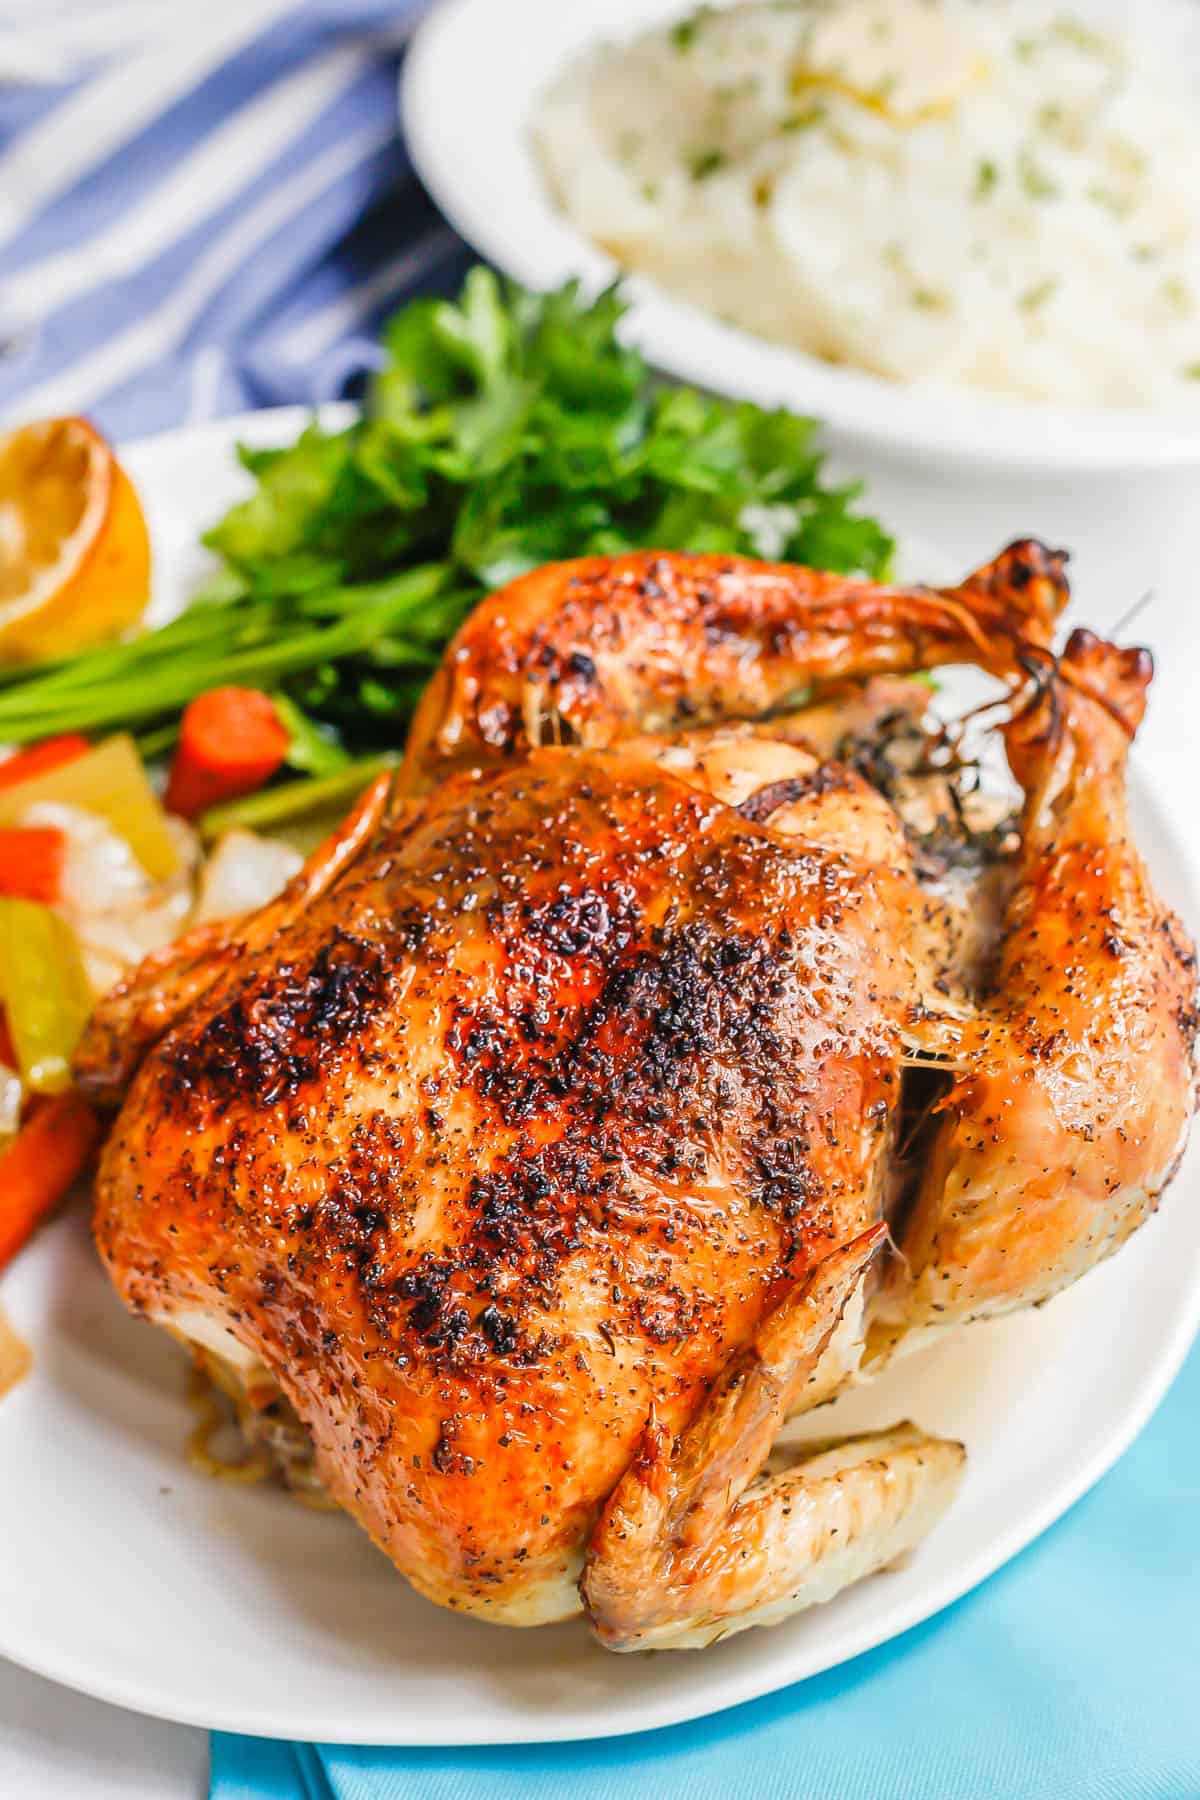
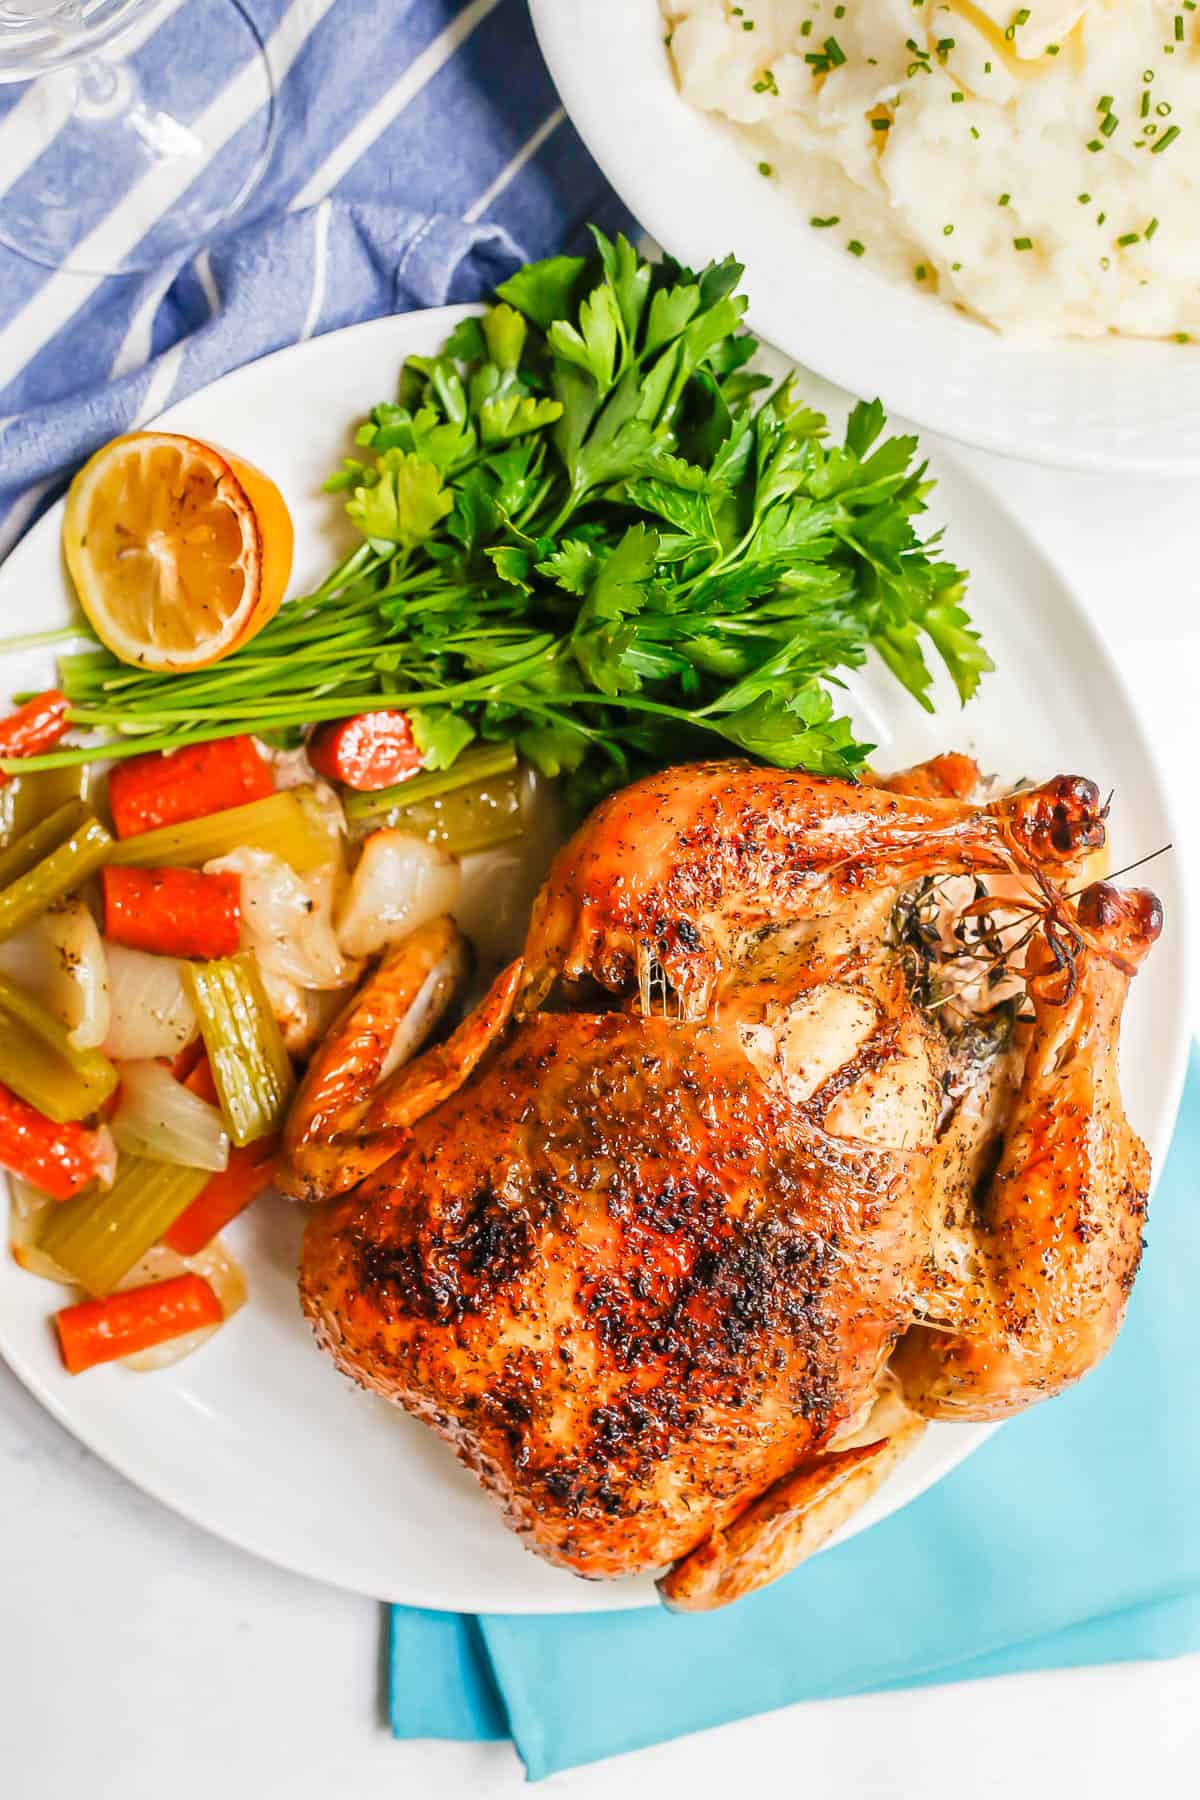
This easy whole roasted chicken is seasoned with lemon and herbs and cooked with onions, carrots and celery for a beautifully browned, crispy and classic oven roast chicken.
It is back to school week at my house, and although I'm prepared, I'm not really ready for it.
We'll be on campus this morning (after a year of not going into the buildings) to meet the teachers and see the kids' classrooms. My daughter is going into 5th grade and my son into 2nd.
I'm so excited for them - and they are both really looking forward to starting school - but I'm also a little sad that the long, slow days of summer are ending. Yet here we are.
OK, let's move right along to today's delicious dish.
The first time I ever bought and cooked a whole chicken was to make Emeril Lagasse’s Sunday roast chicken from a cookbook. It’s really so delicious.
But it’s also a bit involved, both in terms of the prep and in the cooking process. And it's got a decidedly Cajun kinda flair.
So over the years I started playing around with a more traditional roasted chicken.
And today I’m so excited to share my perfected whole roasted chicken recipe, plus ALL the tips and tricks I’ve learned from making this SO many times.
This way, you can have total success from the get go. Especially if you are a first timer or feel at all intimidated by roasting a whole chicken. I know I did.
But I promise, it’s really not that difficult, and we’ll break down all the seemingly scary parts together and keep everything as simple as possible.
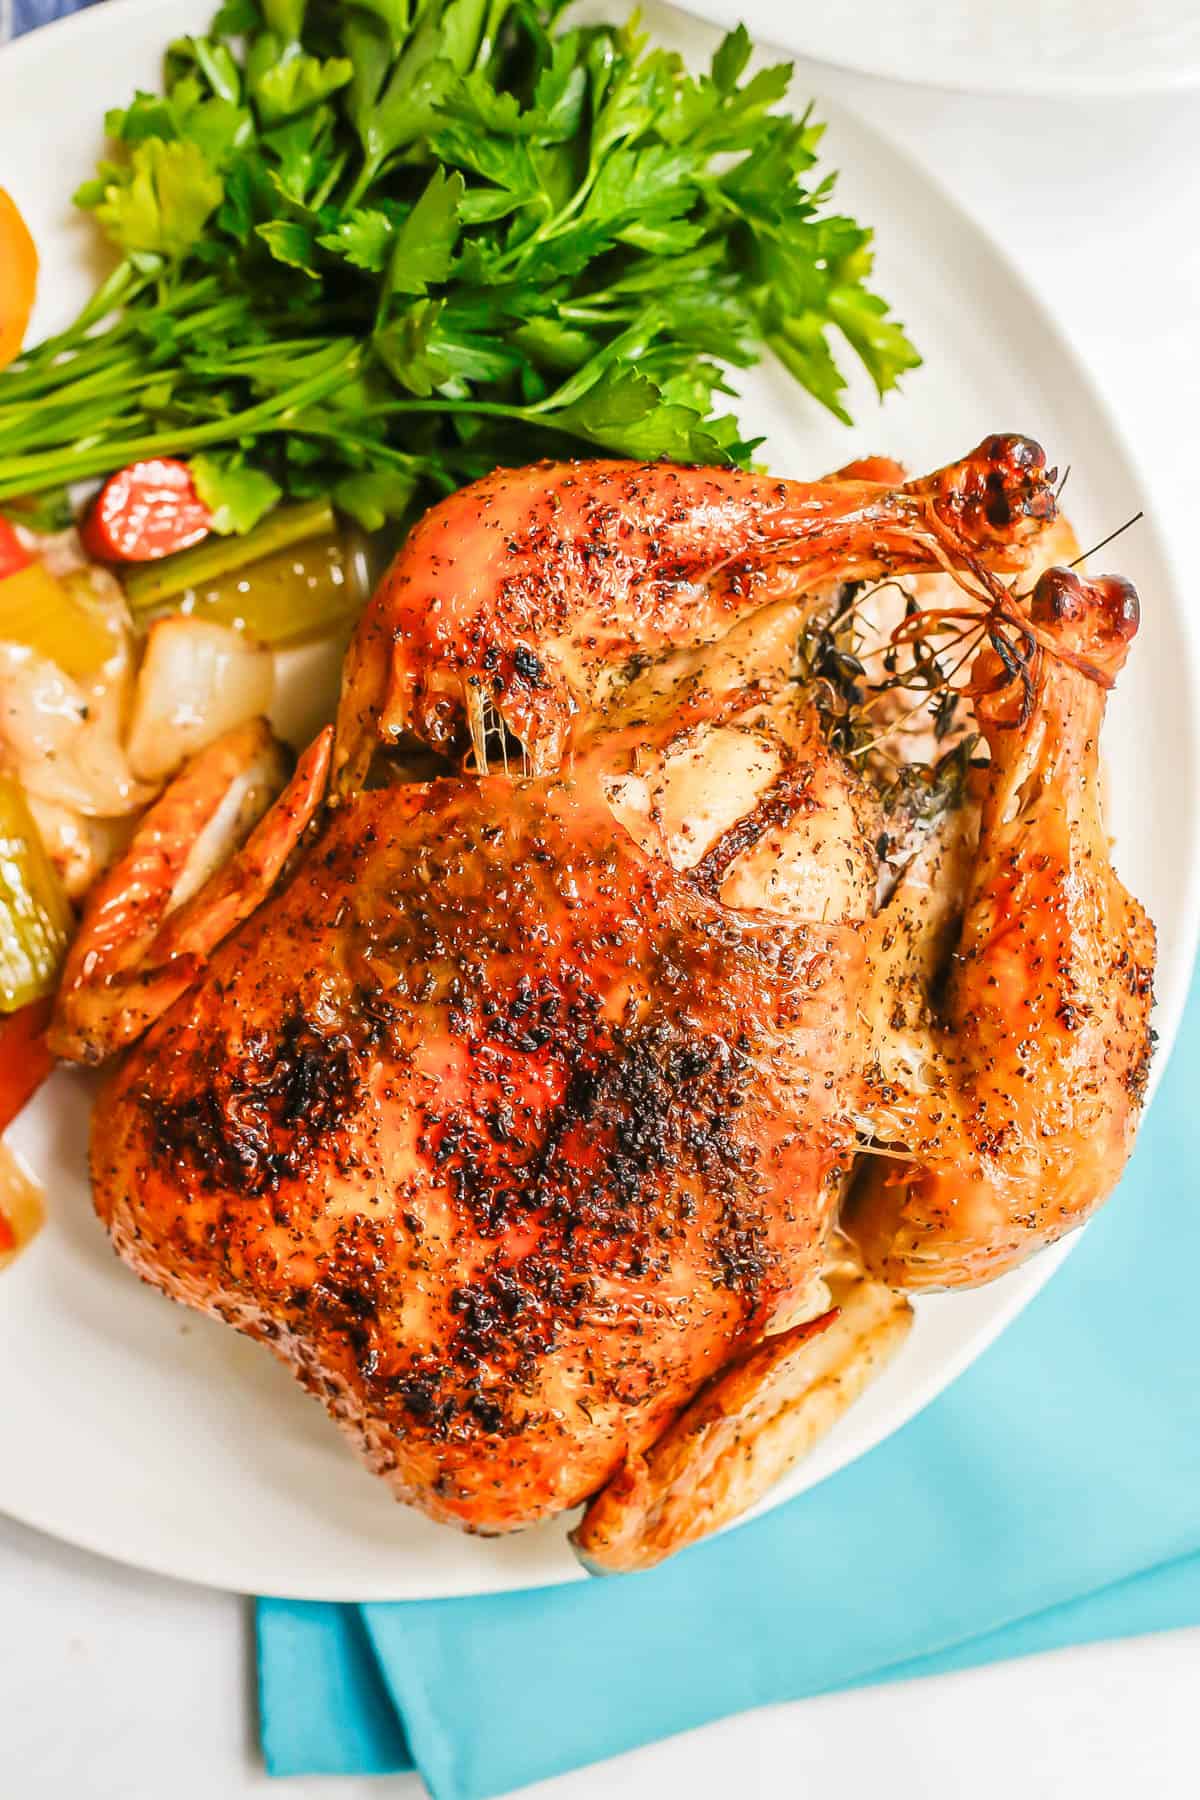
Your chicken is going to turn out browned and beautifully cooked, with super crispy skin on the outside and tender, juicy chicken on the inside.
And if the looks weren’t enough, the flavor is outstanding!
It’s got a bit of herby flavor, is really well-seasoned plus gains tons of richness from the butter or oil that’s spread all over the skin.
This is how roasted chicken is meant to taste!
Plus, your house is going to smell fantastic. In just 15-20 minutes into the cook time, you are going to get wafts of this delicious chicken as it bakes.
(It’s going to be hard to wait until dinner time!)
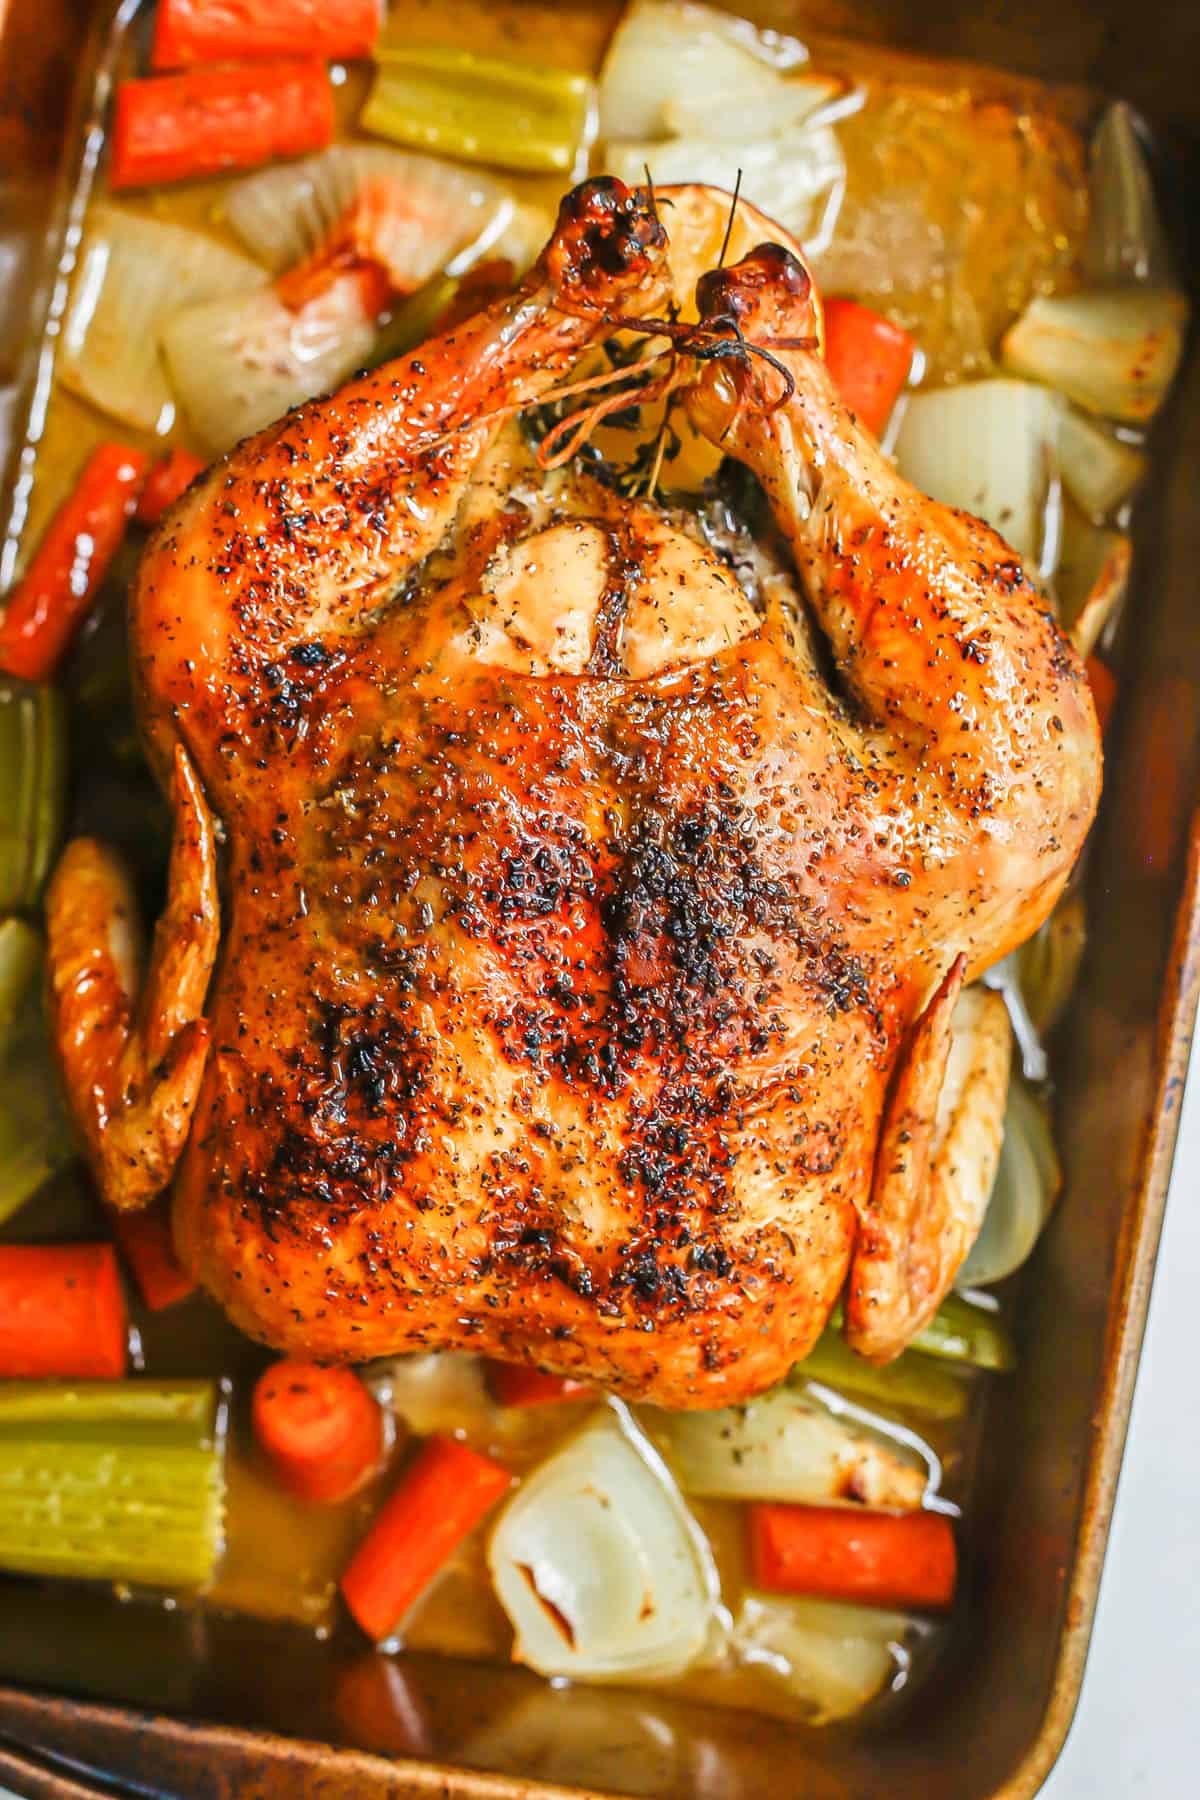
Also, the vegetables we roast at the same time get tender, soft and so scrumptious. They go great with the chicken for serving and eating. And all that flavor comes from just cooking it together with the chicken.
Gotta love it when your meal does most of the hard work for you.
Pro tip: Roast two chickens. It hardly takes more time when you're already doing one, and that way you can have the leftovers for meals later in the week. (I've got tips further down on how to store leftovers.)
I love doing two at once. It's almost like a little present to my future self.
OK, let’s get cooking before I start to drool.
(You can also check out my Google web story for this recipe. Oh and if you need a non-oven version that's hands off, check out this crock pot whole chicken.)
Now, I’ve got lots of notes and tips coming up below on how to make an oven roasted whole chicken. Just tryin’ to be helpful.
Like I mentioned, I've made this so very many times, and I want to share what works.
If you want to jump on down to the recipe, simply scroll, scroll, scroll right on through the rest of the text. The recipe card is near the bottom of the page, above the comments section.
Recipe Notes:
- Chicken: The recipe calls for a 5 lb. whole chicken, but anywhere in the 4.5 to 6.5 lb. range is fine. I’ve got notes on adjusting the cook time below.
- Chicken prep: Make sure to remove the giblets and any innards from the chicken and pat it dry really well. Starting with a dry bird will help it crisp and brown nicely in the oven.
- Herbs: Thyme is my go-to herb for stuffing into the cavity, but parsley would work well, too. You could also use a mix of herbs if you like.
- Butter/oil: I’ve tested this recipe using both melted butter and extra-virgin olive oil for rubbing all over the outside of the chicken. Both work great, so use whichever you prefer.
- Basting: It helps to baste the chicken once or twice in the last half-hour of cooking. You don’t need more than that - and you don’t want to open your oven repeatedly and have the temperature drop. You can even get away with only basting it when you pull it out of the oven, before it sits to rest, if you forget. (I have.)
- Rest time: Make sure to let the chicken rest for at least 10-15 minutes before carving it. This is crucial to making sure it retains its juices and they don’t run out.
As always, I use and recommend using a digital thermometer to ensure your chicken is properly cooked through. It should get to 160 before you remove it from the oven and then it will continue to cook as it rests.
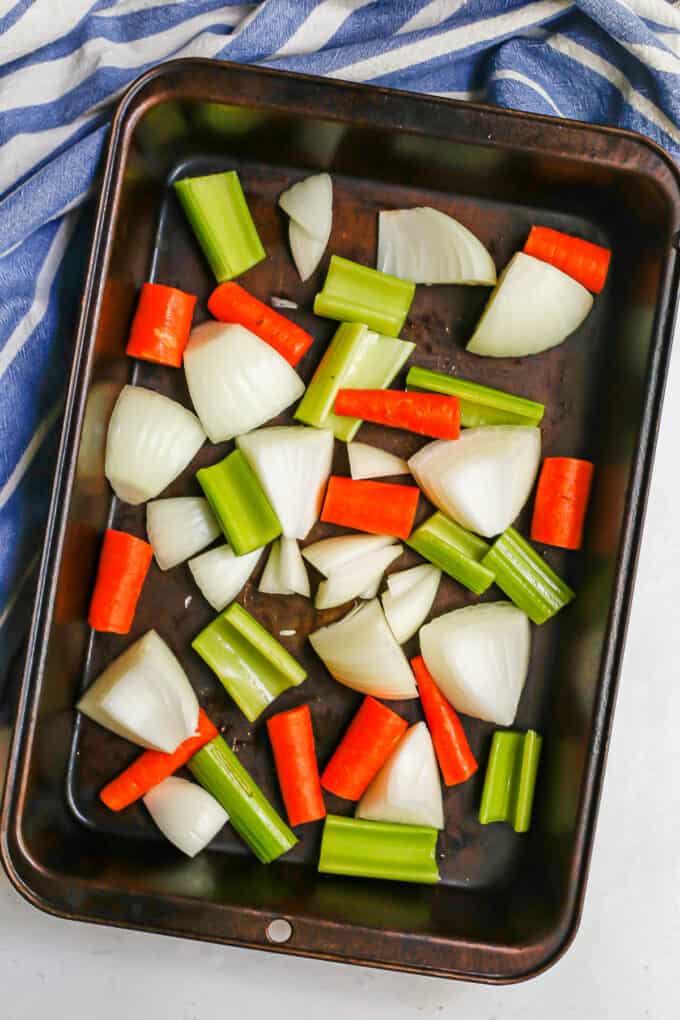
Here's a few prep photos to show you what it looks like.
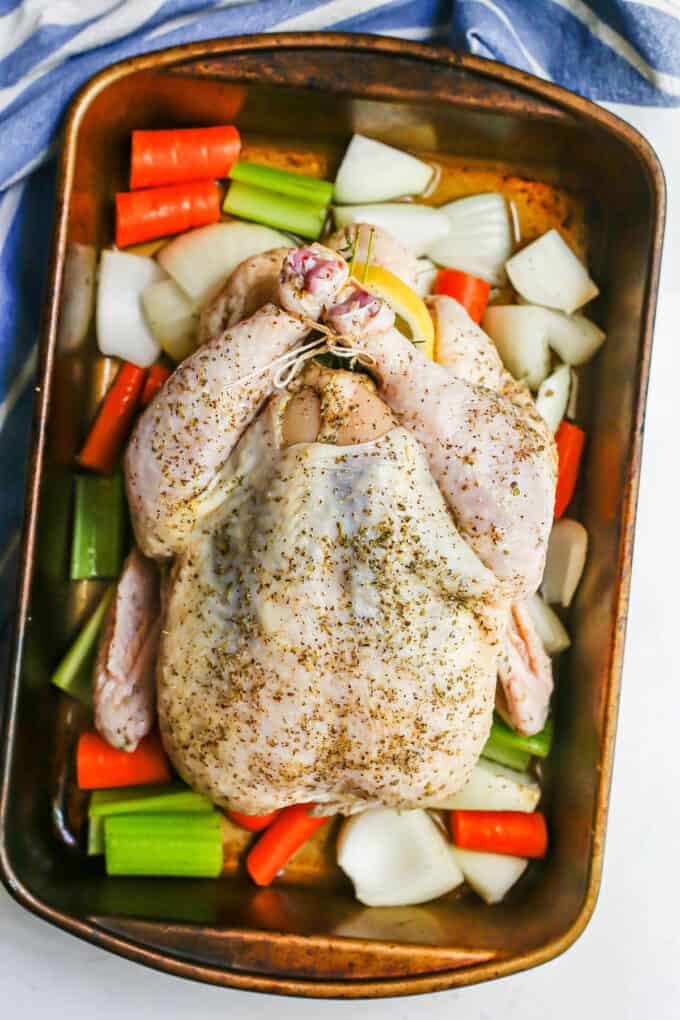
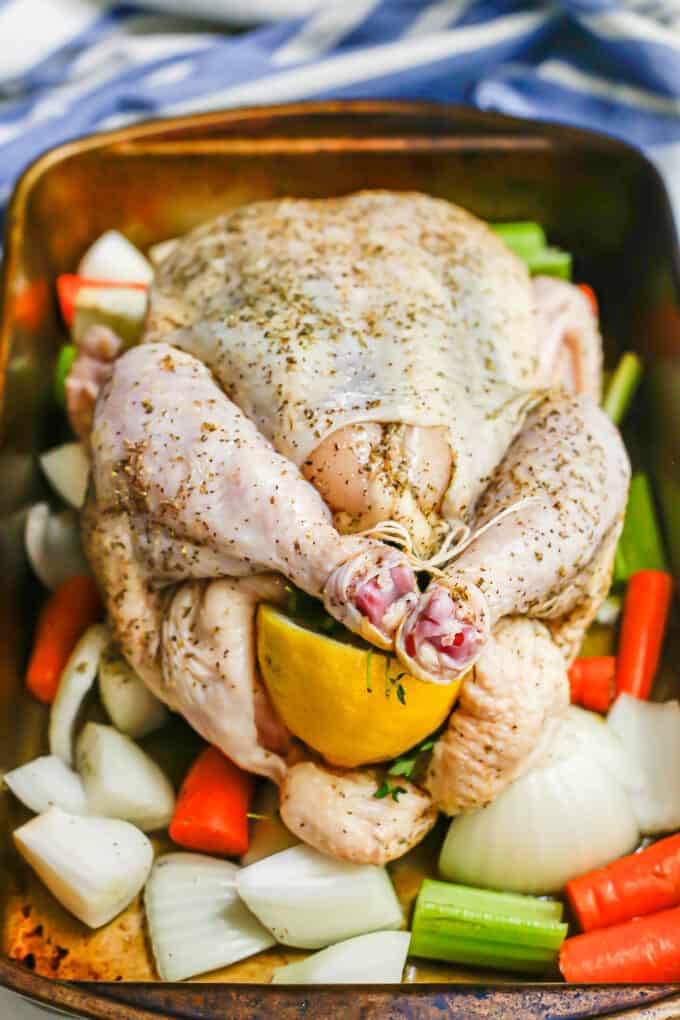
Oh, let’s talk equipment, because you can probably use what you have on hand.
See, I told you we were keeping this simple.
Equipment Needed:
- You can use a rack with an insert to roast your chicken, if you have one.
- Or you can simply use a deep roasting pan or dish, like a 9x2x13 nonstick metal pan. (I have several like this one and that one is less than $4.)
- You can use a spoon to baste with or a turkey baster, both work just fine.
- You do need some kitchen twine or string to be able to tie the drumsticks together. (More on that below.) You can buy a spool at the grocery store or online. Or even ask your butcher to just cut you a 12-inch or so piece.
That’s it! So easy to make do with what you have in your kitchen.
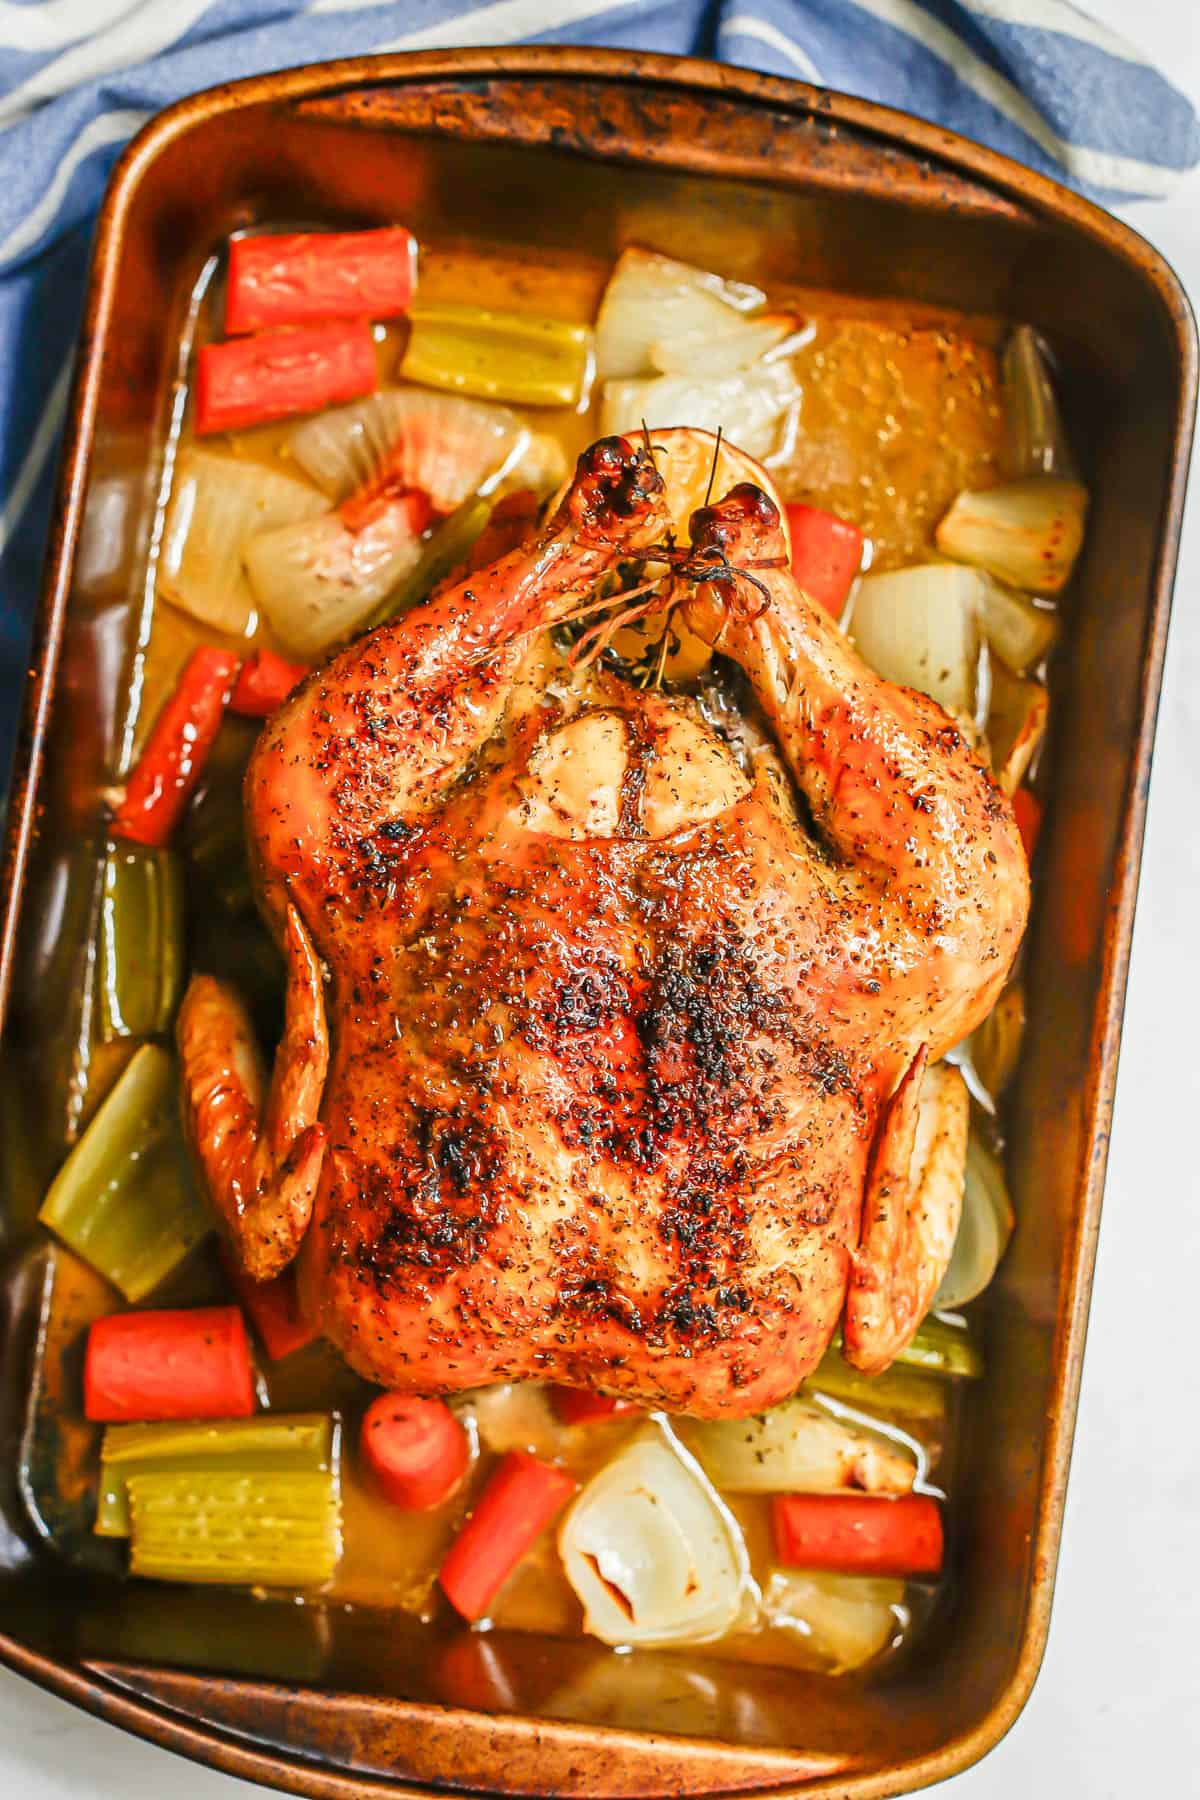
Also, because I know this is a really common question, let’s just call it out.
How long do you cook a whole chicken?
- Roast a 4.5 to 5.5 lb. whole chicken at 425 degrees Fahrenheit for 1 hour, 15 minutes. A 6 to 6.5 lb. whole chicken will take 1 hour and 30 minutes at 425.
- Your chicken should reach an internal temperature of 160 before you remove it from the oven.
- A roasted chicken needs to rest for 10-15 minutes before cutting, so plan for that additional time as well.
Oh, and don’t worry if you don’t know how to truss a chicken. You honestly don’t need any special tucking and tying techniques.
A simple truss for a baked whole chicken is to tuck the wings in and underneath the chicken so they are secured. And then tie the drumsticks together with a piece of kitchen string so they are held together.
That’s really all you need to do. (I’m all about keeping it easy.)
If you really want to go all in and do a fuller and more official truss, here’s a step-by-step tutorial with photos that I found.
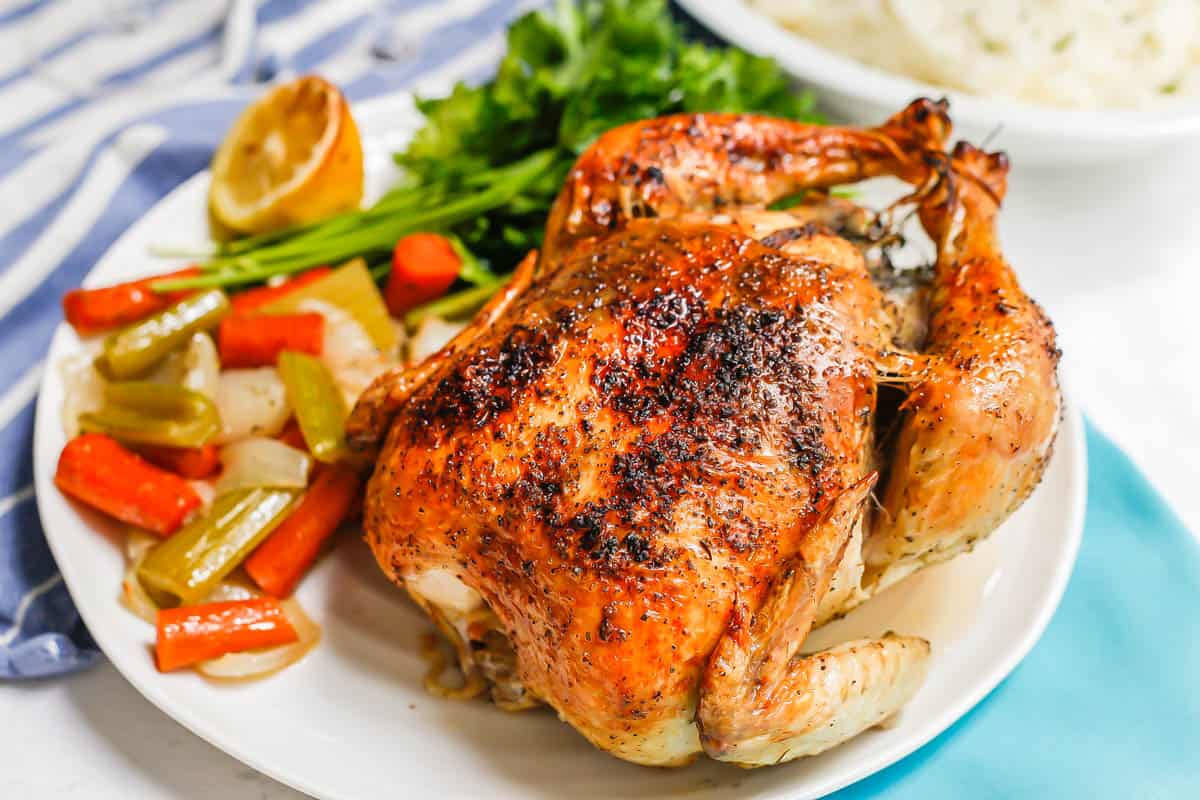
Also, to note: I always roast my chicken breasts side up. The breasts are our favorite part and what we want to be the most browned and crispy. It also helps to hold the shape of the chicken this way so it cooks evenly.
OK, now that you’ve prepped, cooked, basted and let your chicken rest, we’re ready to cut it up.
This for me was another area of concern cause I didn't know what I was doing. Turns out though, it’s really not difficult.
And for those of us who regularly buy a rotisserie chicken at the grocery store and tear that up, it’s kinda the same process.
(Promise I won’t tell if you want to just cut this all up or pull it apart haphazardly. I’ve definitely done it that way myself before.)
But if you want the basics of the more proper method, here it is.
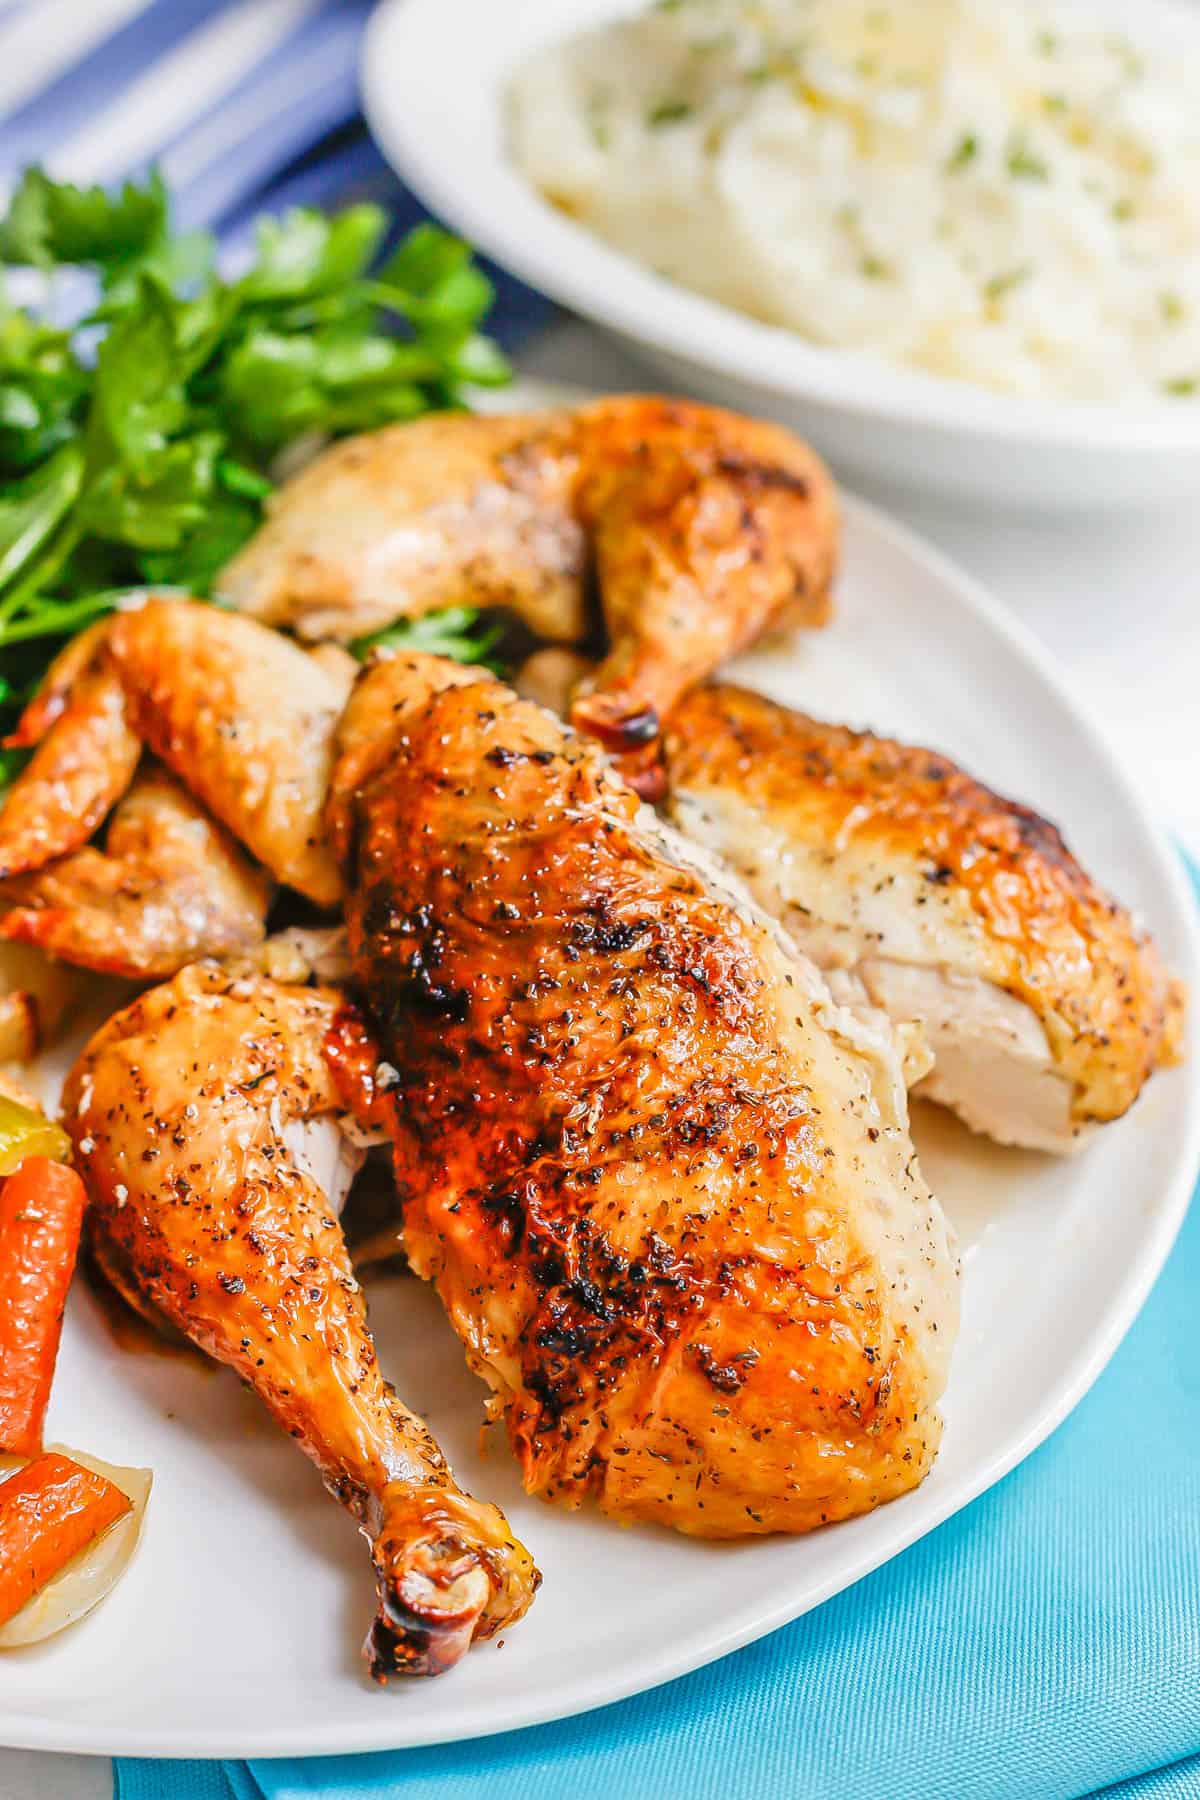
How to cut up a whole roasted chicken:
- Place the chicken on a cutting board. Get a sharp carving knife or chef’s knife and a fork.
- Slice the skin of the chicken between the leg and the body.
- Now you can see the leg joint. Cut to remove the drumstick and the chicken thigh together in one piece. Repeat on the other side.
- Separate the drumstick and the thigh by finding the joint and cutting along the drumstick to reach it, then piercing the joint to separate the two pieces. (You can wiggle the pieces and flip them over if that helps to locate the joint.) Repeat on the other side of the chicken.
- To remove the chicken breasts, position your knife just above the wing on the side of the chicken. Cut horizontally in to where the breast used to meet the leg. Repeat on the other side. Next, cut along both sides of the breastbone of the chicken at the top. Cut straight down until you’ve cleared the breast bone then cut at an outward angle to meet your horizontal cut. This will pull the breasts away from the rib cage. Slice the chicken breasts in half or in thick slices, if desired.
- Finally, remove the wings. Pull each wing out and away from the body then cut through the joint.
Ta da! And I promise, once you do it once or twice, you’ll get a better feel for it.
Here’s a step-by-step tutorial of carving with photos if you need it.
Also, you can save the chicken carcass to make homemade stock. And any extra meat you can pick off the carcass can be used for chicken salad, soups, casseroles, quesadillas, etc.
(Full disclosure: My dog gets the scraps in our house. She’s a 12-year-old chocolate lab and this is my favorite way to spoil her.)
OK, for us humans though, let’s talk about plating our beautiful chicken.
Plating and Serving Tips:
- Carve the chicken and lay the pieces on a large platter. Use a slotted spoon to also scoop out and add the onions, carrots and celery to the platter.
- Spoon up some of the cooking juices from your pan and drizzle over all of the chicken and vegetables.
- Garnish your platter with fresh herbs and lemon slices or halves, for presentation, if desired.
- Add a couple of serving forks so everyone can pick up the pieces they want to have.
- Feel free to serve with extra cooking juices at the table.
Ready to round out the meal?
Here’s a few ideas of what to serve as side dishes with a roasted chicken to complete your dinner.
Serving Ideas:
- Mashed potatoes or creamy polenta go great with roasted chicken and can take a drizzle of the pan juices as well.
- Or serve with roasted or baked potatoes.
- Green beans make a great vegetable side. These green beans with mustard butter sauce are quick and easy. These southern style green beans with bacon are perfect for holidays or special occasions.
- Asparagus, broccoli or even just a big salad would work well, too.
- Some crusty bread, dinner rolls or homemade biscuits or drop biscuits would help round out the spread.
Finally, let’s talk about how to store any leftovers. Because like I said earlier, I often go ahead and roast two whole chickens at a time.
There's just so many ways you can use it later in the week, making lunch or dinner even easier another night.
How to store leftovers:
- Once you’ve carved the chicken, store any leftover pieces in a covered container in the refrigerator for up to 5 days.
- You can also freeze leftover chicken for up to 5-6 months in a freezer safe plastic bag or container. Be sure to label and date your container.
- If you plan to reheat the chicken later, it helps to separate the chicken meat from the bones before storing. It’s easier to do when the chicken is warm or room temperature versus cold.
- If you don’t plan to eat it, it’s also easier to remove the chicken skin before you store it.
Whew, I know that was a lot of information but I really wanted to try and answer ALL of the questions you might have.
As well as give you everything I’ve learned over the years so you can be a master of whole roasted chicken in your kitchen, too.
(If I’ve forgotten something or you have a question still, please leave me a comment below. I’d love to help!)
Cheers to delicious, home cooked family meals with the ones you love gathered around the table.
Enjoy!
XO,
Kathryn
P.S. Stay tuned because I have a rotisserie style roasted chicken recipe coming up for you soon.
You can sign up for my free e-newsletter to get all of my new recipes delivered straight to your inbox so you never miss a thing. I’ll even send you my free e-cookbook, Healthy Weeknight Dinners, as a thank you!
Easy Whole Roasted Chicken
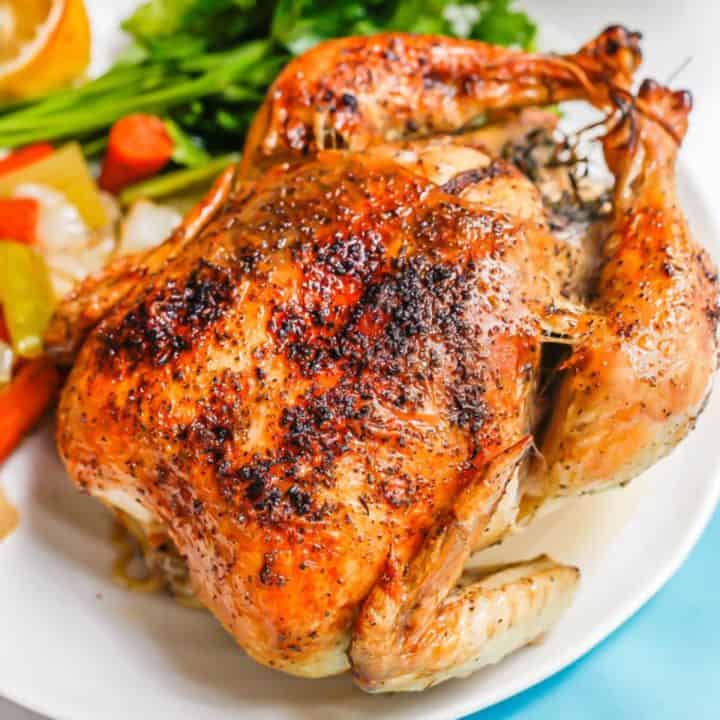
This easy whole roasted chicken is seasoned with lemon and herbs and cooked with onions, carrots and celery for a beautifully browned, crispy and classic oven roast chicken.
Ingredients
- 5 lb. whole chicken, giblets removed (see notes for 6 lb. size)
- 2 tablespoons extra-virgin olive oil (or sub melted butter)
- 2 teaspoons kosher salt
- 1 teaspoon black pepper
- 1 teaspoon dried Italian seasoning
- ½ teaspoon garlic powder
- 1 lemon, halved
- 1 small bunch fresh thyme (or parsley)
- 1 onion, cut in large chunks
- 2-3 carrots, cut in large chunks
- 2-3 stalks of celery, cut in large chunks
- ¼ to ½ cup water or chicken broth
Instructions
- Preheat the oven to 425.
- Pat the chicken dry all over and in the cavity with paper towels. Use your fingers to separate the skin of the chicken on the breast side from the meat. Rub the entire chicken with the olive oil or melted butter, including underneath the skin on the breasts side.
- Combine the salt, pepper, Italian seasoning and garlic powder in a small bowl. Sprinkle the seasoning mix generously over the chicken, in the cavity and underneath the skin on the breasts side.
- Place the halved lemon and fresh herbs in the cavity of the chicken.
- Place the cut onion, carrots and celery in the bottom of a 9x2x13 inch baking dish or a rack with an insert. Add the chicken broth or water, enough for a thin layer. (This helps to prevent the veggies from burning.)
- Place the chicken on top of the vegetables (or in the rack insert), breast side up. Use a piece of kitchen string or twine to tie the drumsticks together. Tuck the wings of the chicken underneath the chicken.
- Roast at 425 for 1 hour and 15 minutes, until the chicken reaches an internal temperature of 160. Baste with the pan juices one to two times in the last half-hour of cooking.
- Remove the roasted chicken from the oven and baste again with the pan juices. Let the chicken rest for 10-15 minutes before carving. (You can tent it with aluminum foil so it retains its heat.)
- Carve the chicken (see notes below for details) and serve warm with vegetables and extra pan juices.
Notes
Chicken: The recipe calls for a 5 lb. whole chicken, but anywhere in the 4.5 to 6.5 lb range is fine. Roast a 4.5 to 5.5 lb. whole chicken at 425 degrees Fahrenheit for 1 hour, 15 minutes. A 6 to 6.5 lb. whole chicken will take 1 hour and 30 minutes at 425. Your chicken should reach an internal temperature of 160 before you remove it from the oven.
Chicken prep: Make sure to remove the giblets and any innards from the chicken and pat it dry really well. Starting with a dry bird will help it crisp and brown nicely in the oven.
Herbs: Thyme is my go-to herb for stuffing into the cavity, but parsley would work well, too. You could also use a mix of herbs if you like.
Butter/oil: I’ve tested this recipe using both melted butter and extra-virgin olive oil. Both work great, so use whichever you prefer.
Basting: It helps to baste the chicken once or twice in the last half-hour of cooking. You don’t need more than that - and you don’t want to open your oven repeatedly and have the temperature drop. You can even get away with only basting it when you pull it out of the oven, before it sits to rest, if you forget. (I have.)
Rest time: Make sure to let the chicken rest for at least 10-15 minutes before carving it. This is crucial to making sure it retains its juices and they don’t run out. As always, I use and recommend using a digital thermometer to ensure your chicken is properly cooked through. It should get to 160 before you remove it from the oven and then it will continue to cook as it rests.
How to truss a chicken: A simple truss for a baked whole chicken is to tuck the wings in and underneath the chicken so they are secured. And then tie the drumsticks together with a piece of kitchen string so they are held together. That's all you really need to do, but here's a tutorial for a full truss if you're interested.
How to carve a whole roasted chicken:
- Place the chicken on a cutting board. Get a sharp carving knife or chef’s knife and a fork.
- Slice the skin of the chicken between the leg and the body.
- Now you can see the leg joint. Cut to remove the drumstick and the chicken thigh together in one piece. Repeat on the other side.
- Separate the drumstick and the thigh by finding the joint and cutting along the drumstick to reach it, then piercing the joint to separate the two pieces. (You can wiggle the pieces and flip them over if that helps to locate the joint.) Repeat on the other side of the chicken.
- To remove the chicken breasts, position your knife just above the wing on the side of the chicken. Cut horizontally in to where the breast used to meet the leg. Repeat on the other side. Next, cut along both sides of the breastbone of the chicken at the top. Cut straight down until you’ve cleared the breast bone then cut at an outward angle to meet your horizontal cut. This will pull the breasts away from the rib cage. Slice the chicken breasts in half or in thick slices, if desired.
- Finally, remove the wings. Pull each wing out and away from the body then cut through the joint.
Serving tips: Carve the chicken and lay the pieces on a large platter. Use a slotted spoon to also scoop out and add the onions, carrots and celery to the platter. Spoon up some of the cooking juices from your pan and drizzle over all of the chicken and vegetables. Garnish your platter with fresh herbs and lemon slices or halves, for presentation, if desired.
How to store leftover roasted chicken:
- Once you’ve carved the chicken, store any leftover pieces in a covered container in the refrigerator for up to 5 days.
- You can also freeze leftover chicken for up to 5-6 months in a freezer safe plastic bag or container. Be sure to label and date your container.
- If you plan to reheat the chicken later, it helps to remove the chicken meat from the bones before storing. It’s easier to do when the chicken is warm or room temperature versus cold. If you don’t plan to eat it, it’s also easier to remove the chicken skin before you store it.
Nutrition Information:
Yield:
6Serving Size:
1Amount Per Serving: Calories: 663Total Fat: 22gSaturated Fat: 6gTrans Fat: 0gUnsaturated Fat: 11gCholesterol: 1672mgSodium: 858mgCarbohydrates: 7gFiber: 2gSugar: 3gProtein: 104g






James
Dear Lord, you're long winded.
Olivia
At first I thought, omg that is so mean, but I thought the same thing. I google searched easiest whole chicken bake and got this and I spent more effort scrolling to the bottom and trying to read past everything to find the recipe. I think it is constructive criticism. If you want to do an article be a writer but doing recipes, possibly just state facts lol
Kathryn Doherty
Sorry for all the scrolling, folks. I try to include ALL the useful info someone might need, especially if it's their first time roasting a whole chicken, so they can have success. The post includes tips, substitutions, how to truss a chicken, how long to roast it depending on the size, how to carve up a roasted chicken and tips on storing leftovers. I get LOTS of questions in comments and on social media, so I try and help people out by including all this info in the post. In other words, it's relevant to the recipe, not just random story telling. If it's info you don't need, just scroll on down, doesn't take that long.
Orlando
Amen! If you already know how to cook, like me, but the first time roasting a whole chicken(I always smoke or grill them) I needed to know how long and at what temp to cook. However, if you don’t have the experience already, and didn’t have a mom, dad, grandma etc to teach you then this is absolutely PERFECT!! You did a great job at breaking it down step by step and giving great pointers and tips for someone trying to learn. Keep doing recipes just like this one. Thank you for putting so much effort and time into this. Many people will and do appreciate you doing this as they are sitting down eating some delicious roasted chicken. A husband is thanking a wife or vice versa whom might have been a nervous wreck trying to out something on the table for their family and you helped her/him with something that completely intimidates so many people.
Kathryn Doherty
Thanks so much for your thoughtful comment and the support and encouragement - it means so much!
Lori
At the very beginning you can click on the jump to recipe tab. You don’t have to scroll through if you don’t want to. Some people like and need all this info, especially new cooks. I’m not sure why people have to be so rude!
Thank you for all the info and the recipe was perfect!
Kathryn Doherty
Thank you Lori! I'm so glad you loved this chicken! 🙂
Joyce
I find that many blog recipe submissions are like this. In Kathryn's defense, it does say early on that the recipe is at the bottom above the comments section.
We processed our meat chickens yesterday, so I'm excited to see how a "fresh" chicken turns out!
Kathryn Doherty
Oh wow, I bet a fresh chicken will taste fantastic Joyce!
Carmen
I made this Saturday night for my family and it turned out delicious. Just the smell alone was amazing. Look forward to making it again. Thank you for sharing this.
Kathryn Doherty
I'm so happy to hear you loved it Carmen! Thank you so much for taking the time to come back and leave a comment - it means so much! 😊
Beth
This looks amazing and I can’t wait to try it!! Thanks so much for all the information, it will help me a lot. The only think I couldn’t tell (I might have just overlooked it), do you cook it longer if you are cooking 2 chickens? Thanks in advance!!
Kathryn Doherty
I'm so happy this was helpful, Beth! And no, the timing should be the same if you are cooking one or two chickens. (Which is why I love doing a second one at the same time!)
Beth
Thanks so much!! I plan to try it this weekend 🙂
Meg
As someone who has never processed or baked a whole chicken, I appreciate all of the information you provided! Thank you!
Kathryn Doherty
Oh thank you Meg! I'm so happy it was helpful to a newbie; that was the idea cause I know it can be intimidating (been there myself). Thanks for sharing!
Patty Ciferno
I tried this chicken today. AWESOME. Tasty, moist, tender. I have never eaten such a beautiful looking and tasting bird. Browned up like a magazine photo! Veggies were wonderful.
Thank you!
Patty
Kathryn Doherty
Oh I'm so thrilled to hear you loved it Patty! Thank you so much for sharing! 😊
Carol
Can I roast the 2 chickens without the vegetables? I usually use my instant pot to cook one. I then use up the leftover carcass to make chicken broth using vegetables with the instant pot. My thought was roasting the two chickens on a sheet pan but would that make the chickens burn onto the pan? Should I put them on a rack and add some water or broth to the pan?
Kathryn Doherty
Hi Carol, yes, you can roast two chickens without the vegetables. I recommend using a deep pan and lining it with foil so the chicken doesn't stick onto the pan. No broth needed, but it'll release liquid as it cooks, hence the deep pan. (I do this all the time when making my rotisserie style roast chicken, without veggies or broth: https://www.familyfoodonthetable.com/rotisserie-style-roast-chicken/) You could also use a rack to cook yours if you have one. Hope that helps!
Carol
Thank you Kathryn. This blog on how to roast chicken has been very helpful. I did a thick slice of a couple of onions. Laid them down on a sheet pan. Drizzled some olive oil on the onions, added the chickens and they turned out fabulous!! Nice golden brown crispy skin. I then took the juice and onion from the pan, put that in my instant pot, added the carcasses and other ingredients to make chicken broth.
Kathryn Doherty
I'm so happy it was helpful and that your chickens turned out so well! And so smart to make stock with the extras. Thanks for sharing! 😊
Rosita Escobar
All I had to do was a little bit of scrolling, it was easy to find what I needed to read. People just need to stop nitpicking every time an article is extensive. I went through the article before and after I put the chicken in the oven, as to know how long to let it rest and then carve it. I like long articles so I can be better at cooking and baking things!!
Kathryn Doherty
I'm so glad it was helpful Rosita! Thanks for sharing!
Lena
This worked out really well! Definitely doing it again.
Plus, I thought all the tips were really helpful
Samantha Lewis
I made this today stuffed with parsley & lime b/c that’s what I had. My chicken was really hard but I think maybe my chicken was maybe a little heavier. It was a gift so I don’t know what it weighed. I just know it was big. It tasted delicious though. Going to use leftovers for soup. Thanks for sharing your recipe.
Kathryn Doherty
I'm so glad you enjoyed it! 🙂
Kielei
I normally don’t comment but I was compelled to in this instance. Though I admittedly didn’t read all or even most of the comments, I read some that made me want to make sure that the kind donor of this recipe knows that I personally am extremely grateful for all of the “extra” information that she included. I came to cooking late in life, and my lack of knowledge of even quite basic cooking terms with even less knowledge of how to actually execute even the simplest of cooking related actions kept me from stepping out of my very tiny comfort zone in the kitchen.
But the availability of recipes and information online have inspired me to expand my horizons and try things that once intimidated me, and I couldn’t have done it without the kindness and very informative tips and tutorials of the ones who take their own time to share what they know with those of us who truly needed their help. And for that I am very thankful; it’s not a stretch to say that utilizing the help offered to me has changed the lives of myself and my husband. I just want you to know how much of a difference you and others like you have made in these two lives, and I’m certain there are many, many more exactly like me. Thank you again. Sorry for being long-winded. Sincerely.