Rotisserie style roast chicken takes just 10 minutes to prep then is hands off as it slowly roasts in the oven for tender, flavorful chicken that can be used in so many ways.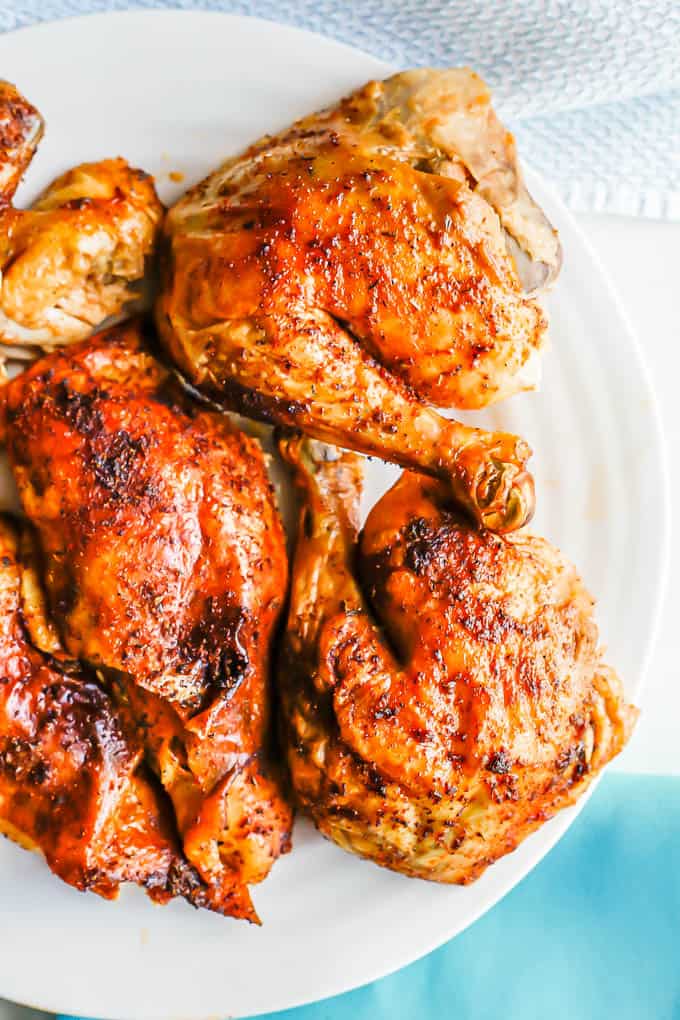
I am back from a couple of days at the beach and it was glorious. Wide open skies and lapping ocean waves and endless horizons... well, it did my soul good.
So did all the reading and rest. I'm so grateful for that little getaway. And now I'm feeling so refreshed!
But let's move right along to the food.
I realized recently that I promised you guys this rotisserie style roast chicken recipe when I posted my classic whole roasted chicken. I said it was coming soon.
That was almost 6 months ago. Whoops!
But better late than never, right?
So today, we’re going to dive in and talk all the ins and outs of making your own rotisserie style chicken at home.
I promise, it’s really easy to do!
You know I like to keep things simple, and I’ve made this recipe dozens of times, so I’ve got lots of tips and tricks to share so you can have flavorful, well seasoned rotisserie chicken anytime you like!
The mix of spices — all on-hand things — really gives this such big taste. It’s not overpowering, so you can still use the chicken in all kinds of different recipes, but it infuses so much flavor.
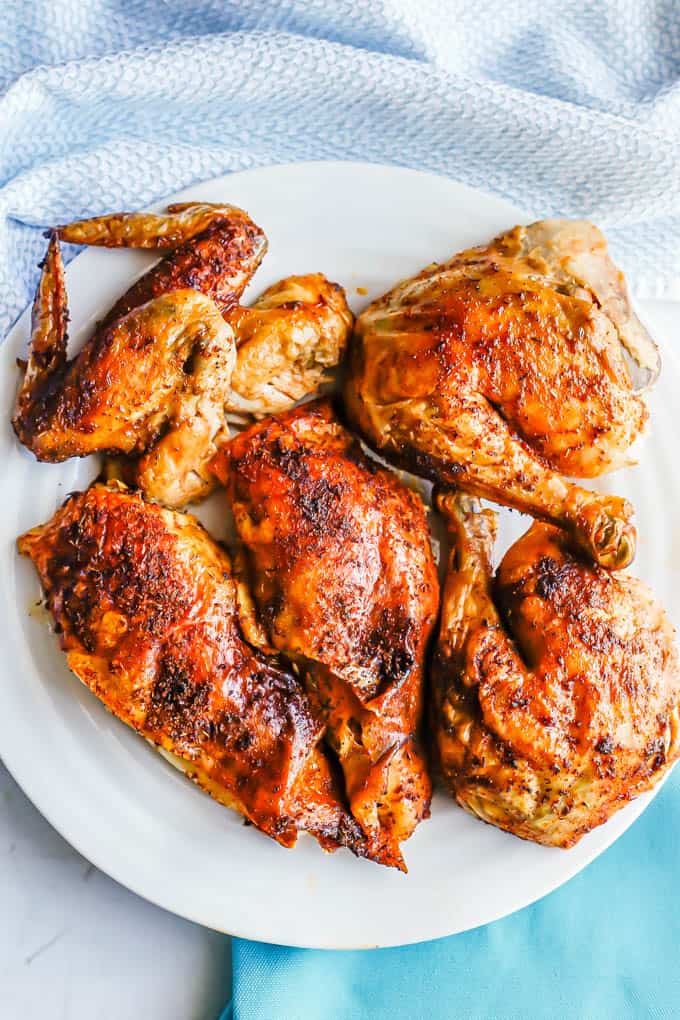
And while we don’t have a fancy rotating roasting oven like they might use at the grocery store, we’ve got our oven and a totally fool-proof, hands-off way to slowly bake the chicken until it’s tender on the inside with a browned and beautiful skin.
I’ve also got tons of ideas for you on ways to use the chicken. (I always make two at once - it’s just as easy and then I have leftovers for several more meals.)
Having some cooked chicken on hand and ready to go makes dinner time a breeze. It’s just so versatile!
And of course, making it yourself is a much healthier way to enjoy rotisserie chicken. No funny additives or unknown ingredients. However, I'm not gonna knock the store-bought kind; I definitely default to that sometimes myself.
But once you see how easy and delicious it is to make yourself, I think you'll be making this part of your regular rotation.
OK, let’s get cooking so you can enjoy the deliciousness, too.
(Oh and if you need a hands-off, non-oven version, check out this crock pot whole chicken.)
Now, I’ve got tons of notes, tips and FAQs coming up below on how to make rotisserie roasted chicken. Just tryin’ to be helpful.
If you want to jump on down to the recipe, simply scroll right on through the rest of the text. The recipe card is near the bottom of the page, above the comments section.
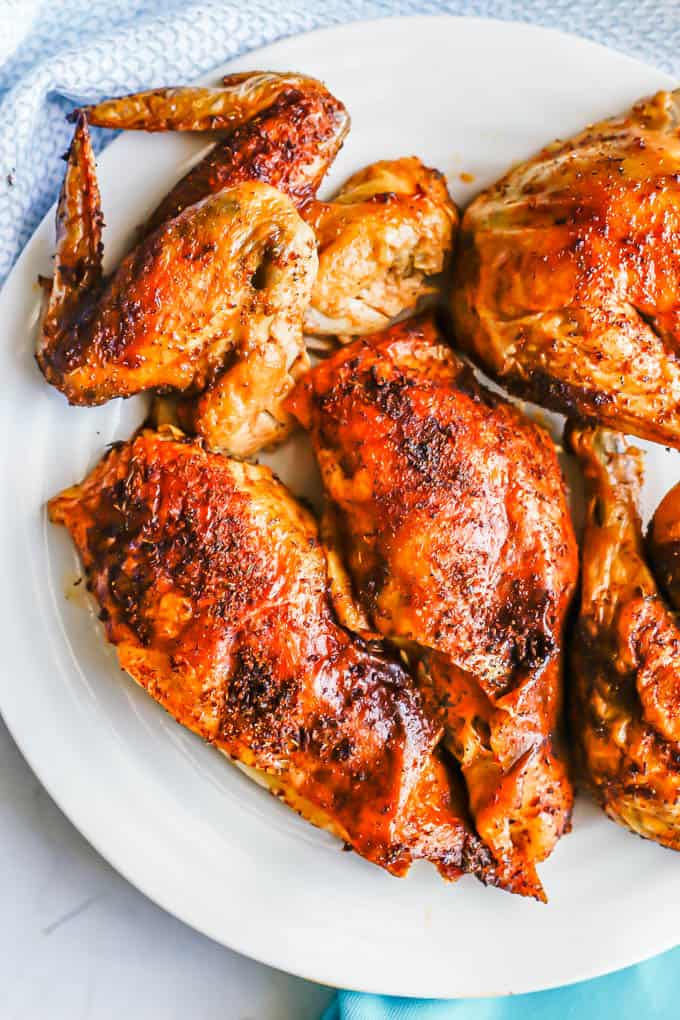
Notes on making rotisserie roast chicken:
- Chicken: The recipe calls for a 5 lb. whole chicken, but anywhere in the 4.5 to 6.5 lb. range is fine. I’ve got notes on adjusting the cook time below.
- Chicken prep: Make sure to remove the giblets and any innards from the chicken and pat it dry really well. Starting with a dry bird will help it crisp and brown nicely in the oven.
- Butter/oil: I’ve tested this recipe using both melted butter and extra-virgin olive oil. Both work great, so use whichever you prefer.
- Rest time: Make sure to let the chicken rest for at least 10-15 minutes before carving it. This is crucial to making sure it retains its juices and they don’t run out.
Pro tip: Roast two chickens at once. I almost always do this. You’ve already got the oven on and going, and the extras store so beautifully. (More on that below.)
It takes just a few more minutes to prep a second chicken and put it on a pan in the same rack as your oven. Totally worth it. Your future self will thank you!
Also, as always, I use and recommend using a digital thermometer to ensure your chicken is properly cooked through. It should get to 160 before you remove it from the oven and then it will continue to cook as it rests.
Oh, and let’s talk equipment, because you can probably use what you have on hand.
See, I told you we were keeping this simple.
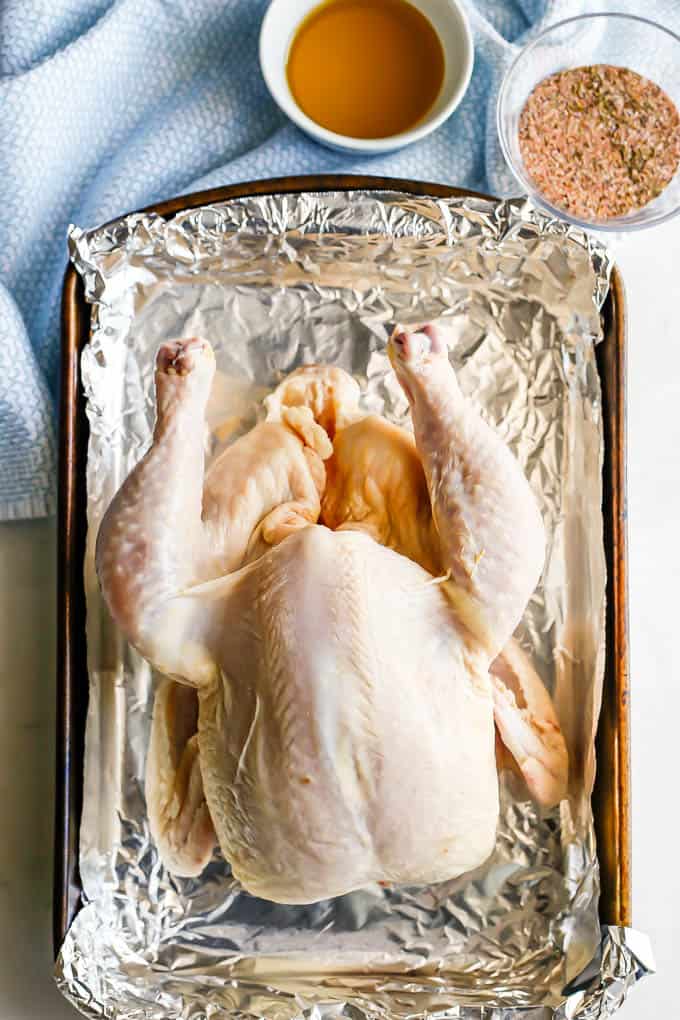
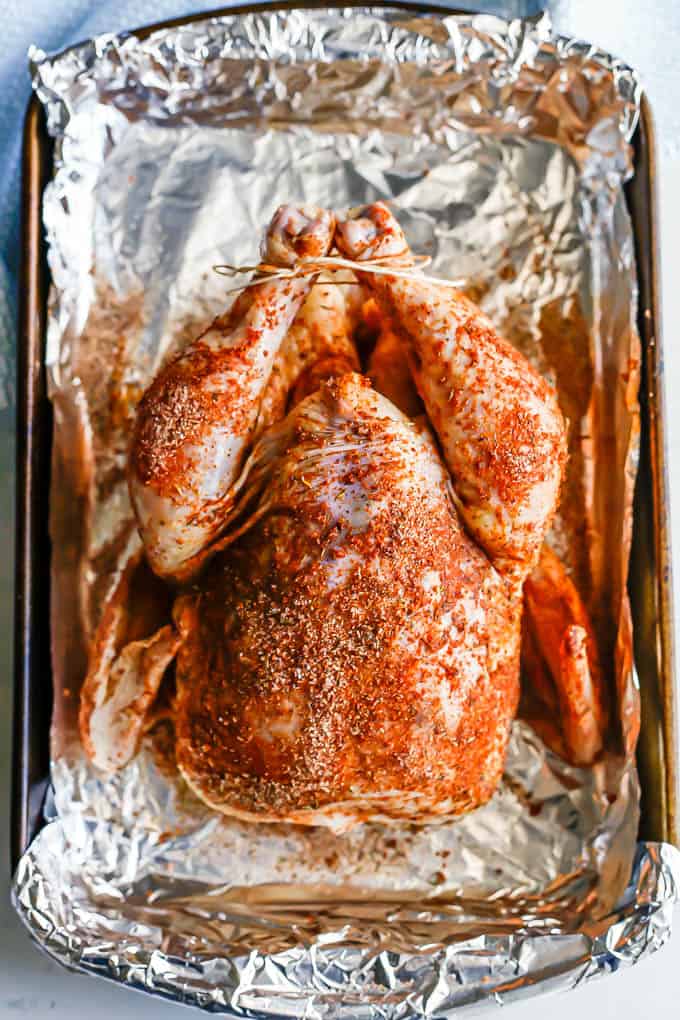
Equipment needed for roasting a whole chicken:
- Feel free to use a rack with an insert to roast your chicken, if you have one.
- Or you can simply use a deep roasting pan or dish, like a 9x2x13 nonstick metal pan. (I have several like this one that’s less than $4. See the photos above.)
- You do need some kitchen twine or string to be able to tie the drumsticks together. (More on that below.) You can buy a spool at the grocery store or online. Or even ask your butcher to just cut you a 12-inch or so piece.
That’s it! So easy to make do with what you have in your kitchen.
Also, because I know this is a really common question, let’s just call it out.
How long do you cook a whole chicken?
- Bake a 4.5 to 5.5 lb. whole chicken in the oven at 300 degrees Fahrenheit for 2 hours, 15 minutes for a rotisserie style result. A 5.5 lb. to 6.5 lb. whole chicken will take about 2 ½ hours.
- Your chicken should reach an internal temperature of 160 before you remove it from the oven.
- A roasted chicken needs to rest for 10-15 minutes before cutting, so plan for that additional time as well.
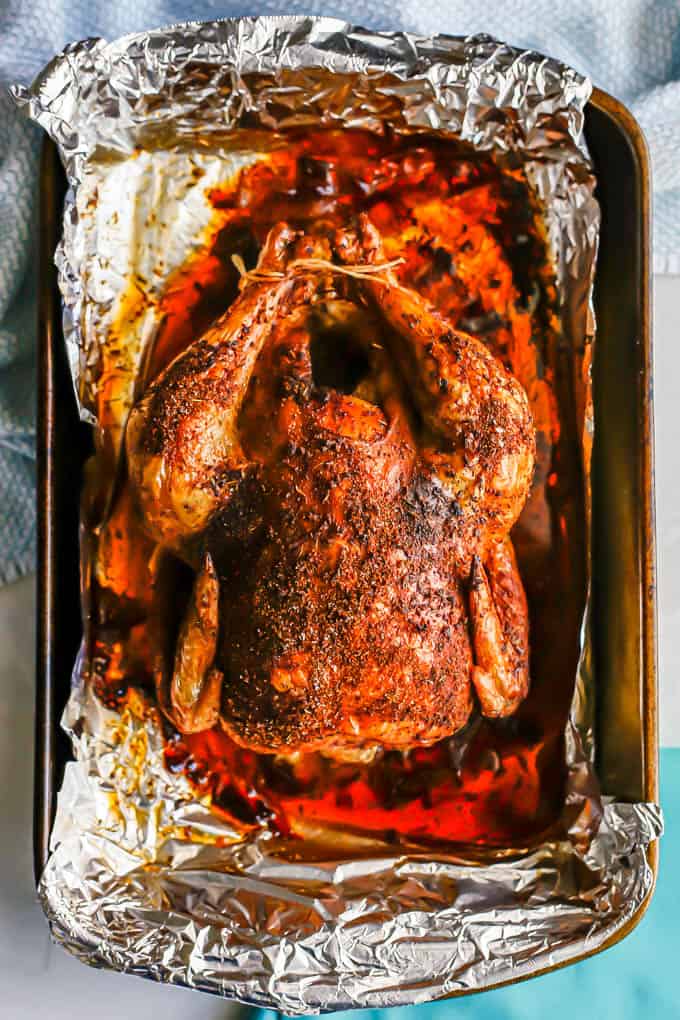
Oh, and don’t worry if you don’t know how to truss a chicken. You honestly don’t need any special tucking and tying techniques.
A simple truss for a whole chicken is to tuck the wings in and underneath the chicken so they are secured. And then tie the drumsticks together with a piece of kitchen string so they are held together.
That’s really all you need to do. (I’m all about keeping it easy.)
If you really want to go all in and do a fuller and more official truss, that's a step-by-step tutorial with photos.
Also, to note: I always roast my chicken breasts side up. The breasts are our favorite part and what we want to be the most browned and crispy. It also helps to hold the shape of the chicken this way so it cooks evenly.
OK, now that you’ve prepped, cooked and let your chicken rest, we’re ready to cut it up.
This for me was another area of concern.
Turns out though, it’s really not difficult.
And for those of us who regularly buy a rotisserie chicken at the grocery store and tear that up, it’s kinda the same process.
I promise I won’t tell if you want to just cut this all up or pull it apart haphazardly with your hands. I’ve definitely done that myself before. It works just fine.
And if you're going to remove the skin and chop or shred the chicken anyway, it doesn't much matter.
But if you want the basics of the more proper method, here it is.
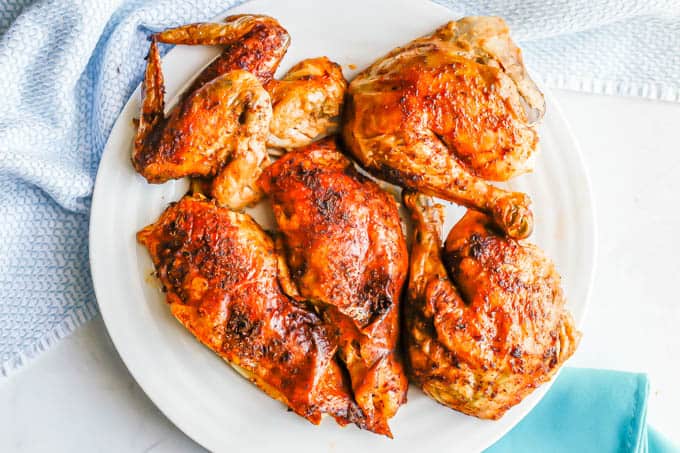
How to cut up a rotisserie roasted chicken:
- Place the chicken on a cutting board. Get a sharp carving knife or chef’s knife and a fork.
- Slice the skin of the chicken between the leg and the body.
- Now you can see the leg joint. Cut to remove the drumstick and the chicken thigh together in one piece. Repeat on the other side.
- Separate the drumstick and the thigh by finding the joint and cutting along the drumstick to reach it, then piercing the joint to separate the two pieces. (You can wiggle the pieces and flip them over if that helps to locate the joint.) Repeat on the other side of the chicken.
- To remove the chicken breasts, position your knife just above the wing on the side of the chicken. Cut horizontally in to where the breast used to meet the leg. Repeat on the other side. Next, cut along both sides of the breastbone of the chicken at the top. Cut straight down until you’ve cleared the breast bone then cut at an outward angle to meet your horizontal cut. This will pull the breasts away from the rib cage. Slice the chicken breasts in half or in thick slices, if desired.
- Finally, remove the wings. Pull each wing out and away from the body then cut through the joint.
Ta da! And I promise, once you do it once or twice, you’ll get a better feel for it.
Here’s a step-by-step tutorial with photos if you need it.
Also, you can save the chicken carcass to make homemade stock. And any extra meat you can pick off the carcass can be used for chicken salad, soups, casseroles, quesadillas, etc.
(Full disclosure: My dogs get the scraps in our house. I have a 12-year-old chocolate lab and a 5-month old chocolate lab puppy. They both adore chicken!)
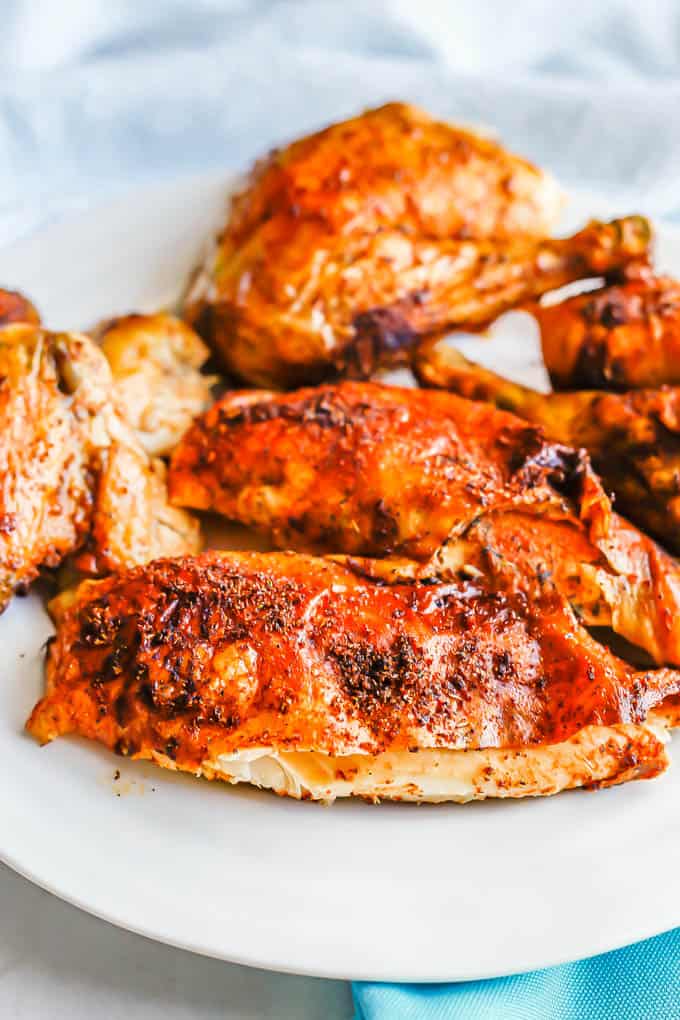
Need some ideas of how to use your rotisserie chicken? I got you.
(I even have a whole post on 12 ways to use cooked, shredded chicken, all of which work for this rotisserie style chicken.)
Ideas for using rotisserie chicken:
- Make chicken enchiladas, nachos, tacos, quesadillas, burritos, etc.
- Use for a quick chicken skillet with veggies and seasonings (such as a southwest chicken skillet or chicken hash)
- Make a casserole, like King Ranch chicken casserole, chicken and rice casserole, chicken divan, chicken pot pie or another favorite
- Use as the protein for grain bowls
- Add to a salad or use to layer into a mason jar salad
- Combine with your favorite pasta salad or quinoa salad to make it a main dish
- Use in soups, stews or chili, such as chicken tortilla soup or white chicken chili
- Use for chicken fried rice or a quick chicken curry
- Add to pizza for a protein boost
- Use for stuffed pitas with some hummus or tzatziki
- Make chicken salad for sandwiches, wraps, etc.
- Mix with BBQ sauce for BBQ chicken sandwiches, sliders, wraps or salads
So many options! Click this photo to see more ideas and more recipes:
Note: This rotisserie style chicken is seasoned with a mix of spices. We want to taste it and as mentioned, it’s not a powerful or overwhelming flavor, it’s just a good background. And that makes it really versatile to use in lots of dishes.
But if you are looking for some plain chicken, without the flavor from the seasonings, check out Instant Pot shredded chicken or crockpot shredded chicken. Those are great for meal prepping.
Finally, let’s talk about how to store any leftovers. Because like I said earlier, I often go ahead and roast two at a time.
They’re great to be able to repurpose into other dishes or just to have for sandwiches, wraps and salads.
So many ways you can use it later in the week, making dinner even easier another night. I think of it as a gift to my future self. ????
How to store leftover rotisserie chicken:
- Once you’ve carved the chicken, store any leftover pieces in a covered container in the refrigerator for up to 5 days.
- You can also freeze leftover chicken for up to 5-6 months in a freezer safe plastic bag or container. Be sure to label and date your container.
- If you plan to reheat the chicken later, it helps to remove the chicken meat from the bones before storing. It’s easier to do when the chicken is warm or room temperature versus cold.
- You can also go ahead and chop or shred the chicken, if you know you’ll need it in that form for another recipe.
If you don’t plan to eat it, it’s also easier to remove the chicken skin before you store it.
Whew, I know that was a lot of information but I really wanted to try and answer ALL of the questions you might have.
As well as give you everything I’ve learned over the years so you can be a master of making your own rotisserie chicken in your kitchen, too.
(If I’ve forgotten something or you have a question still, please leave me a comment below. I’d love to help!)
Cheers to delicious, home cooked family meals with the ones you love gathered around the table.
Enjoy!
XO,
Kathryn
Rotisserie Style Roast Chicken

Rotisserie style roast chicken takes just 10 minutes to prep then is hands off as it slowly roasts in the oven for tender, flavorful chicken that can be used in so many ways.
Ingredients
- 5 lb. whole chicken, giblets removed
- 2 T oil or melted butter
- 2 teaspoons kosher salt
- 2 teaspoons garlic powder
- 2 teaspoons onion powder
- 2 teaspoons paprika
- 1 ½ teaspoons black pepper
- ¾ teaspoon dried thyme
Instructions
- Preheat the oven to 300. Line a deep baking pan with aluminum foil and set aside.
- Pat the chicken dry all over and in the cavity with paper towels. Use your fingers to separate the skin of the chicken on the breast side from the meat. Rub the entire chicken with the olive oil or melted butter, including underneath the skin on the breasts side.
- Combine the seasonings in a small bowl. Sprinkle generously over the chicken, in the cavity and underneath the skin on the breasts side.
- Place the chicken on on the foil-lined baking pan (or in the rack insert if using a roasting pan), breast side up. Use a piece of kitchen string or twine to tie the drumsticks together. Tuck the wings of the chicken underneath the chicken.
- Cook at 300 for 2 hours and 15 minutes, until the chicken reaches an internal temperature of 160. (Chickens that are 5.5 to 6.5 lbs. might take closer to 2 hours, 30 minutes.)
- Remove the roasted chicken from the oven. Let the chicken rest for 10-15 minutes before carving. (You can tent it with aluminum foil so it retains its heat.)
- Carve the chicken (see notes below for details) and serve warm or let cool and then refrigerate.
Notes
Chicken: The recipe calls for a 5 lb. whole chicken, but anywhere in the 4.5 to 6.5 lb range is fine. I’ve got notes on adjusting the cook time below.
Chicken prep: Make sure to remove the giblets and any innards from the chicken and pat it dry really well. Starting with a dry bird will help it crisp and brown nicely in the oven.
Butter/oil: I’ve tested this recipe using both melted butter and extra-virgin olive oil. Both work great, so use whichever you prefer.
Pro tip: Roast two chickens at once. I almost always do this. You’ve already got the oven on and going and the extras store so beautifully. (More on that below.)
How to truss a chicken: A simple truss for a baked whole chicken is to tuck the wings in and underneath the chicken so they are secured. And then tie the drumsticks together with a piece of kitchen string so they are held together. That's all you really need to do, but here's a tutorial for a full truss if you're interested.
How to carve a roasted chicken:
- Place the chicken on a cutting board. Get a sharp carving knife or chef’s knife and a fork.
- Slice the skin of the chicken between the leg and the body.
- Now you can see the leg joint. Cut to remove the drumstick and the chicken thigh together in one piece. Repeat on the other side.
- Separate the drumstick and the thigh by finding the joint and cutting along the drumstick to reach it, then piercing the joint to separate the two pieces. (You can wiggle the pieces and flip them over if that helps to locate the joint.) Repeat on the other side of the chicken.
- To remove the chicken breasts, position your knife just above the wing on the side of the chicken. Cut horizontally in to where the breast used to meet the leg. Repeat on the other side. Next, cut along both sides of the breastbone of the chicken at the top. Cut straight down until you’ve cleared the breast bone then cut at an outward angle to meet your horizontal cut. This will pull the breasts away from the rib cage. Slice the chicken breasts in half or in thick slices, if desired.
- Finally, remove the wings. Pull each wing out and away from the body then cut through the joint.
Leftovers: Once you’ve carved the chicken, store any leftover pieces in a covered container in the refrigerator for up to 5 days. You can also freeze leftover chicken for up to 5-6 months in a freezer safe plastic bag or container. Be sure to label and date your container. If you plan to reheat the chicken later, it helps to remove the chicken meat from the bones before storing. It’s easier to do when the chicken is warm or room temperature versus cold. If you don’t plan to eat the skin, it’s also easier to remove the chicken skin before you store it.
Ways to use rotisserie chicken: Check out these 12+ ways to use leftover cooked chicken, all of which work for this rotisserie style chicken.
Nutrition Information:
Yield:
6Serving Size:
1Amount Per Serving: Calories: 662Total Fat: 24gSaturated Fat: 7gTrans Fat: 1gUnsaturated Fat: 12gCholesterol: 1676mgSodium: 690mgCarbohydrates: 2gFiber: 1gSugar: 0gProtein: 103g









Leave a Reply