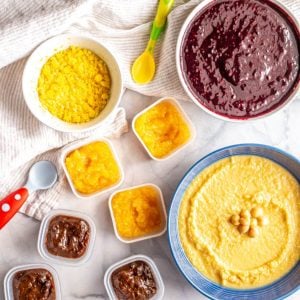
Homemade baby food sweet potatoes, brown rice, chicken, pears and banana are great basics to introduce for young babies and to use for combinations for older babies and toddlers!
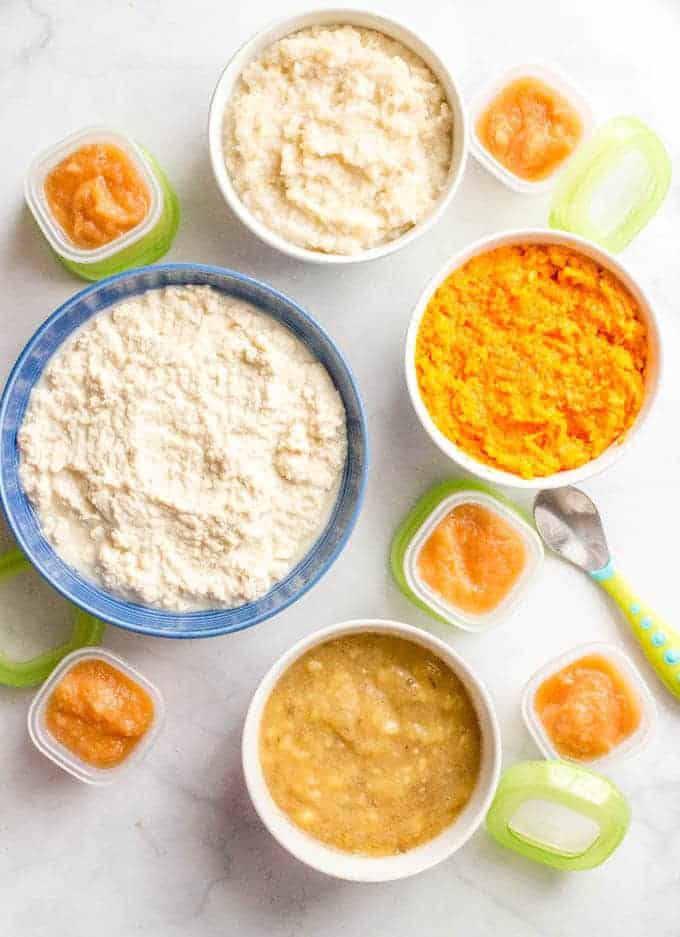
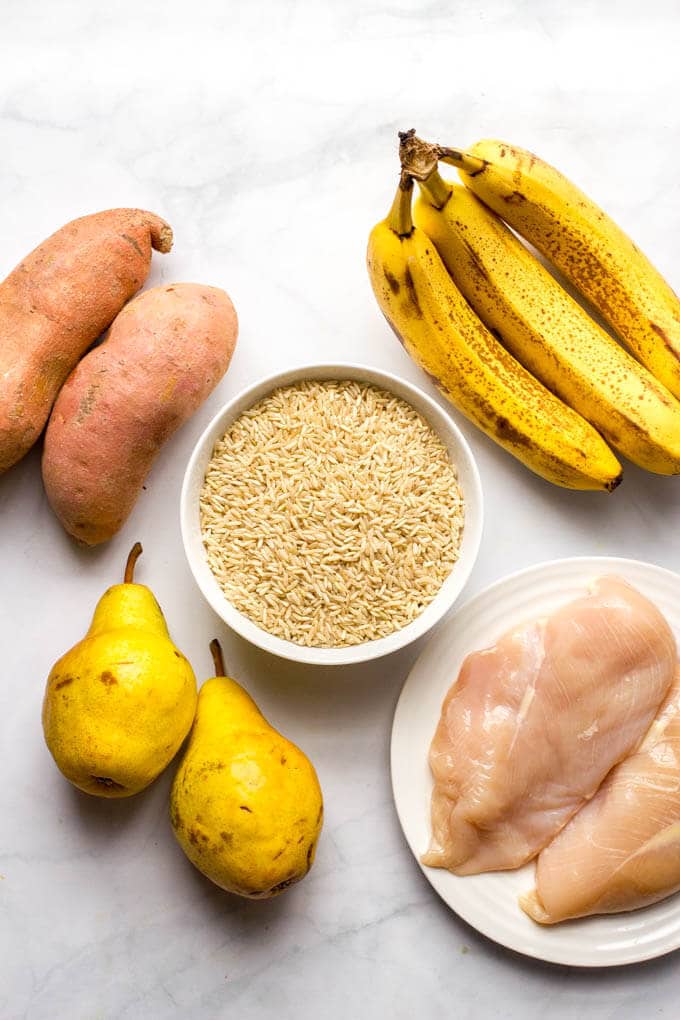
Welcome back to another batch cooking round of homemade baby food. Today we’re making pureed sweet potatoes, brown rice, chicken, pears and banana - all great staples and good ones to introduce early.
(Here’s my baby food introduction schedule for what solid foods to introduce when.)
And don’t miss round 1 with homemade baby food peas, green beans, applesauce, butternut squash and oatmeal.
Today’s round takes just a tiny bit longer since we have to cook the sweet potatoes and the chicken, but I promise it’s just as easy and I’ll walk you through it step by step.
Cause unless you have a super baby who sleeps through the night, takes long, luxurious naps and can be left happily set in a swing or pack-n-play by themselves, you don’t have the time or mental space to devote to much else. #Ifeelya
So let’s do this.
Easy Instructions:
We are going to be super efficient with our time and have a few things happening at once. Here’s the strategy:
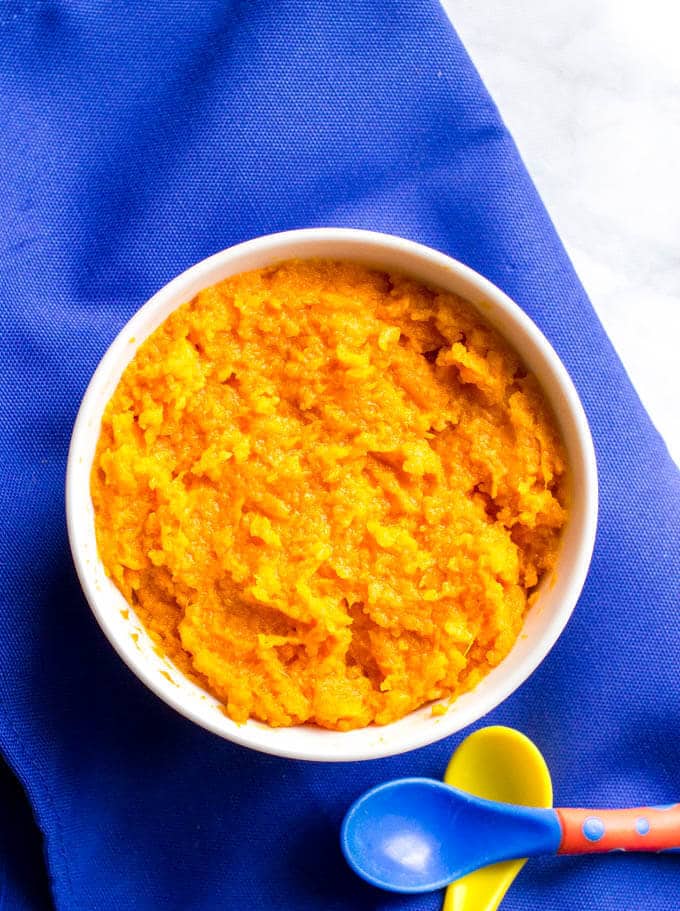
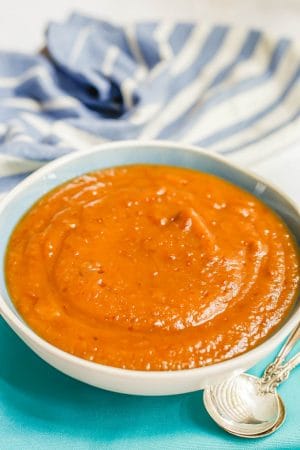
Baby food sweet potatoes puree
For the homemade baby food sweet potatoes puree, I usually roast 2-3 at a time since they take a bit longer. Scrub the potatoes well, poke them with a fork a couple of times and place on a foil-lined baking sheet. (The sweetness comes from the caramelized sugars in the potato, which can spill out during baking, so make your life easy and use the foil. You can ball it up and throw it away and no clean up necessary.)
Bake the sweet potatoes at 400 for at least an hour, until tender - they should give easily when you squeeze them (use an oven mitt so you don't burn your hands!). Once they are cool enough to handle, open the skins up, scoop out the sweet potato and blend it with a splash or two of water — or breastmilk or formula — using an immersion blender. Or for older babies who can handle some texture, just mash the baby food sweet potato really well with a fork.
Baby food brown rice puree
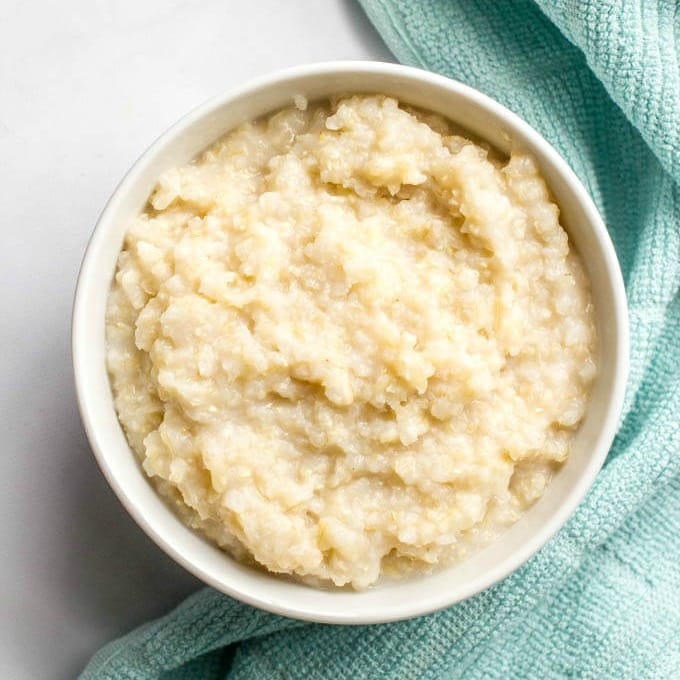
While the sweet potatoes are roasting, cook your brown rice. Brown rice is a whole grain and has a much better nutritional profile than white rice. And for babies who don’t know the difference, you might as well start them off right and only use 100% whole grains. Don’t be intimidated, it’s super easy to cook brown rice. Get my detailed (but so simple) instructions for perfect, fluffy brown rice.
Once it’s cooked, you’re ready to blend it up – just add some extra water (or breast milk or formula) and use your immersion blender to get it smooth.
Note: You can also simply make extra sweet potato and brown rice the next time you’re cooking it for yourself and put some aside for baby food before you add any seasonings. Now everyone is fed and happy!
Baby food chicken puree
While the sweet potato is roasting and the brown rice is cooking, you can get your baby food chicken going. I use boneless, skinless chicken breasts, mainly because that’s what we eat and like the best. You could certainly pick thighs or a mix of white and dark meat if you’d like.
I don’t season my chicken breasts for baby food. Babies don’t need salt and for first foods, I hold off on adding herbs and other seasonings. I prefer the one-at-a-time approach to foods, particularly to control for allergies. Definitely introduce (non-salt) seasonings later, though. Babies like flavor too!
To cook the chicken breasts, bring a large pot of water to a boil. Add your chicken breasts – I’d say 2-3 breasts to give you plenty of chicken for now and for the freezer – and let them boil for about 25 minutes, until cooked through.
Remove and use your immersion blender to puree the chicken, adding water (I use the cooking liquid) as needed. Yes, pureed meat is a little weird but it’s a good protein for babies!
Once you’ve passed the three day mark of giving it to your baby, you can start to combine it with applesauce or pears or peaches or rice or sweet potato or beans and then it doesn’t seem quite so strange. (See my favorite baby food combinations for more ideas.)
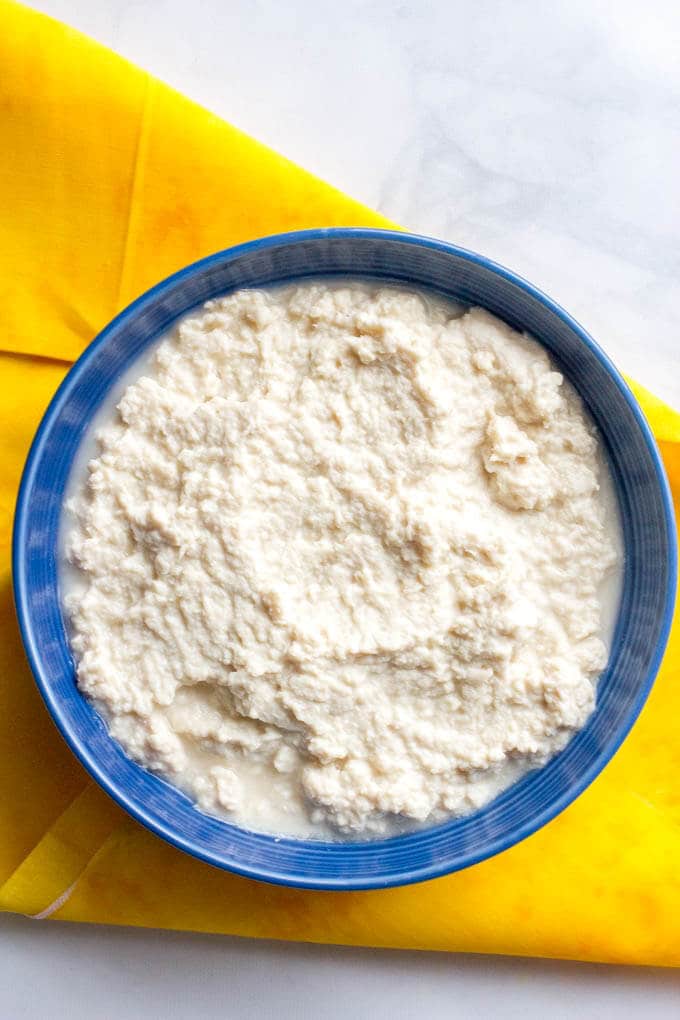
Baby food pear puree
The fruits take just minutes and can be made and finished while the sweet potatoes, brown rice and chicken are cooking.
For the pears, If you have fresh, ripe pears to use, just remove the skin and core and use your immersion blender to get them smooth and dreamy. Or, you can buy canned or jarred pears then just drain them and puree them.
Note: Buy canned or jarred pears that are packed in water or juice, not heavy syrup. And don’t go for the sugar-free versions because that usually means artificial sweeteners have been added.

Baby food banana puree
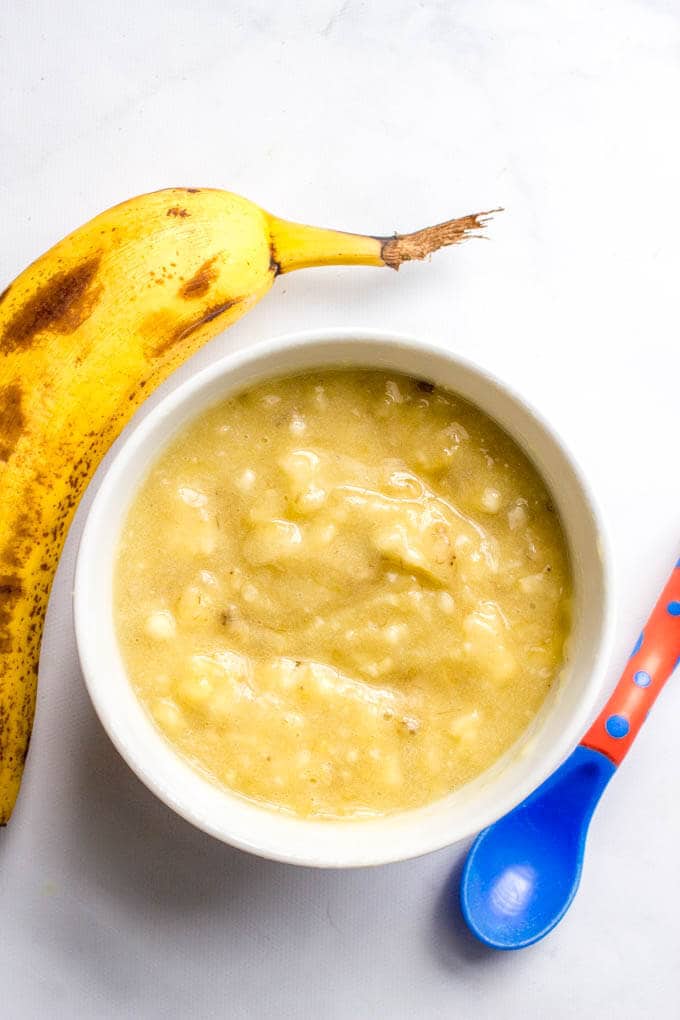
For the banana, choose a nice ripe, soft banana. Peel and mash it really well to get all the little chunks out. Then mash it some more for young babies (or use your handheld immersion blender - my favorite for making baby food!) or leave it a little chunkier for older babies.
Quick note though: Mashed up banana doesn’t keep that long without developing a brown film across the top, so do this when you’re pretty much ready to serve it.
(Also, I feel compelled to note that banana can cause a bit of constipation. Particularly if your child loves it as much as mine did. Feel free to skip ahead to round 6 of my homemade baby food apricots, prunes, egg yolks, chick peas and blackberries and mix your mashed banana with some pureed prunes to, um, balance things out and keep everything moving. Ahem.)
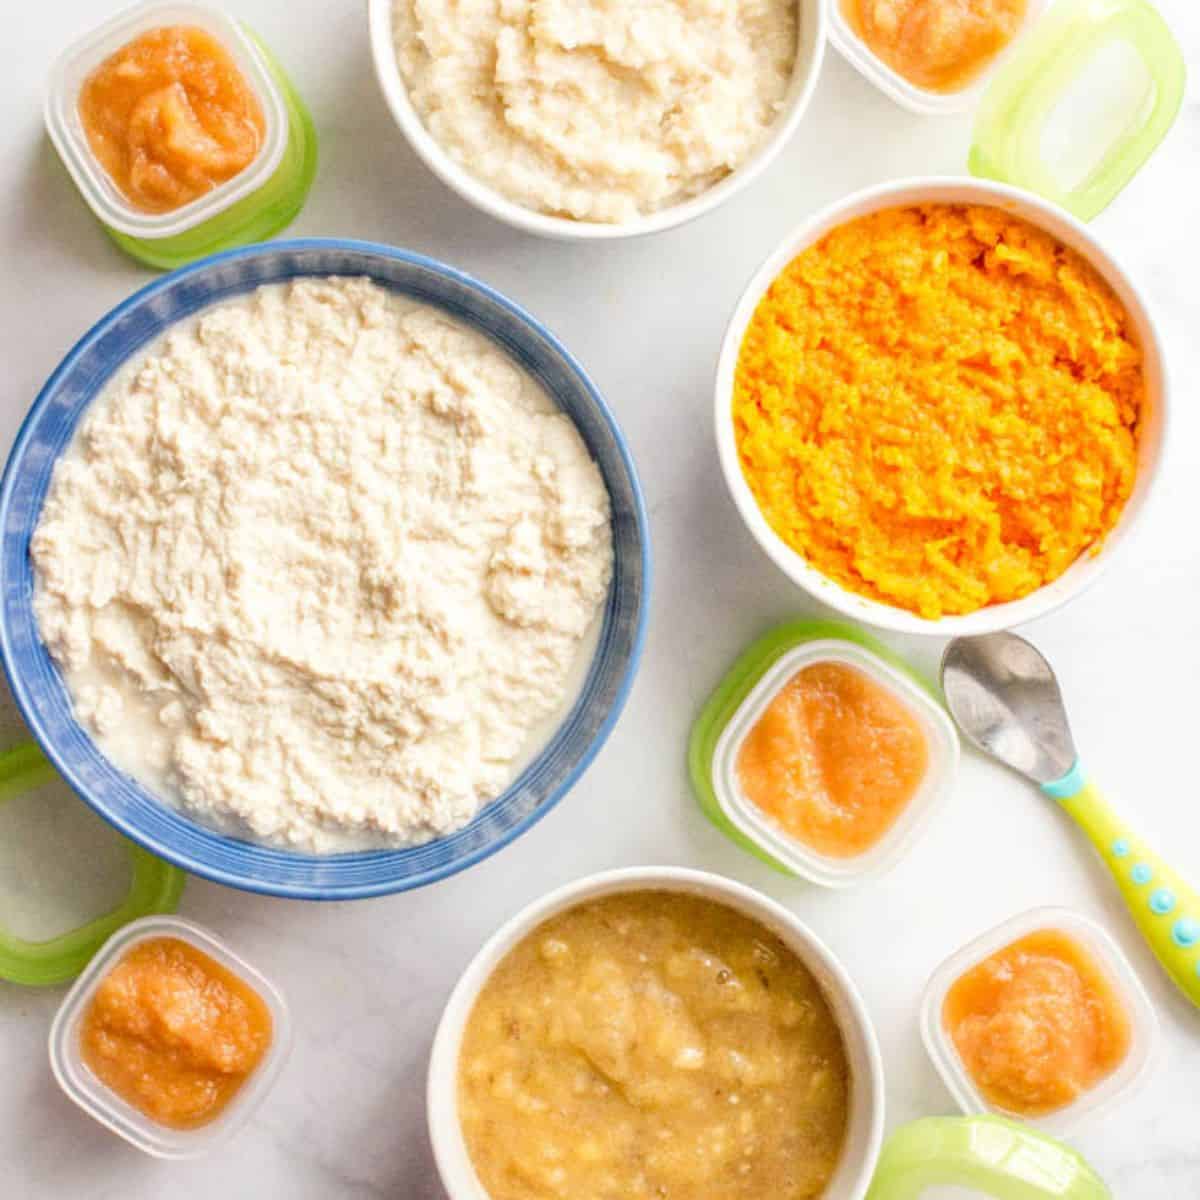
There you go though - 5 more baby foods done! You have made quite the delicious smorgasbord of foods for your baby. Gerber’s got nothing on you. 😉
And all of these can be frozen in your baby food ice cube trays or small freezer-safe containers for a later time. (Be sure to label them cause you will not be able to tell what they are or remember when you made them later!)
I hope you give homemade baby food sweet potatoes, brown rice, chicken, pears and banana a try in your kitchen and find the fun in seeing what foods your baby likes best!
I’d love to hear any early faves - leave me a comment below or tag me on Instagram when you post your creations! And of course, let me know if you have any questions!
XO,
Kathryn
Homemade Baby Food: Sweet potatoes, brown rice, chicken, pears and banana
Ingredients
- 2 to 3 sweet potatoes, scrubbed
- 1 cup brown rice
- 2 to 3 boneless, skinless chicken breasts
- 2 pears
- 1 ripe banana
Instructions
- For the sweet potatoes: Preheat the oven to 400.
- Scrub the potatoes well, poke them with a fork a couple of times and place on a foil-lined baking sheet. Bake the sweet potatoes at 400 for at least an hour, until tender.
- Once they are cool enough to handle, open the skins up, scoop out the potato and blend it with a splash or two of water — or breastmilk or formula — using an immersion blender or regular blender. Or for older babies, just mash it really well with a fork.
- For the brown rice: Bring 2 cups of water to a boil. Add rice, cover your pot and reduce heat to low. Simmer for 30 minutes, then turn off heat and let stand for 5 minutes.
- Blend the rice with some extra water (or breast milk or formula) to get it pureed and smooth.
- For the chicken: Bring a large pot of water to a boil. Add your chicken breasts and let them boil for about 25 minutes, until cooked through.
- Remove and use your immersion blender to puree them up, adding water (I use the cooking liquid) as needed.
- For the pears: If you use fresh, ripe pears, just remove the skin and core and use your immersion blender to get them smooth and dreamy. Or, you can buy canned or jarred pears then just drain them and puree them.
- For the bananas: Peel and mash the banana really well to get all the little chunks out. Then mash it some more to make it smooth for young babies or leave it a little chunkier for older babies.
Notes
Nutrition
Note: This post has been updated with new photographs and revised text. It was originally published in April 2015.

Cheyanne @ No Spoon Necessary
Ohhh yay! Another link to send my preggers friend! She was super excited about the first round of baby foods you posted, Kathryn, so I KNOW she will love this one as well. These posts have me wondering what my favorite flavor of baby food was when I was a lil' tike. I clearly need to call my mother. 🙂 Cheers dear and happy first day of spring!
Kathryn
I'm so glad! I hope this helps! And wouldn't that be fun to know... I took notes in both of my kids' baby books so they can always look back on what they loved at different stages. 😊
grace
these posts are very helpful! i appreciate your detailed approach and i'm sure i'll refer to those instructions time and time again...in a few more months. 🙂
Kathryn
I'm so happy to hear that Grace! I will keep the updates coming to these so everything will be perfectly timed and ready for you when you start to introduce solids to your baby! 😊
Stacey
Kathryn, your recipe's and combinations are amazing! I have to admit I was a little nervous to make my own baby food but you have made it so easy, my son loves your combinations you are a life saver. Thank you so much!
Kathryn
Aww Stacey, I'm SO happy to hear that!! So glad these posts have been helpful! Let me know if you ever have questions! 😊
Nanci Gregg
I'm contacting you to inquire if you have any baby food recipes you could share with our readers via our website. We would be happy to credit Olababy and provide a link to your website.
Is this something that might be of interest to you and mutually beneficial?
Thanks so much -
Nanci
Nanci Gregg
Baby & Children's Product News
http://www.babyandchildrensproductnews.com
direct line 615-595-8980
direct fax 615-614-2092
Serving the Juvenile Retailer
Kathryn
Hi Nanci, if you can email me with more details at kathryn@familyfoodonthetable.com, that would be great. Thanks!
Sarah J
I just found your blog and am so excited! My two youngest have cystic fibrosis so I make their food to ensure they get what they need. Your tips and recipes are fabulous, thank you for sharing!
Kathryn
Aww, thanks Sarah! I'm so happy you found me too! Homemade baby food - and beyond - is definitely do-able, especially with a little time and planning. Wishing you the best of luck and let me know if you ever have any questions - or requests! 😊
Jordie
Hi, Kathryn! We're gearing up for starting solids this week, and I've already got the round 1 ingredients on my grocery list. I thought I'd look ahead to the next batches, and I noticed you specifically said to use the immersion blender for the chicken and pears. Is that necessary or just preference? We don't have one and would like to avoid the expense if a regular blender will work. Thanks!!
Kathryn Doherty
Hi Jordie! An immersion blender is what I used most often for making baby food because it can handle smaller quantities. (And I still use mine today for smoothies, dressing and sauces.) But you can use a regular blender and be just fine. You may just need to stir the puree a few times to make sure everything's getting well blended, especially if you're making small-ish batches. (I find smaller quantities don't move around as well in a blender so you just need to watch it.) Hope that helps and have so much fun getting started with solids!! Happy to try and help answer any other questions you have as you get going. Good luck! 😊