A complete guide to making homemade baby food purees, including how to get started, how to store them and detailed instructions on making 10 favorite beginner purees.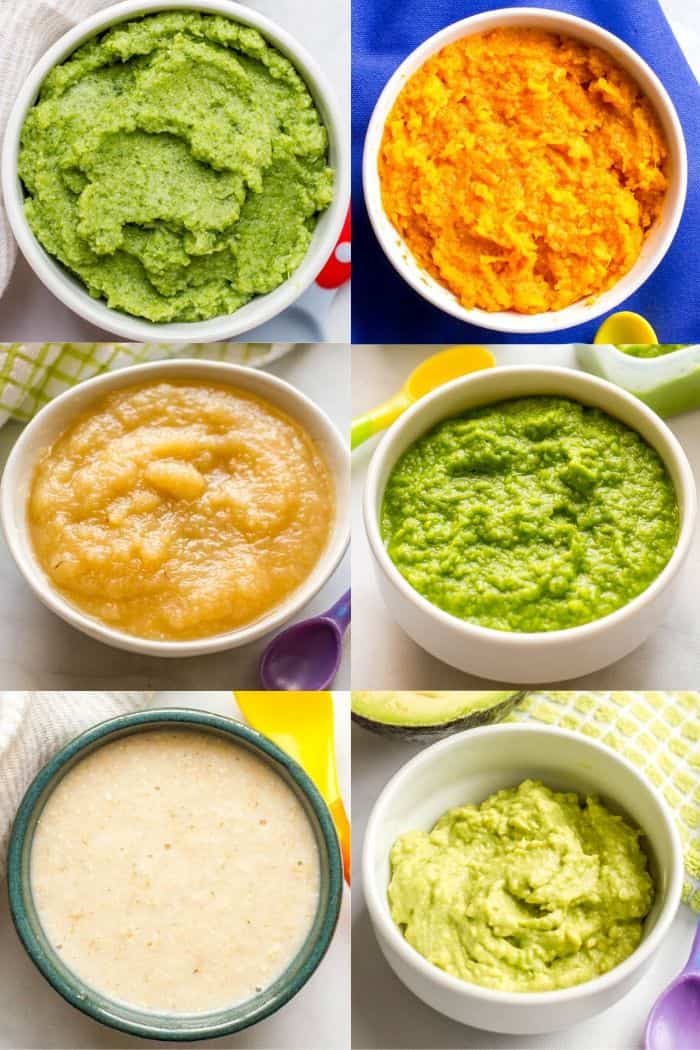
So, I'm the crazy lady who made all of her own homemade baby food. All. Of. It.
Never bought a single jar or pouch of baby food and my kids were BIG eaters.
See, I’ve been a health and nutrition editor for 15 years, including a long stint as the editor for a newsletter for pediatricians, so I read a lot about child nutrition and development.
And I decided early on that I wanted to make my own baby food.
I’m nothing if not stubborn, and OK, maybe a bit controlling, so I ended up making all of the food for both of my children, who are just over 2 years apart.
So I have years of experience doing this, but I also remember clearly what it was like trying to figure it out for the first time and being full of questions and confusion.
So if you’re curious about how to make pureed baby food and where to start, this post is for you.
I’m going back to the basics and we’ll delve into all those random questions here and there that you might have or that might pop up as you get started.
(You can bookmark or pin this post to refer back to.)
First off…
5 quick tips on making baby food purees:
- Baby food should be very thin and smooth for babies just starting on solids. You can add some water or breastmilk/formula to any puree if you need to thin it out a bit more. For purees that are very thin, like zucchini, mix them with a thicker puree, like brown rice, to be able to serve them a little more easily. (If it's too liquidy, it'll slide right off the spoon before you can get it to baby's mouth.)
- Meats, grains and vegetables should all be cooked and then pureed so they are soft and tender.
- You can use fresh or frozen fruits for purees. Canned or jarred fruits can be used, too, but avoid products with heavy syrup or artificial sweeteners.
- Make big batches. Baby food stores beautifully in the fridge and freezer so extra is a great thing. Plus, it means you only have to fix it one time but have lots on hand for baby for days or weeks at a time.
- Serve small servings. Only serve a small amount to baby at a time to avoid contamination so you don’t waste any baby food. (More on that below.)
And while I promise that making your own baby food is really very easy -- I work full time and I could squeeze this in -- I want to fully prepare you and give you ALL the info you’ll need. So we’re going to delve into much more detail here.
I cover some of the below FAQs in my guide to homemade baby food main page, but I wanted to include them here as well so you could see all of this in one place.
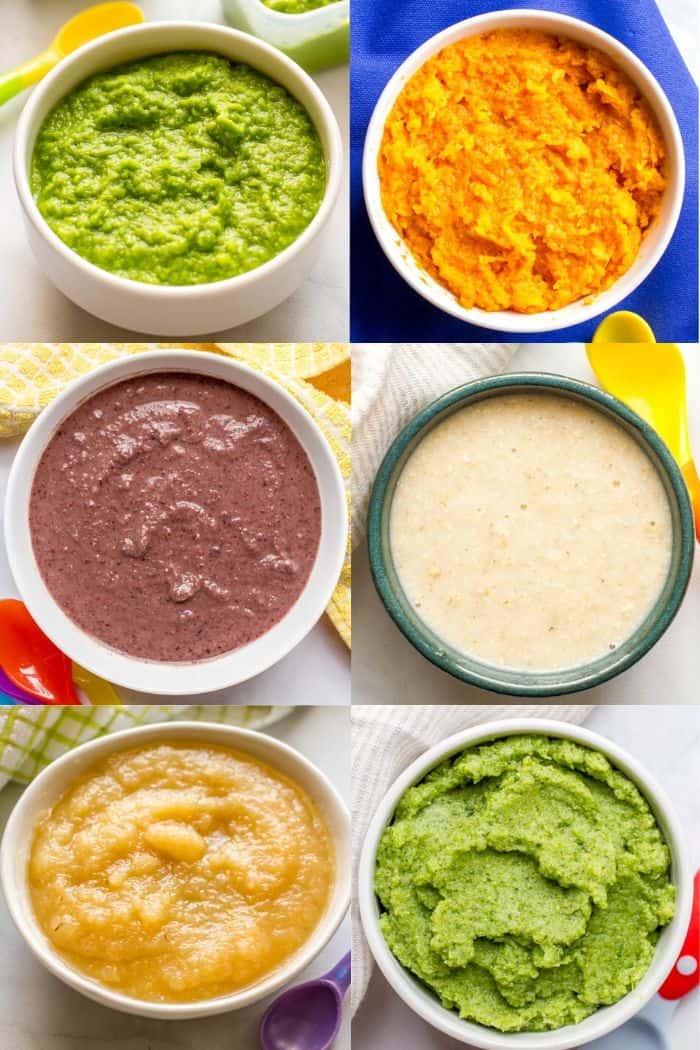
Homemade Baby Food FAQs
What homemade baby food should I start with?
Pediatricians and experts are now open to a variety of first baby foods, from the typical rice puree to sweet potatoes to peas or oatmeal.
Here’s my sample introducing homemade baby food schedule for which foods are best at different baby ages.
What consistency should homemade baby food be?
Homemade baby food should be very thin and completely pureed and smooth (no solid pieces) for a baby that’s just starting solids.
As a baby gets older and is accustomed to eating and swallowing, you can begin adding small amounts of texture to the baby food, as baby is ready, gradually working up to a more chunky consistency to prepare baby to transition to finger foods.
What do you need to make homemade baby food?
You don’t need any special baby food equipment to make homemade baby food. A simple blender or food processor will do to make almost every puree. A few other kitchen tools will make the job a little easier and more convenient, but they aren’t necessary. Get my full run-down of homemade baby food equipment recommendations.
How much baby food should I offer?
Start small. You can try just a couple teaspoons worth once a day to begin with to see how it goes. Offer a small amount on a small baby spoon and talk to your baby about what the food is as you offer it. Baby may not know what to do at first or may reject the food. That’s OK. You want starting solids and feeding time to be a fun, stress-free way to explore food.
Important note: Any food that baby doesn’t eat from the serving bowl has to be thrown out. That food has come in contact with the spoon that went into the baby’s mouth, so it could have bacteria or grow bacteria. This is another good reason to only use a little bit of baby food at a time, so you don't have to throw out a whole batch of food if it isn't eaten.
And keep in mind that baby is still getting all of the nutrition he or she needs from breast milk or formula so don’t worry if they don’t seem to take in much food. The purees and new foods are just a way to exposure your child to the flavors and textures of different foods to prepare them to move to real foods after they are weaned.
Should baby food be served warm or cold?
This can come down to personal preference and what your options are. Both of my children went to part-day day care while I was working (I juggled the afternoons with them at home with me), and I knew that they would not heat any of the food I sent. It would be kept in a refrigerator then opened and served.
So I served nearly everything to my babies either cold or at room temperature. The fruits and beans, of course, but also the grains and veggies and meats. And it worked just fine. (It also made traveling with their purees -- to the park, a restaurant, my parents' house or out of town -- much easier.)
Some purees, like meat or seafood combinations, I would occasionally serve to them warm after gently heating it in the microwave, such as at dinner at home. But that wasn't a regular thing.
Bottom line, do what's easiest and works best for you. Baby won't mind.
Is leftover baby food safe to keep?
Baby food that has been opened and eaten is considered contaminated. If you served baby a food from the container, then put the spoon back in the container for another bite, that whole container is contaminated. The baby’s saliva and germs have gotten on the spoon and can potentially grow other bacteria in the food. It’s best to throw away baby food that’s been partially eaten.
This is a good reason to only dole out a small amount of food at a time. Feed that amount to your baby. If baby doesn’t finish it, throw out what you have left in your bowl and you’ll be able to keep the remainder that was separate.
And if your baby wants a second helping, be sure to use a non-contaminated spoon to scoop it out from your larger container to add another few spoonfuls to your serving bowl.
How do I store homemade baby food?
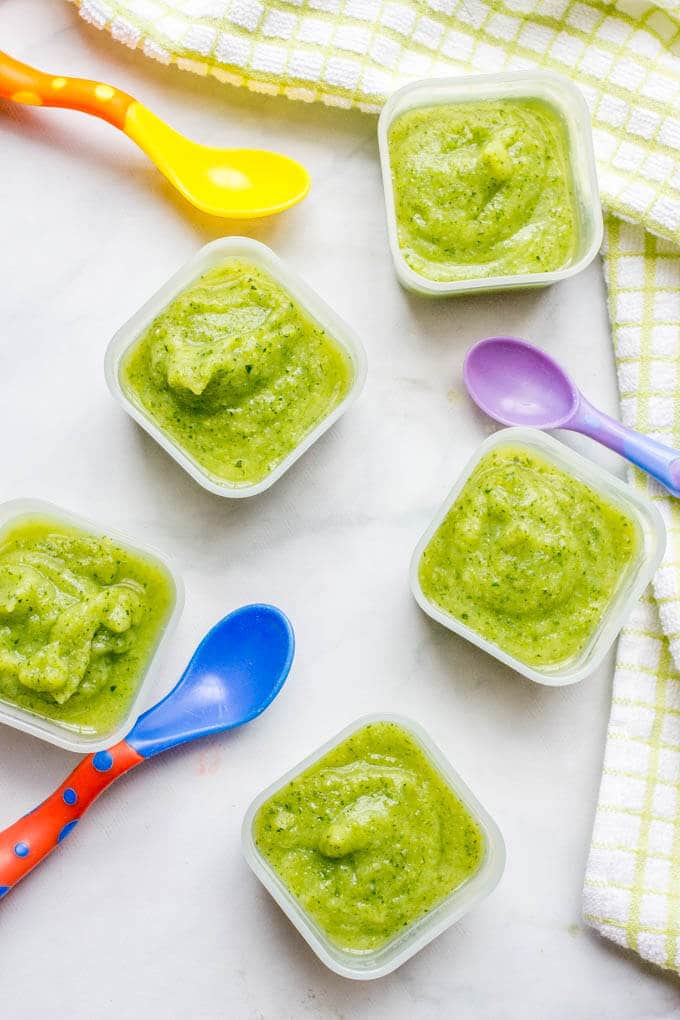
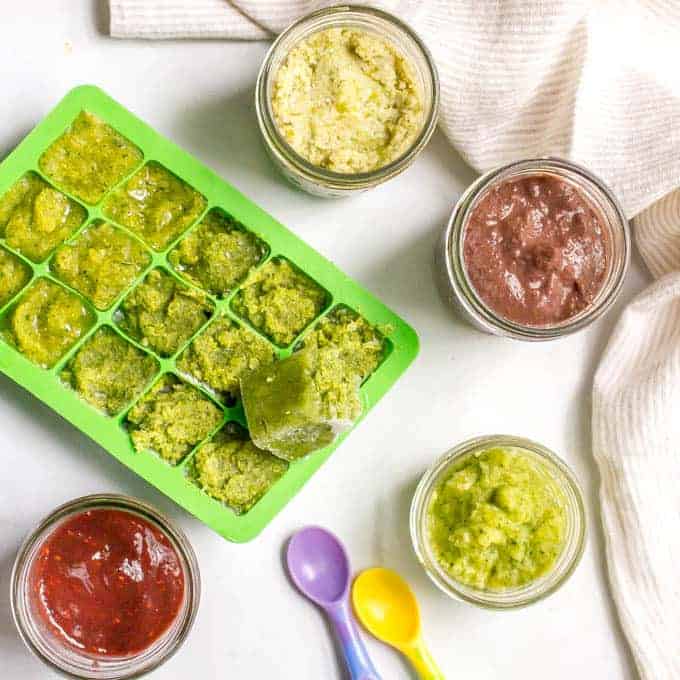
It’s best to store homemade baby food in small containers with a tight seal. This allows you to portion out just a bit at a time to avoid wasting food. If freezing, you can use ice cube trays to make small cubes. Once they are frozen, transfer the cubes to a labeled freezer-safe bag. Get more info on our favorite baby food containers with my homemade baby food equipment recommendations.
How long does homemade baby food last?
You can refrigerate most homemade baby food for up to 3-5 days and freeze baby food for up to 4-6 months. Just be sure to label everything and keep it tightly covered.
Certain foods, however, such as banana or avocado, will brown very quickly and are best served immediately.
What homemade baby food can I freeze?
All of it! Homemade baby food fruit purees, vegetable purees, grain purees, bean and meat purees all can be kept in the freezer for up to 4-6 months.
You can freeze it in small portions in freezer-safe containers or bags, or place the purees into an ice cube tray and freeze. Once solid, pop out the cubes, place in a freezer-safe bag and store (which will freeze up the ice cube tray for another use.)
Make sure your bags are labeled and well sealed. Defrost homemade baby food safely in the refrigerator overnight. Also, be sure to check the consistency once thawed to be sure the food, especially any grain or starch, isn’t too thick or gummy for your baby.
What do I do with leftover homemade baby food?
Leftover homemade baby food can be used in so many ways! Stir leftover fruit purees into oatmeal or yogurt or use as a spread for toast. Add leftover vegetable purees to pasta sauces, mashed potatoes, meatballs or burgers. Use leftover bean or meat purees as a spread in quesadillas. Use combinations of leftover favorites to make homemade baby food squeeze pouches. I’ve got tons more information, ideas and recipes (plus a free printable!) on ways to use leftover baby food here.
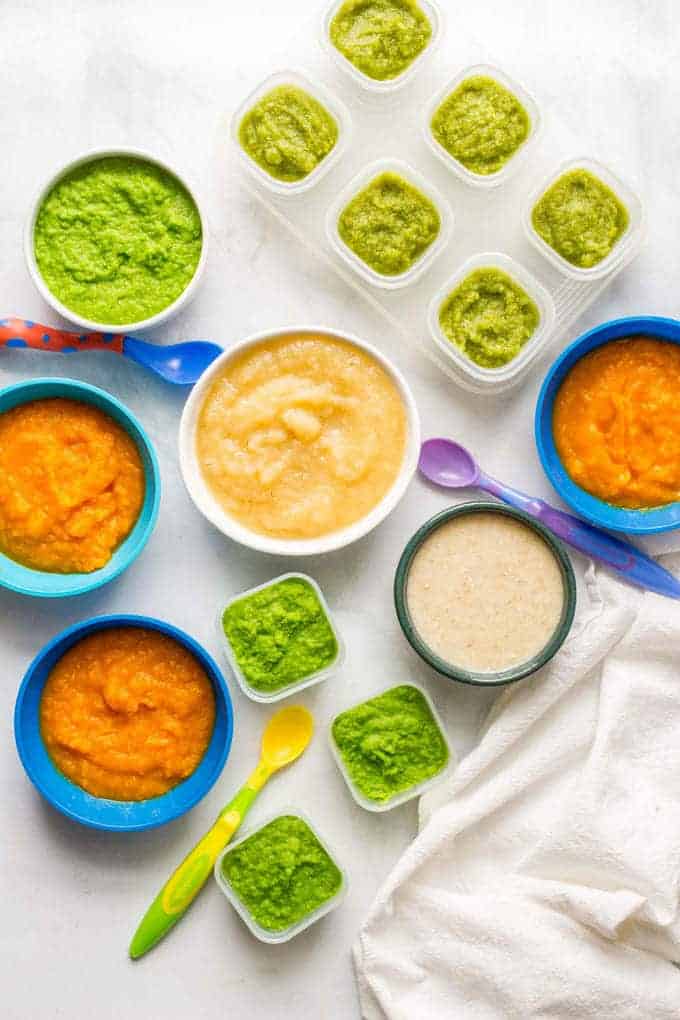
OK, let’s get down to the nitty gritty.
For some of you, this may seem obvious. But I remember being a new mom with a 5-month-old, trying to juggle her and work and get some sleep and thinking, “I mean, I get it with baby food. But I don’t really get it. How do I do this, exactly?”
I needed hand holding and wanted all the details. My brain just couldn’t connect some of those dots.
So, we are going step-by-step for each of these first baby food purees and I’m going to hold your hand.
(And please, for the love of all things, if something doesn’t make sense, ASK me! Leave me a comment below. I’m happy to help and I guarantee someone else will have that same question!)
I’ve broken this up into each individual puree, included the step-by-step instructions for each one and also offered some tips.
Plus, I’m telling you how you can use that same basic process to make other similar purees. For instance, I’ve included pears below, but it’s the same process for peaches. Same goes for bananas and avocados.
Let’s get fixing!
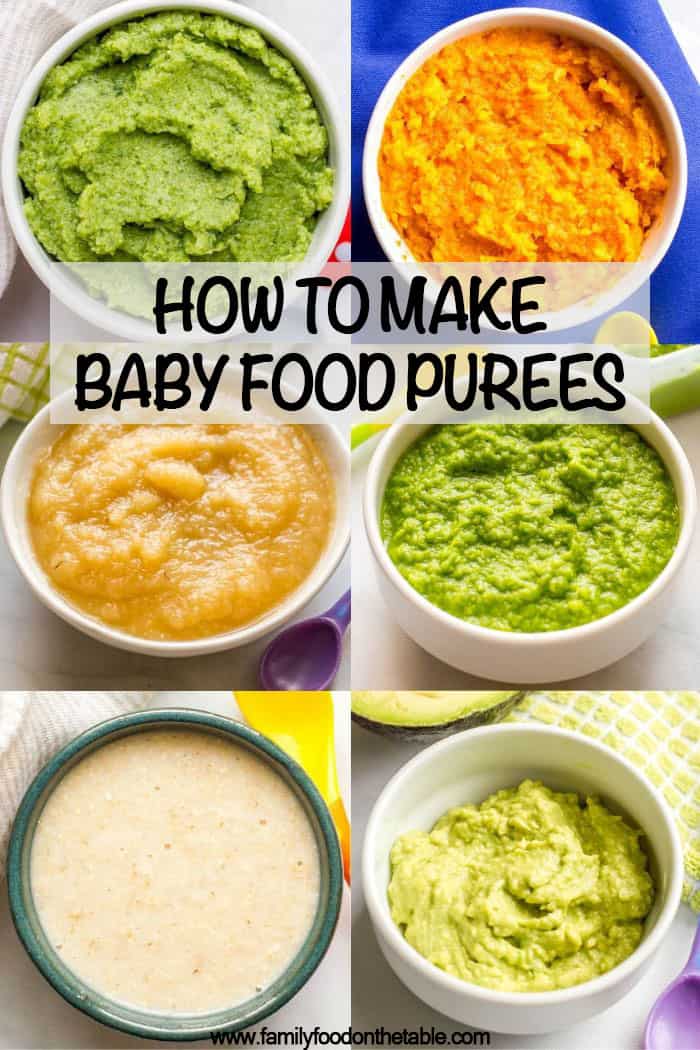
10 classic baby food purees
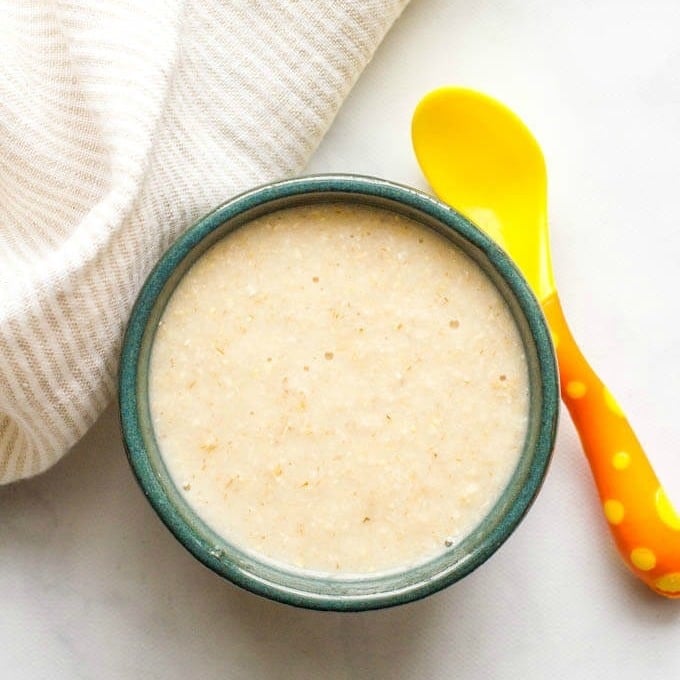
Oatmeal puree
Cook ½ cup of old-fashioned rolled oats according to package directions, either in the microwave or on the stove. You can use water or milk (breastmilk or formula) as the liquid. Skip any butter or salt.
Let the cooked oatmeal cool slightly then blend, adding an extra couple of tablespoons of water or milk as needed to help get it to a smooth consistency.
Serve immediately or cover and store until ready to use. Store in an airtight container in the refrigerator for 3 to 5 days, or in the freezer for 4 to 6 months.
The oatmeal will continue to thicken as it cools - and after it is stored - so you may need to mix in some additional water or milk to help thin it out again.
Brown rice puree
Starting baby with whole grains, instead of refined grains, helps train their taste buds, making it more likely they will choose and prefer whole grains when they are older. Brown rice makes an excellent first food for baby and can later be added to any number of proteins, veggies and fruits for combination baby foods.
Cook brown rice according to package directions. (See my post on perfect brown rice if you are intimidated by cooking brown rice.)
Add cooked rice to a blender along with ½ cup water. Process until smooth, scraping down the sides as needed. Add additional water as needed, 2 to 3 tablespoons at a time, to get it to the desired consistency.
Serve immediately, if cool enough, or allow to cool then cover and store until ready to use. Store in an airtight container in the refrigerator for 3 to 5 days, or in the freezer for 4 to 6 months.
You can use this same method for other whole grains — such as quinoa, barley and faro — just adjusting the cooking time as needed.
Also, brown rice and other grains tend to continue to thicken as they cool and after they are refrigerated or frozen. You may need to thin them out with additional water before serving.
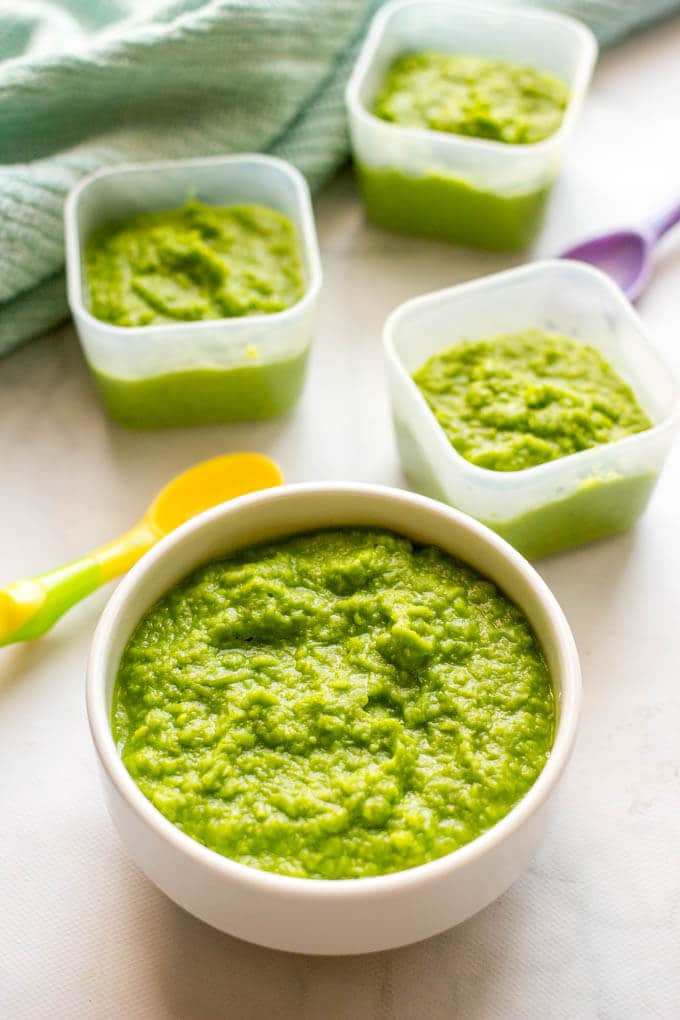
Green peas puree
Keep a bag of frozen green peas on hand and you can make this staple baby food anytime!
In a very small pot, bring ¼ cup water to a low boil.
Add ½ cup of frozen green peas to the boiling water. Return to a boil, then cover, reduce heat to medium-low, and cook for 4 to 5 minutes at a steady simmer.
Transfer the peas and cooking liquid to a blender. Process until very smooth, scraping down the sides as needed.
Transfer to a small bowl, let cool, then serve or store until ready to use. Store in an airtight container in the refrigerator for 3 to 5 days, or in the freezer for 4 to 6 months.
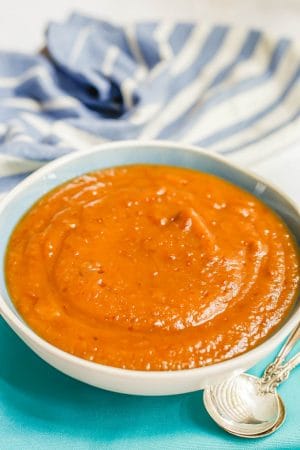
Sweet potato puree
I recommend making at least 2-3 sweet potatoes at a time since it takes a while to roast them. The extras can be easily stored in the freezer to have on hand for later.
Preheat the oven to 400°F. Line a baking sheet with aluminum foil for easy clean-up.
Scrub the potatoes with a scrub brush under running water. Pierce each potato with a fork 2 to 3 times on each side. Place the potatoes on the prepared baking sheet.
Bake the sweet potatoes at 400 for 1 hour, or until very tender. (The cooking time will depend on the size of your sweet potatoes.)
Remove from the oven and let cool slightly. Carefully remove the skin of the potatoes (it should easily pull away) and discard.
Place the cooked sweet potatoes in a blender and add ½ cup water. Blend until very smooth, scraping down the sides as needed.
Transfer the sweet potato puree to a bowl and let cool, then serve or store until ready to use. Store in an airtight container in the refrigerator for 3 to 5 days, or in the freezer for 4 to 6 months.
You can simply mash the cooked sweet potatoes (without water) for older babies who are ready for a little more texture.
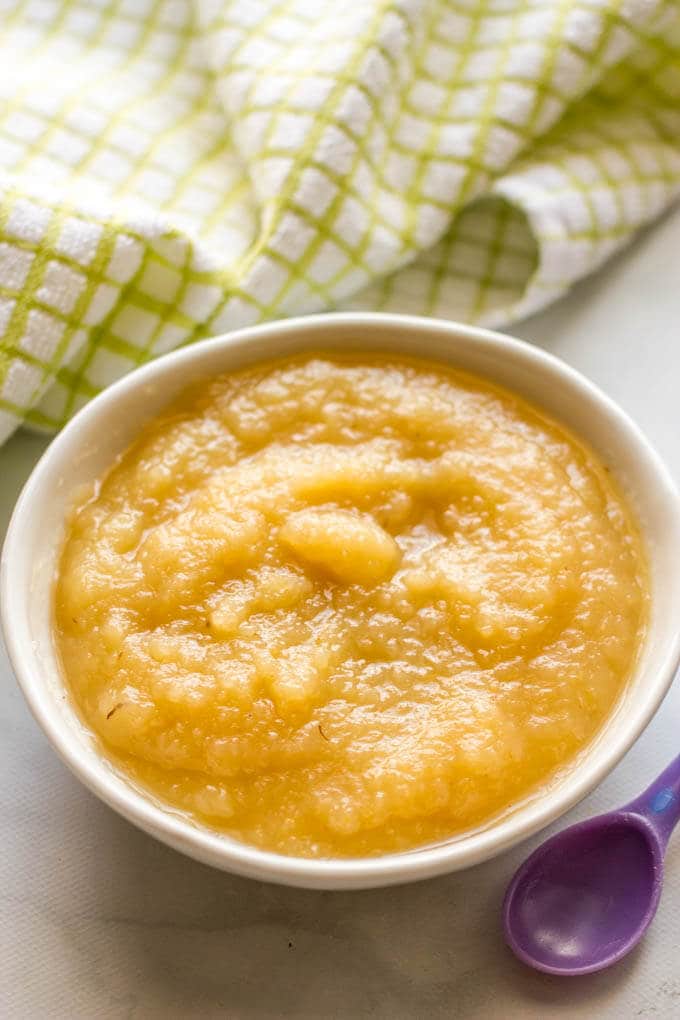
Applesauce
I’ll tell you how to make your own applesauce in a really easy way - no peeling required! - but honestly, you can also buy 1-ingredient applesauce at the store and use that. No additives and it’s so convenient!
But to make your own…
Core and roughly chop the apples. Again, no need to peel them. Place the apple pieces in the insert of a 5- to 6-quart slow cooker. Add ¼ cup water then cover the slow cooker and cook on low for 8 hours, or until the apples are very tender.
Transfer the cooked apples to a blender. Puree until very smooth, scraping down the sides as needed.
Let cool then serve, or cover and store until ready to use. Store in an airtight container in the refrigerator for 3 to 5 days, or in the freezer for 4 to 6 months.
You can add a pinch of cinnamon for a hint of spice if desired.
Pears puree
You can use fresh pears or canned pears (look for ones packed in water or pear juice, not in syrup or with artificial sweeteners).
Remove the core from each pear and discard. Roughly chop the pear into pieces. No need to peel the pears.
Place the pear pieces into the blender and process until smooth, scraping down the sides as necessary.
Serve immediately or cover and store until ready to use. Store in an airtight container in the refrigerator for 2 to 3 days, or in the freezer for 4 to 6 months. The pear may start to brown in the fridge on the top layer that is exposed to air. You can scrape this off and discard before serving.
This process will also work for peaches (and you can use fresh, frozen or canned peaches).
Broccoli puree
Place fresh broccoli florets in a steamer basket. Place the steamer basket in a pot with about ½ inch to 1-inch water in the bottom. Cover the pot with a tight-fitting lid then place on a burner over high heat. Cook for 7 to 8 minutes, until the broccoli pieces are very tender.
Carefully transfer the hot cooked broccoli to a blender along with ¼ cup cooking liquid. Process until very smooth, scraping down the sides and adding an extra splash or two of water as needed.
Let cool then serve or store until ready to use. Store in an airtight container in the refrigerator for 3 to 5 days, or in the freezer for 4 to 6 months.
You can also use frozen broccoli to make this puree. Add 2 cups of frozen chopped broccoli florets and stems to ¾ cup of boiling water. Return to a boil, then cover, lower the heat to medium low and cook for 7-8 minutes, until very tender. Puree, let cool, and serve or store.
You can use this same process to steam then puree other vegetables, such as green beans or asparagus.
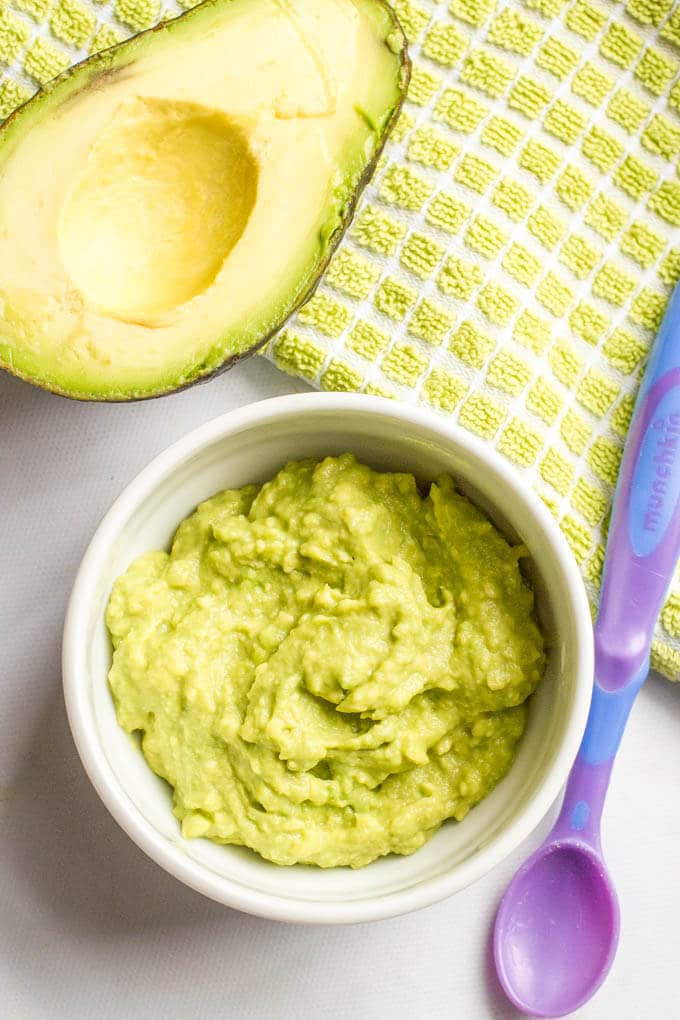
Avocado puree (& banana puree)
Both avocado and banana pretty much just need to be peeled and mashed really well. And both will brown quickly, so you’ll want to be smart about how you prep them. Here are my tips:
Cut the banana in half and only peel the half you are going to use, reserving the other half for another day or another use. Mash the banana until it’s very smooth and serve right away.
Slice the avocado vertically and twist to open. Cover the half with the pit tightly with plastic wrap and place in the refrigerator to save for later. It will last up to 2-3 days.
Scoop out the other half of the avocado and place in a small bowl. Mash with a fork until completely smooth for younger babies or leave a little chunkier for older babies.
Banana and avocado are also great finger foods for baby to pick up. However, they can be rather slippery. It helps to coat them with a “dusting” of crushed up O-shaped cereal (such as Cheerio’s or a similar brand) to make it easier for baby to grasp the pieces.
Finally, bananas can cause constipation in some babies. I tended to serve mine with or on the same day as pureed prunes to keep things balanced out.
Black beans puree
Open a can of black beans and empty into a colander. Rinse the black beans really well, until the water runs clear, then drain well.
Add the black beans to a blender along with ½ cup water. Process until very smooth, scraping down the sides and adding an extra splash or two of water as needed.
Serve or store until ready to use. Store in an airtight container in the refrigerator for 3 to 5 days, or in the freezer for 4 to 6 months.
This same process will also work for any other canned/cooked bean, such as garbanzo beans or cannellini beans, pinto beans, etc.
Pureed chicken
Fair warning, pureed meat is a little strange. But offering meats to your baby early on helps them adjust to the taste and adds a great source of protein. And you can easily combine chicken or other meats with other purees, such as chicken and applesauce or chicken and pears, for a more interesting flavor combination.
Bring a medium pot of water to a boil over high heat. Add 2 boneless, skinless chicken breasts and reduce the heat to medium-high to maintain a low boil.
Cook the chicken breasts for 20 to 25 minutes, until cooked through. Remove the chicken breasts to a cutting board and let cool slightly. Roughly chop the chicken breasts into chunks. Add to a blender along with 1 cup water.
Puree the chicken, adding an extra tablespoon or two of water, as needed, until it is a smooth consistency.
Serve immediately or cover and store until ready to use. Store in an airtight container in the refrigerator for 3 to 5 days, or in the freezer for 4 to 6 months.
You are off and running now!
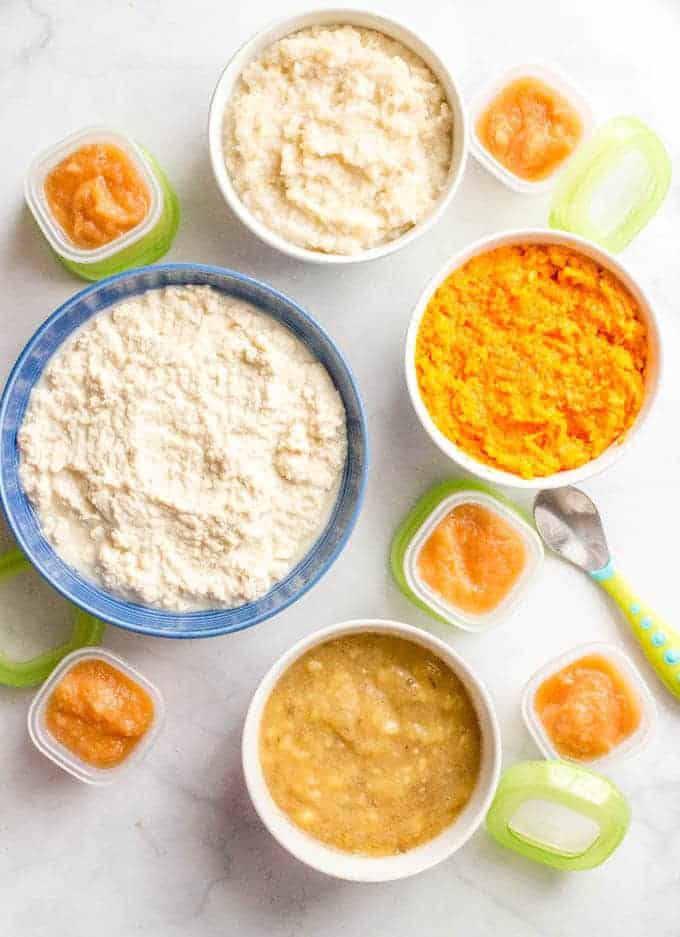
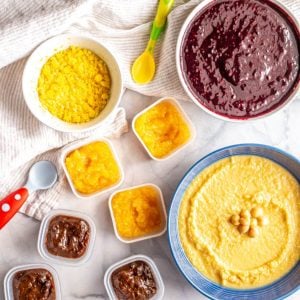
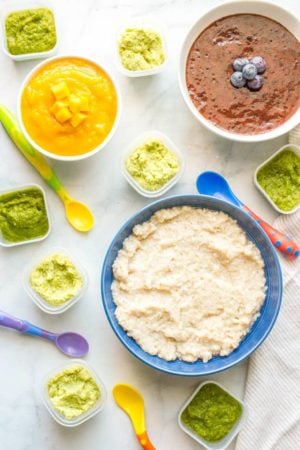
And because I love you - and because I love to help you be as efficient in the kitchen as possible - I have six different guides to batch cooking for beginner baby foods.
That means you’ll be making 5 different baby food purees at a time so you can knock out a lot of foods in a short amount of time. ????
(That was how I was able to make ALL of my kids baby food - make a lot at once, have a variety on hand, and you’ve got endless options.)
Speaking of… once your baby has started with a few initial purees, it’s fun to start combining them for new flavor options.
Check out my guide to homemade baby food combinations for tons of ideas and tips for this fun stage.
Last thing - promise. I am SUPER excited to announce that I have a baby food cookbook coming out later this year: December 8, 2020, to be exact.
It has been such a fun and rewarding project to work on the last year, and I'm SO excited for you all to see it and hold it in your hands. I know it's going to be such a big help to so many new and newish parents.
I'll be sure to update this post when the pre-order is available, and you can also sign up for my free e-newsletter so you know when it's coming and you never miss a new recipe. (I’ll even send you my free e-cookbook, Healthy Weeknight Dinners, as a thank you!)
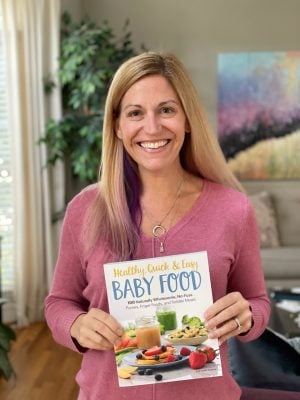
Update: The cookbook is here! Healthy, Quick and Easy Baby Food is a gorgeous book with absolutely everything you need to get started plus 100 recipes on everything from single purees to combinations to finger foods to toddler foods that are yummy for the whole family. I know it will be so helpful in answering all your questions and helping you every step of the way through this process! (Oh, and it makes a great gift, too!)
I also hope this post has been helpful as you get started with the baby food journey. And as I said, if you have any lingering questions, please leave me a comment below; I’m happy to help!
XO,
Kathryn


Crescynthia
When adding water to a purée (such as sweet potatoes) what kind of water do I add?
If I’m adding Breast milk to a purée how long is it good for?
Kathryn Doherty
Hi there! You can use whatever you use for safe drinking water (such as tap or filtered water). If using breast milk, just be sure to store the baby food properly and it should still keep for a few days in the fridge or few months in the freezer.
Nicole
Wow I’m so happy I came across this. As a first time mom I knew I wanted to make my own food, but it just got overwhelming for me trying to figure out how to balance it all going back to work, being a mom, pumping and breastfeeding, being a wife. Like you said trying to connect the dots and figure it out. I make some of my own but also give him baby jar food. However, I really want my 9 month old to try different things, so I’m excited to give it another shot. Thank you:)
Kathryn Doherty
I'm so happy this is helpful for you Nicole! You can definitely do this - just start with a couple of foods you want to try making and go from there. Good luck!!
Paula Balcom
I'm having dental surgery and I'm looking forward to trying out your many recipes! Thanks for the how-to's!